How to Remove Hair Dye Safely Without Damaging Your Hair
Nearly 40% of women who color their hair at home report experiencing some form of hair damage — from dryness and breakage to severe color correction disasters that cost hundreds of dollars to fix. If you’ve ever stared in the mirror at a hair color gone wrong, you already know that panic.
I’ve been there. After an at-home balayage attempt left me with brassy orange streaks instead of sun-kissed blonde, I spent weeks researching how to remove hair dye safely without damaging my hair further. The process taught me more about hair chemistry than I ever expected — and I want to share everything I learned with you.
Knowing how to remove hair dye safely without damaging your hair is a skill every color-treated person should have. Whether your shade turned out too dark, too warm, or just plain wrong, this guide walks you through every method — from gentle DIY approaches to professional-grade solutions — so you can restore your hair with minimal damage.
Key Takeaways 📌
- Not all dye removal methods are equal — permanent dye requires different treatment than semi-permanent or temporary color.
- DIY methods like vitamin C treatments and clarifying shampoos can fade unwanted color gently without harsh chemicals.
- Hair health must come first — always deep condition before, during, and after any dye removal process.
- Color removers and bleach are not the same thing — understanding the difference can save your hair from serious damage.
- Timing and aftercare are just as important as the removal method itself.
- Try our Free Interactive app: Avoid Hair Dye Disasters: Get Your Personalized Safe Removal Plan
Disclosure: This post contains affiliate links. As an Amazon Associate, we earn from qualifying purchases, and at no extra cost to you.
Understanding Hair Dye Types Before You Begin
Before you attempt to remove any color, you need to understand what type of dye you’re dealing with. This single step changes everything about your approach.
Temporary and Semi-Permanent Dyes
These dyes coat the outside of the hair shaft rather than penetrating it. They fade naturally with washing and are the easiest to remove. Most semi-permanent colors will fade significantly within 6–12 washes.
Demi-Permanent Dyes
Demi-permanent formulas penetrate slightly deeper than semi-permanent but don’t use full oxidation. They last longer — typically 24–28 washes — and require a bit more effort to remove.
Permanent Hair Dye
This is where things get complicated. Permanent dye uses hydrogen peroxide and ammonia to open the hair cuticle and deposit color molecules deep inside the cortex. Once those molecules are inside, they bond to the hair structure. Removing them requires either:
- Breaking down those molecules (color remover)
- Lifting them out with bleach
- Fading them gradually with targeted treatments
💡 Pull Quote: “Knowing what type of dye is in your hair is like knowing the lock before you choose the key. The wrong approach can cost you months of hair health.”
Quick Reference: Dye Type vs. Best Removal Method
| Dye Type | How It Works | Best Removal Method |
|---|---|---|
| Temporary | Coats the shaft | Clarifying shampoo |
| Semi-Permanent | Slight penetration | Vitamin C treatment, clarifying shampoo |
| Demi-Permanent | Moderate penetration | Anti-dandruff shampoo, color remover |
| Permanent | Deep cortex bonding | Color remover, bleach (last resort) |
Gentle DIY Methods for How to Remove Hair Dye Safely Without Damaging Your Hair
These methods are ideal for semi-permanent and faded permanent color. They’re low-risk, affordable, and can be done at home with minimal prep.
1. 🍋 Vitamin C Treatment
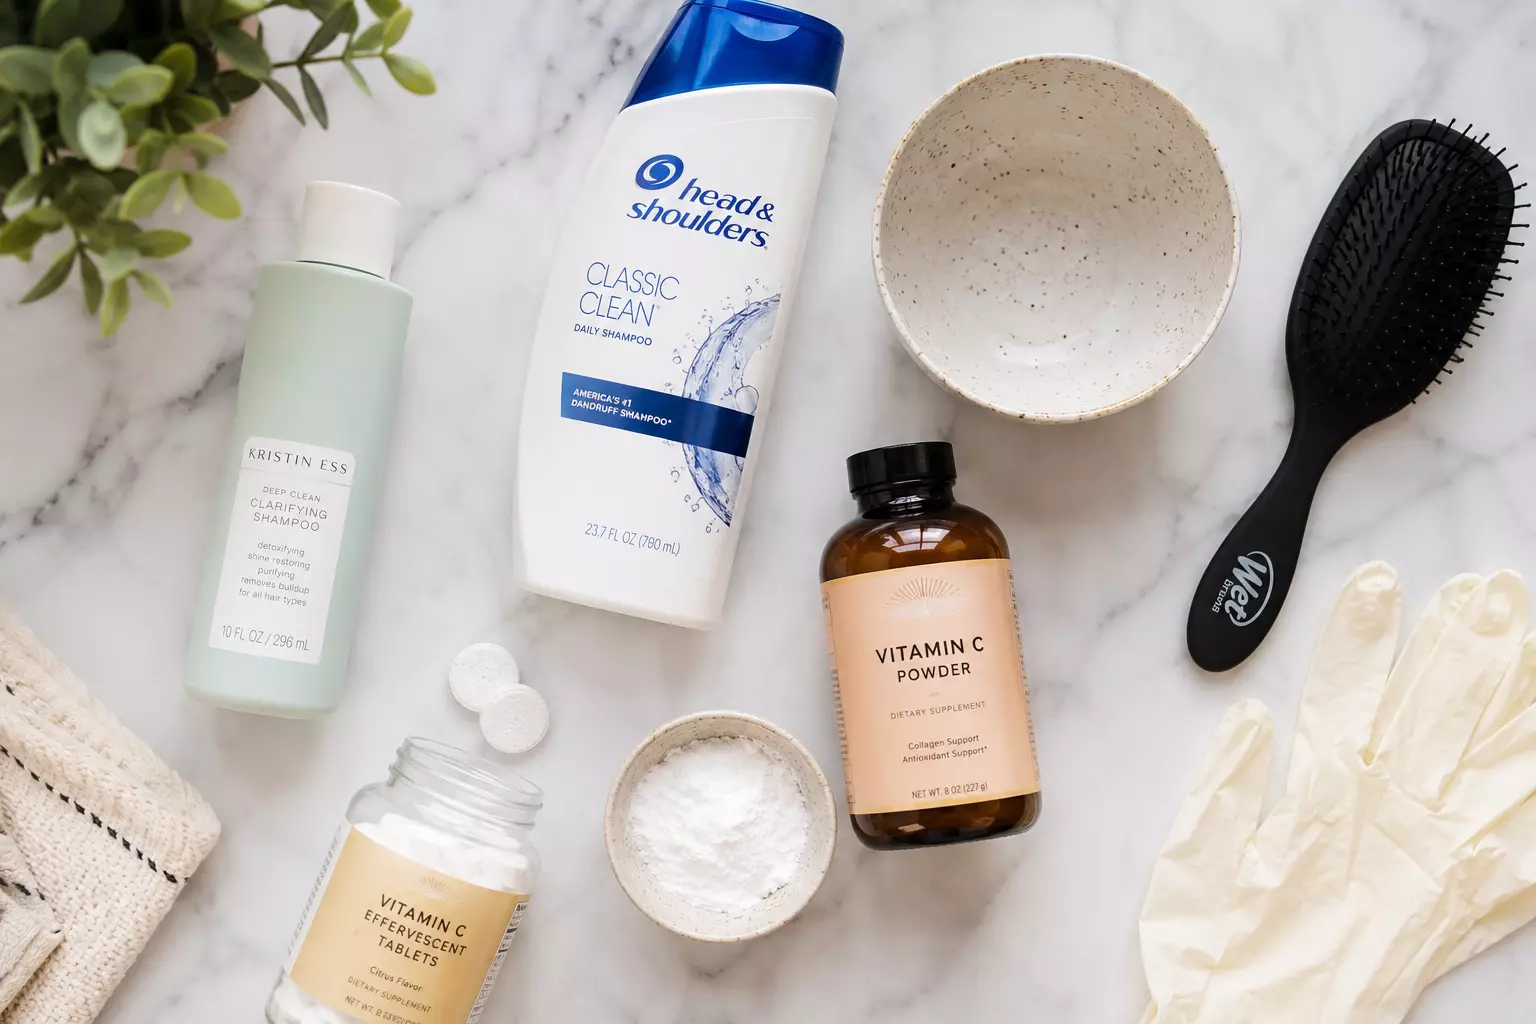
This is one of my personal favorites. Vitamin C (ascorbic acid) is mildly acidic and helps break down artificial color molecules, especially in semi-permanent dyes.
What you need:
- 10–20 vitamin C tablets (crushed into powder) or 2–3 tablespoons of vitamin C powder
- Clarifying or anti-dandruff shampoo (enough to coat your hair)
How to do it:
- Mix the crushed vitamin C with shampoo until you get a thick paste.
- Apply to damp hair, focusing on the most saturated areas.
- Cover with a shower cap and leave for 30–60 minutes.
- Rinse thoroughly with warm water.
- Deep condition immediately after.
Results: Can fade color by 1–3 shades in one session. Best for removing unwanted tones rather than full color removal.
2. 🧴 Clarifying Shampoo Soak
Clarifying shampoos are designed to strip product buildup — and they work on semi-permanent dye too.
How to do it:
- Apply clarifying shampoo generously to wet hair.
- Work into a lather and let it sit for 5–10 minutes (longer than a regular wash).
- Rinse and repeat up to 3 times in one session.
- Follow with a deep conditioning mask.
⚠️ Warning: Clarifying shampoos are drying by nature. Never skip the deep conditioning step, and don’t use this method more than twice a week.
3. 🧂 Baking Soda + Shampoo Paste
Baking soda is alkaline, which helps open the hair cuticle and release color molecules. When combined with shampoo, it becomes a gentle color-fading paste.
How to do it:
- Mix equal parts baking soda and clarifying shampoo.
- Apply to damp hair and leave for 15–20 minutes.
- Rinse thoroughly and deep condition.
Best for: Fading semi-permanent color or removing unwanted brassiness.
4. 🍎 Apple Cider Vinegar Rinse
Apple cider vinegar (ACV) is acidic and can help close the cuticle while gently fading color over time.
How to do it:
- Mix 1 part ACV with 4 parts water.
- After shampooing, pour the mixture through your hair.
- Let it sit for 2–3 minutes, then rinse with cool water.
This method works best as a gradual fade assistant rather than a single-session fix.
Chemical Color Removers: A Safer Alternative to Bleach
When gentle methods aren’t enough — especially for permanent dye — color removers are your next best step before reaching for bleach.
How Color Removers Work
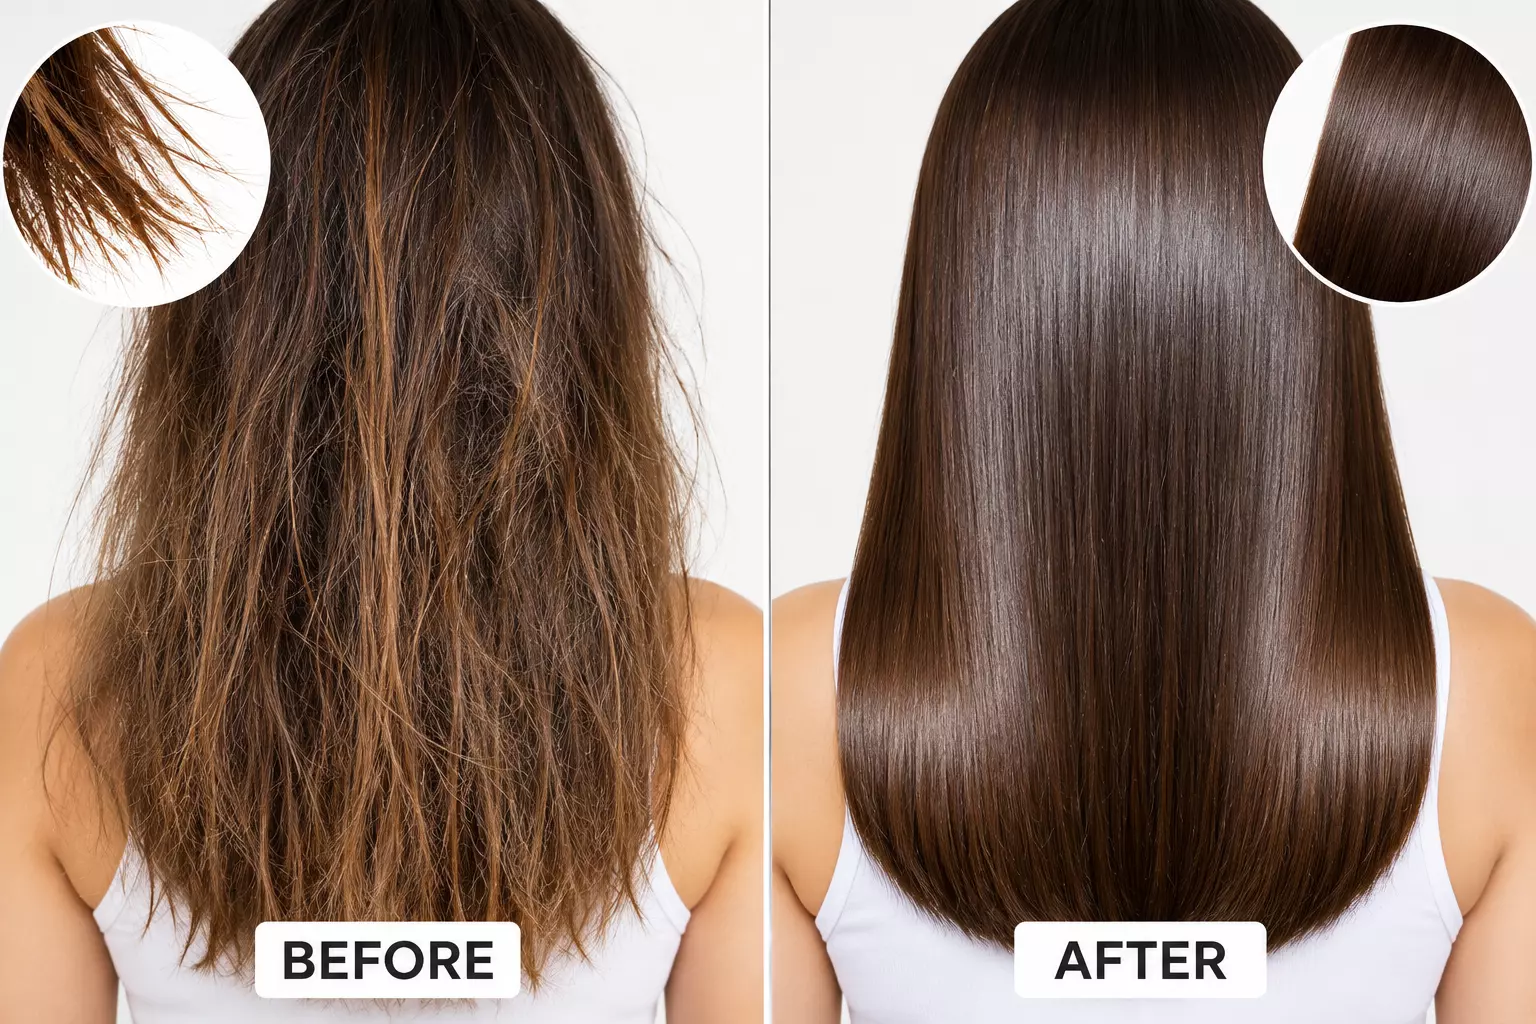
Color removers (also called color eraser or color stripper) work through a process called reduction. They shrink the artificial color molecules inside the hair shaft, making them small enough to be rinsed out. Crucially, they do not lighten your natural hair pigment the way bleach does.
Popular options include:
- Color Oops (Extra Strength for darker dyes)
- Joico Color Intensity Eraser
- Scott Cornwall Decolour Remover
Step-by-Step: Using a Color Remover Safely
- Do a strand test first. Apply the product to a small, hidden section of hair and follow the timing instructions.
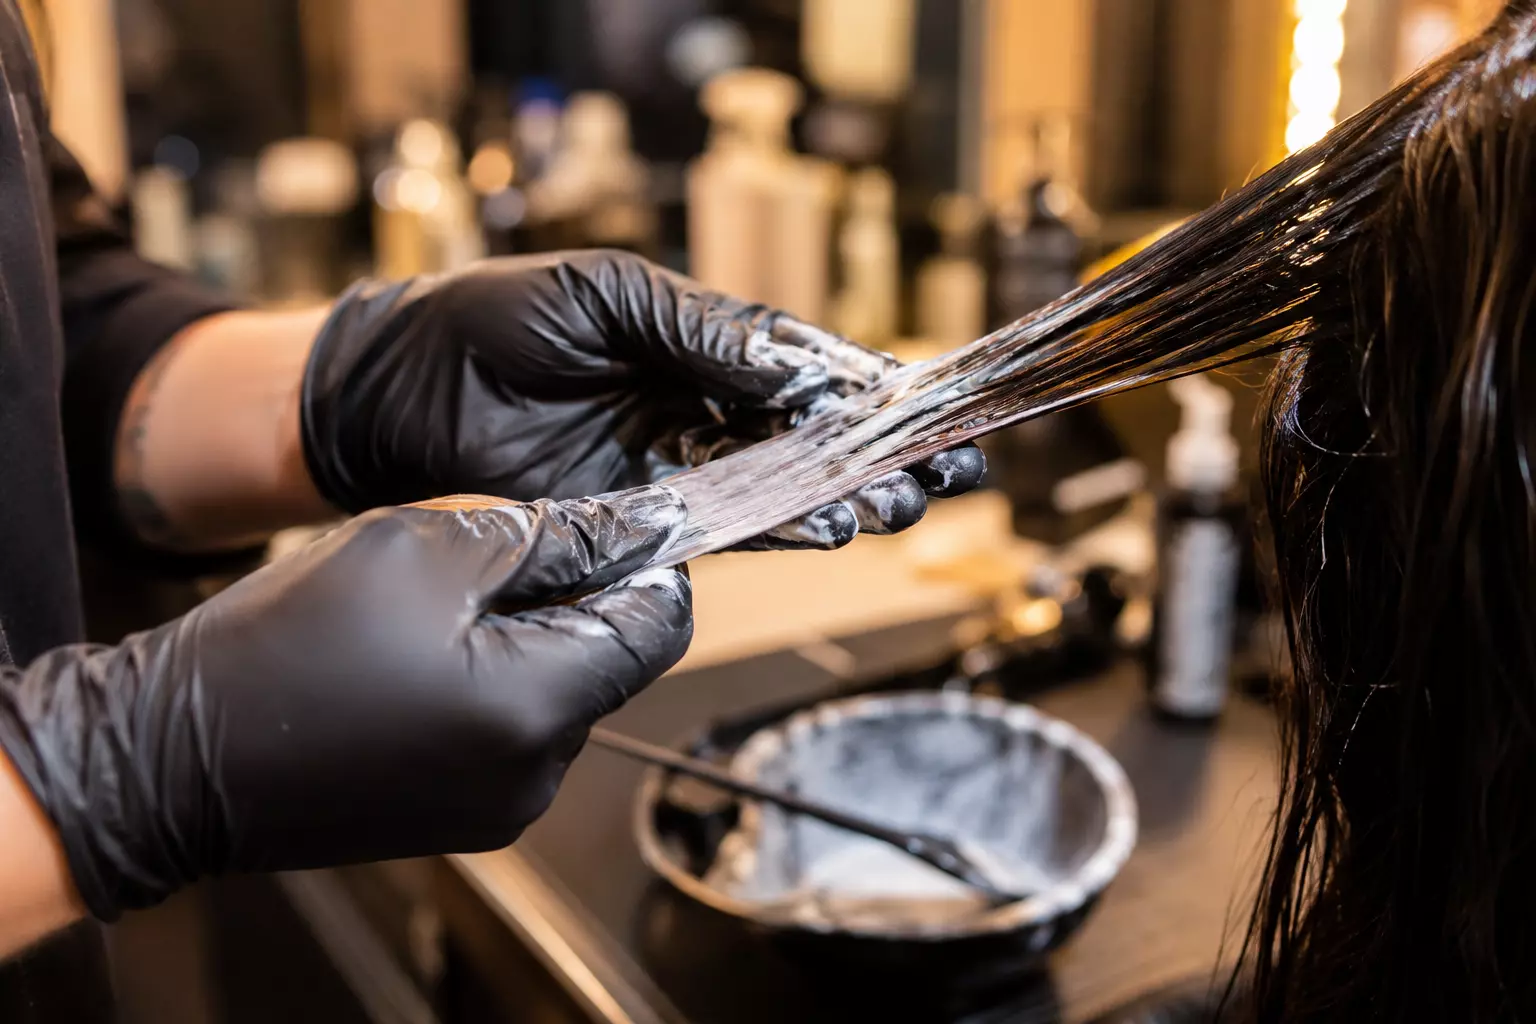
- Mix and apply according to the product directions — usually in sections from roots to ends.
- Cover with a processing cap and wait the recommended time (typically 20–45 minutes).
- Rinse thoroughly — and then rinse again. Most color removers require 10–20 minutes of rinsing to prevent color from re-oxidizing.
- Shampoo twice with a gentle, sulfate-free shampoo.
- Deep condition immediately with a protein-rich mask.
💡 Pro Tip: After using a color remover, your hair may oxidize back to an orange or brassy shade within 24–48 hours if not rinsed thoroughly enough. This is called color rebound — it’s not damage, but it is frustrating.
⚠️ Important Precautions
- Do not use color remover on hair that has been bleached — it won’t work and may cause unpredictable results.
- Avoid applying heat during processing unless the instructions specifically call for it.
- Always do a patch test on your skin 48 hours before using any chemical product.
When Bleach Is Necessary (And How to Minimize Damage)
Bleach should always be a last resort for dye removal. It works by oxidizing and dissolving both artificial and natural pigment, which makes it powerful — and potentially damaging.
Is Bleach Right for Your Situation?
Use bleach only if:
- You’re trying to go significantly lighter (more than 3 shades)
- Color remover has already been tried and failed
- A professional has assessed your hair’s current health
How to Bleach Responsibly
If bleach is necessary, these steps help minimize damage:
- Assess your hair’s porosity and health before starting. High-porosity or already-damaged hair is at serious risk of breakage.
- Use a lower-volume developer (10 or 20 volume) for a slower, gentler lift.
- Do not bleach more than once in a 2-week period.
- Apply Olaplex No. 1 or a bond-building additive directly to your bleach mixture.
- Watch the clock carefully — never leave bleach on longer than 45–50 minutes.
- Rinse with cool water to help close the cuticle.
💬 “I once made the mistake of double-processing my hair with bleach in the same week. The result was gummy, stretchy strands that snapped off at the slightest tension. It took six months of intensive care to recover. Please learn from my experience.”
Protecting and Rebuilding Hair Health During Dye Removal
This section might be the most important one in the entire guide. How you care for your hair before, during, and after removal determines whether you keep your length — or lose it.
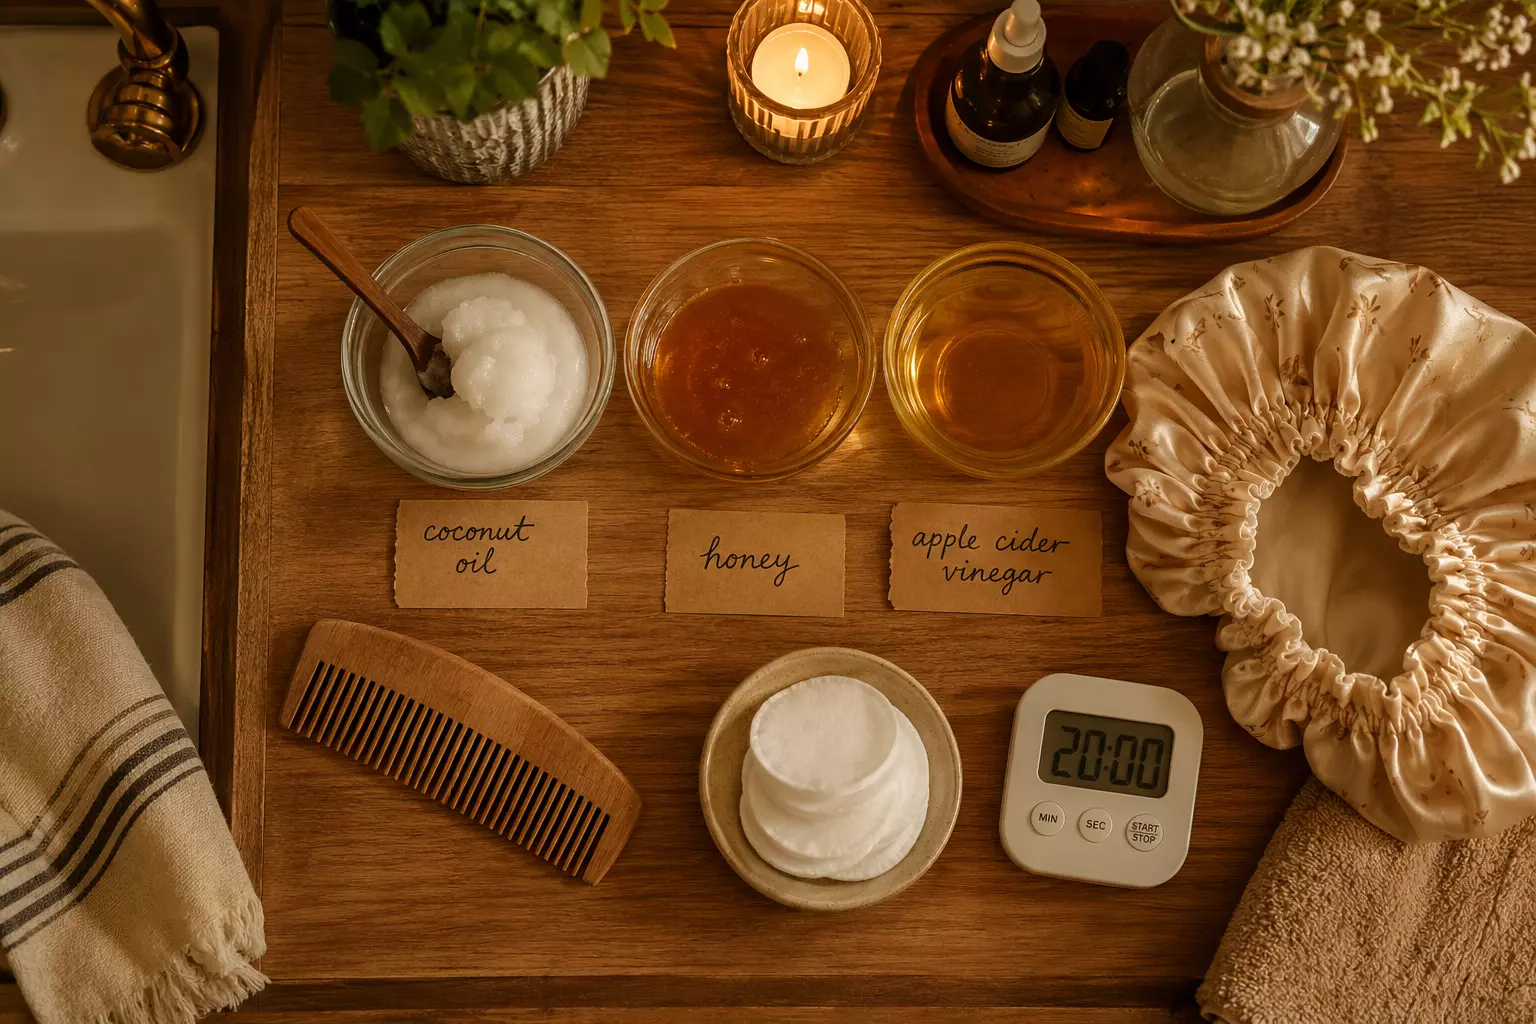
Before You Start: Prep Your Hair
- Deep condition 3–5 days before any chemical treatment to build up moisture reserves.
- Avoid heat styling for at least one week prior.
- Do a protein treatment if your hair feels limp or overly stretchy when wet.
During Removal: Protect the Cuticle
- Use a bond-building treatment (like Olaplex, K18, or Redken Acidic Bonding Concentrate) during any chemical process.
- Avoid overlapping chemical treatments on the same hair sections.
- Never exceed recommended processing times — more time does not mean better results.
After Removal: Rebuild and Restore
Your post-removal routine is where real recovery happens. Follow this protocol:
| Timeline | Treatment |
|---|---|
| Immediately after | Deep conditioning mask (leave on 20–30 min) |
| Day 1–3 | No heat styling, gentle detangling only |
| Week 1 | Daily leave-in conditioner + hair oil |
| Week 2 | Protein treatment (if hair feels weak) |
| Ongoing | Weekly deep conditioning until hair feels normal |
Best ingredients to look for in post-treatment products:
- 🥥 Coconut oil — penetrates the shaft to reduce protein loss
- 🥑 Avocado oil — rich in fatty acids that seal the cuticle
- 🌿 Keratin — rebuilds structural protein in damaged hair
- 💧 Hyaluronic acid — draws moisture into the hair shaft
Knowing When to Call a Professional
Sometimes, the safest thing you can do is put down the box and call your colorist. Here are the situations where professional help is not just recommended — it’s essential.
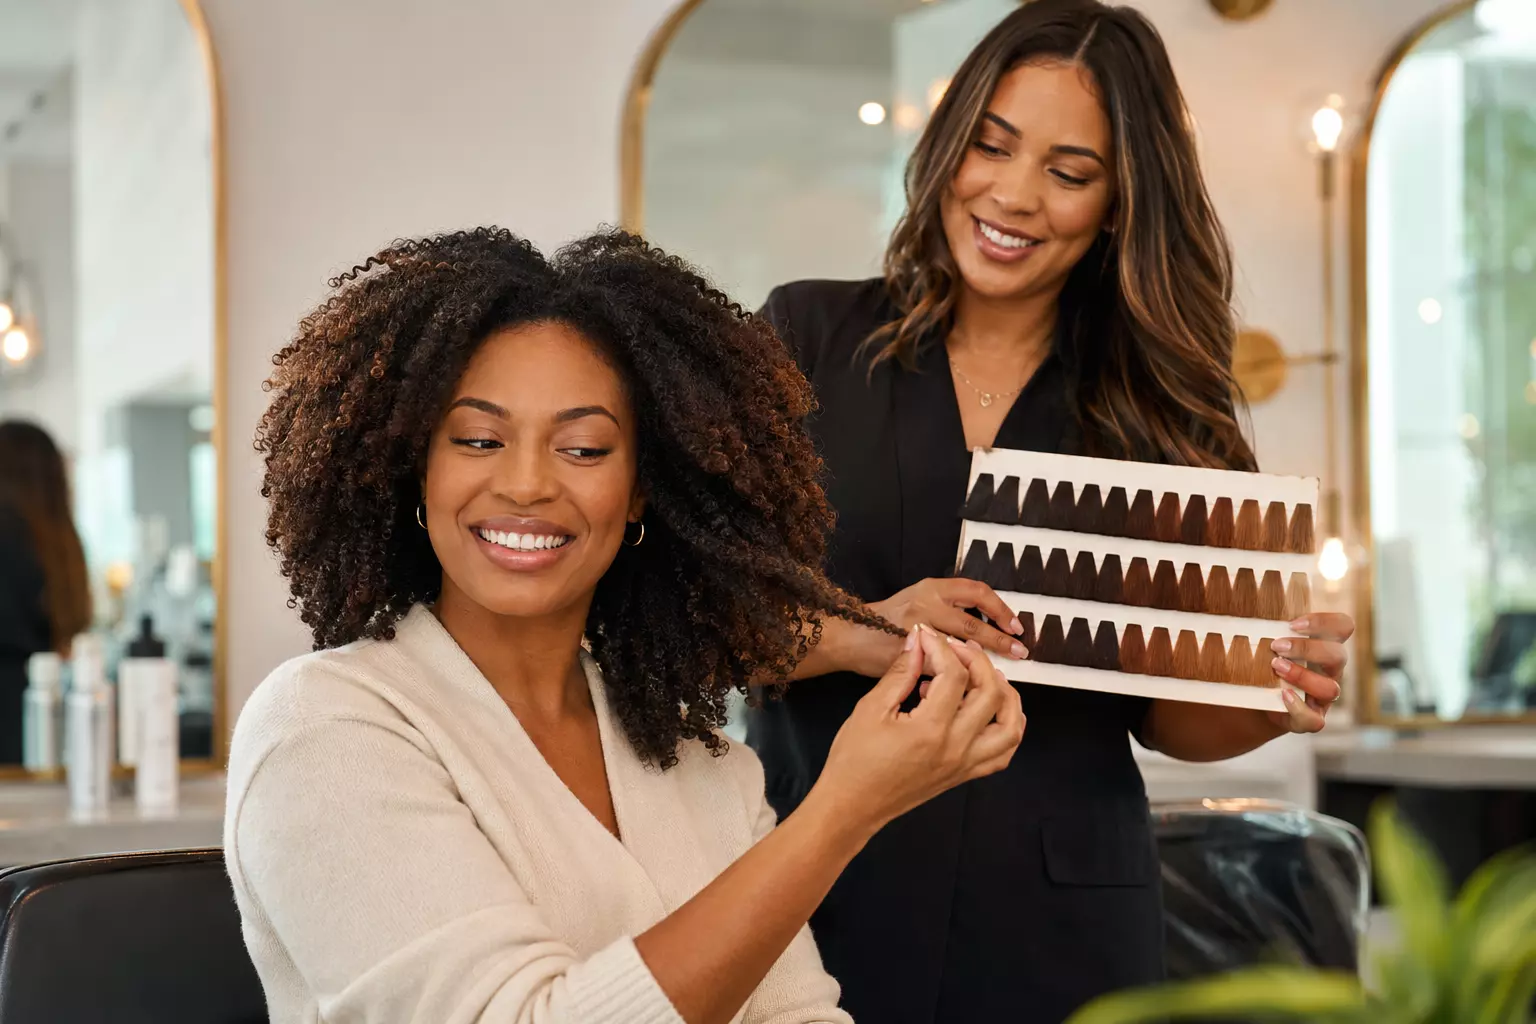
Signs You Need a Professional
- ✂️ Your hair snaps or breaks when you gently stretch a wet strand
- 🎨 You’ve already used a color remover and the result is uneven or unpredictable
- 💛 You need to go from very dark to very light (more than 4 levels of lift)
- 🔁 You’ve colored your hair multiple times in a short period
- 🧪 You’ve mixed different chemical treatments (relaxers + dye, for example)
What to Tell Your Stylist
Walk in prepared. Tell your colorist:
- Every product you’ve used on your hair in the past 6 months
- Whether you’ve used box dye or salon color
- What your current goal is (shade, tone, texture)
- Any reactions or sensitivity you’ve experienced
A good stylist will do a strand test and elasticity test before touching your hair with chemicals. If they don’t, consider finding someone who does.
💡 Pull Quote: “A professional color correction in 2026 can cost anywhere from $150 to $600+ depending on your location and the complexity of the work. Investing in a consultation first can save you from a much more expensive fix later.”
How to Remove Hair Dye Safely Without Damaging Your Hair: A Complete Method Comparison
To make your decision easier, here’s a full side-by-side comparison of every method covered in this guide:
| Method | Dye Types | Damage Risk | Cost | Time Needed |
|---|---|---|---|---|
| Clarifying Shampoo | Temp, Semi | Very Low | $ | 30 min |
| Vitamin C Treatment | Semi, Demi | Low | $ | 1–2 hrs |
| Baking Soda + Shampoo | Semi, Demi | Low–Moderate | $ | 30–45 min |
| Apple Cider Vinegar | Semi | Very Low | $ | 10 min |
| Chemical Color Remover | Permanent | Moderate | $$ | 1–2 hrs |
| Bleach | All (last resort) | High | $$–$$$ | 2–4 hrs |
| Professional Correction | All | Managed | $$$$ | 3–6 hrs |
Conclusion: Your Next Steps Toward Healthier, Dye-Free Hair
Removing hair dye doesn’t have to mean sacrificing the health of your hair. The key is matching the right method to your dye type, being patient with the process, and never skipping the aftercare.
Here’s your action plan:
- Identify your dye type (temporary, semi, demi, or permanent) before choosing a method.
- Start with the gentlest option — clarifying shampoo or vitamin C — and escalate only if needed.
- Use a chemical color remover before ever considering bleach for permanent dye removal.
- Prioritize hair health at every stage — deep condition before, during, and after.
- Know your limits. If your hair is already compromised or the color correction is complex, book a professional consultation.
Your hair is resilient, but it needs the right support to bounce back. Take it one step at a time, give your strands the care they deserve, and you’ll get to your goal color — without the damage.