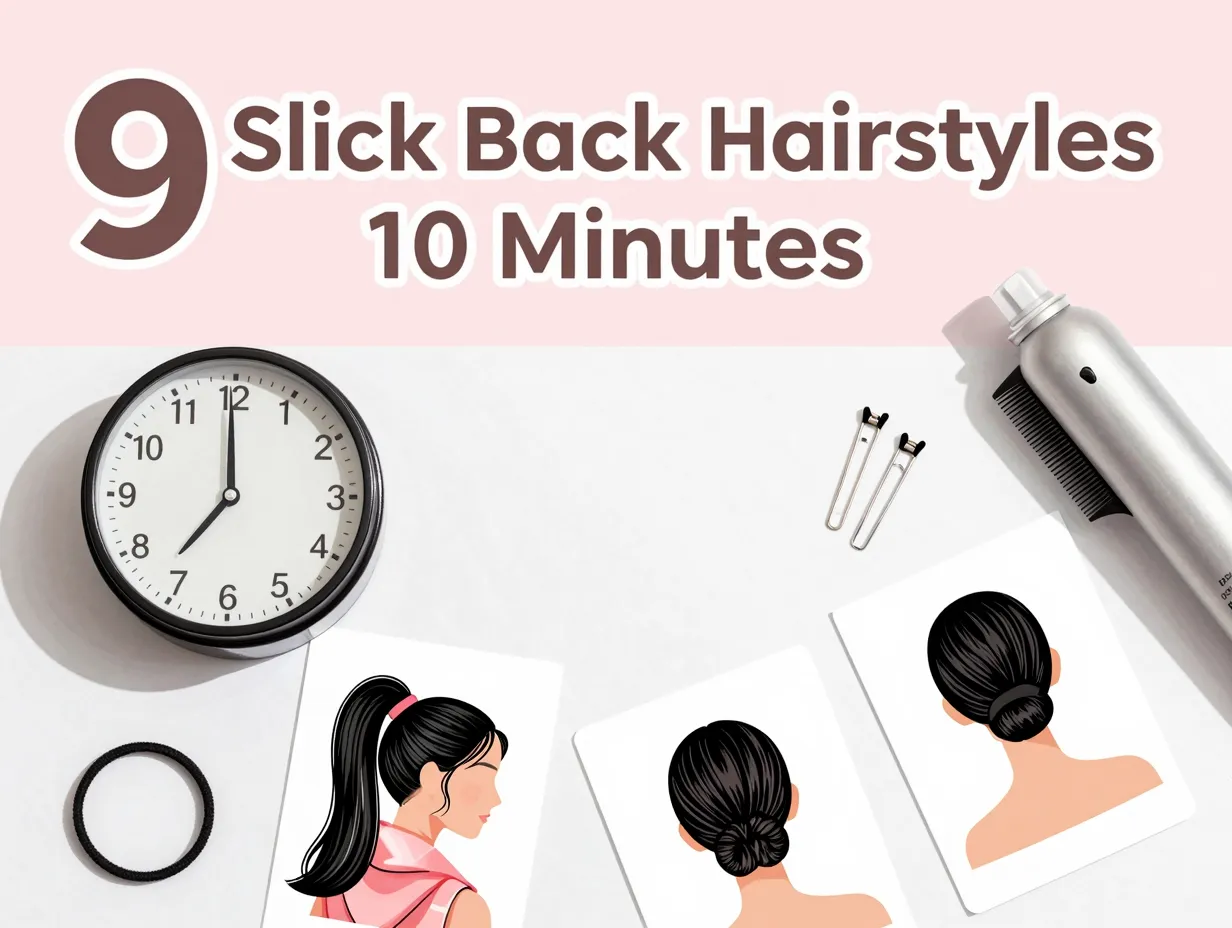
9 Cute & Easy Slick Back Hairstyles You Can Do in 10 Minutes
A 2026 survey by the Professional Beauty Association found that over 68% of women skip hairstyling on busy mornings — not because they don’t care, but because they simply don’t have the time. That stat hit close to home for me. The good news? The 9 cute & easy slick back hairstyles you can do in 10 minutes covered in this guide prove that effortlessly polished hair doesn’t require an hour in front of the mirror.
Slicked-back styles have surged back into mainstream beauty culture, driven by TikTok’s clean aesthetic movement and the Y2K revival [1]. Whether you have curly coils, a short pixie, or long straight strands, there is a slick-back look that works for your hair type, face shape, and schedule. This guide walks you through nine specific styles — each achievable in under ten minutes — with product tips, technique breakdowns, and expert-backed advice.
Key Takeaways
- ✅ All 9 cute & easy slick back hairstyles in this guide take 10 minutes or less to achieve
- ✅ Slicked-back styles work on all hair textures — straight, wavy, curly, and coily [2]
- ✅ Day-old or “dirty” hair is actually ideal for slicking back — natural oils help hold the style [1]
- ✅ The right product (gel, mousse, or putty) makes the difference between a polished look and a frizzy one
- ✅ These styles are flattering for oval, round, and diamond face shapes [2]
Why Slicked-Back Hairstyles Are the Ultimate Time-Saver in 2026
Before diving into the styles themselves, it helps to understand why slick-back looks have become the go-to choice for busy mornings, wash days, and last-minute events.
💬 “The slicked-back look is one of the few hairstyles that looks intentional even when it’s done in a rush.” — Rank and Style [2]
Three reasons slick-back styles dominate quick styling:
- They require minimal tools — a comb, some gel, and your hands
- They actually look better on hair that hasn’t been freshly washed [1]
- They work across hair lengths, textures, and face shapes [2]
There are also 33+ comprehensive tutorial guides available online covering every variation imaginable [8], which means you’ll never run out of inspiration.
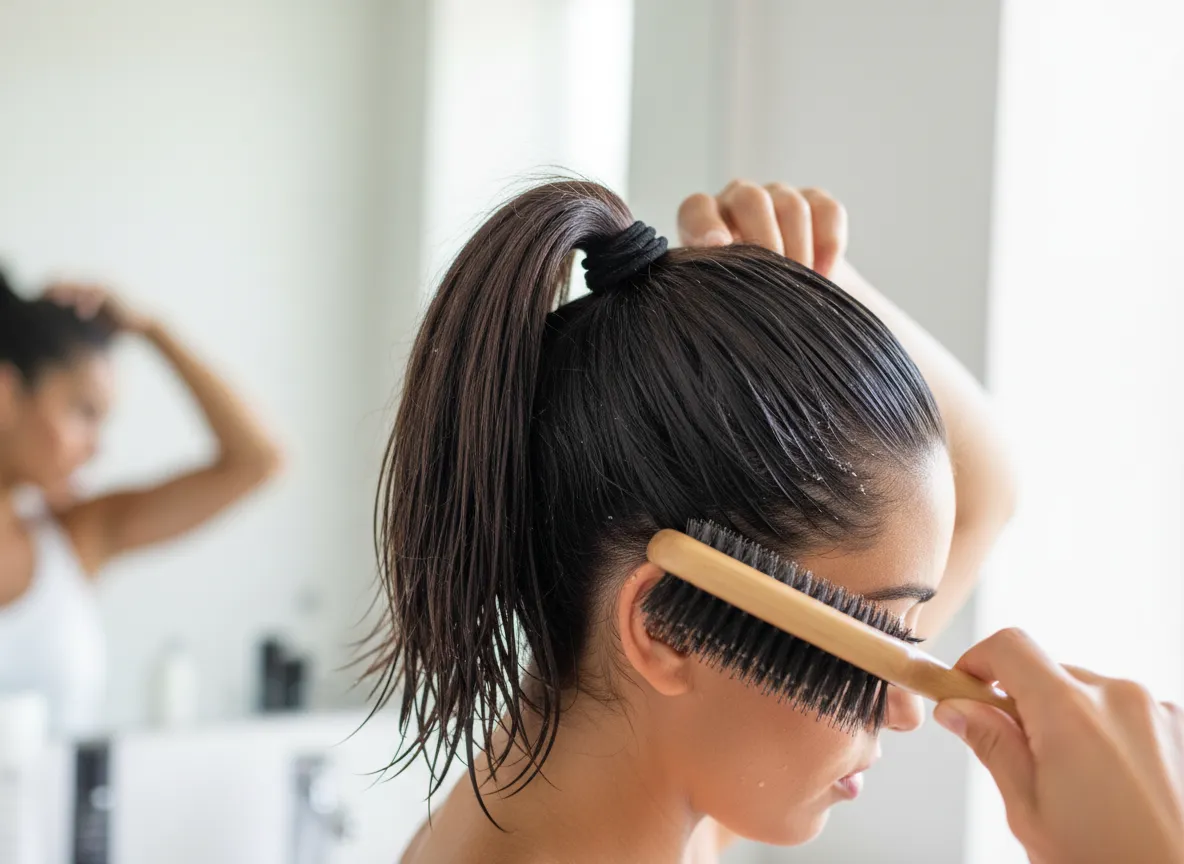
The Basic Technique (Master This First)
Before you try any of the nine styles, nail this foundation:
| Step | Action | Time |
|---|---|---|
| 1 | Lightly dampen hair with water | 1 min |
| 2 | Apply gel or mousse evenly from roots to ends | 2 min |
| 3 | Use a fine-tooth comb to slick hair straight back | 2 min |
| 4 | Shape into your chosen style | 3–4 min |
| 5 | Finish with glossing spray for shine and hold | 1 min |
Pro tip: Skip the shampoo. Hair with natural oils from day four or five actually grips product better and holds a slick style longer [1].
9 Cute & Easy Slick Back Hairstyles You Can Do in 10 Minutes
Here are the nine styles, ranked from simplest to slightly more involved — though none exceed that 10-minute mark.
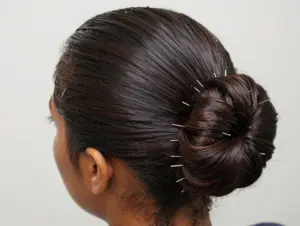
1. Classic Slicked-Back Low Bun
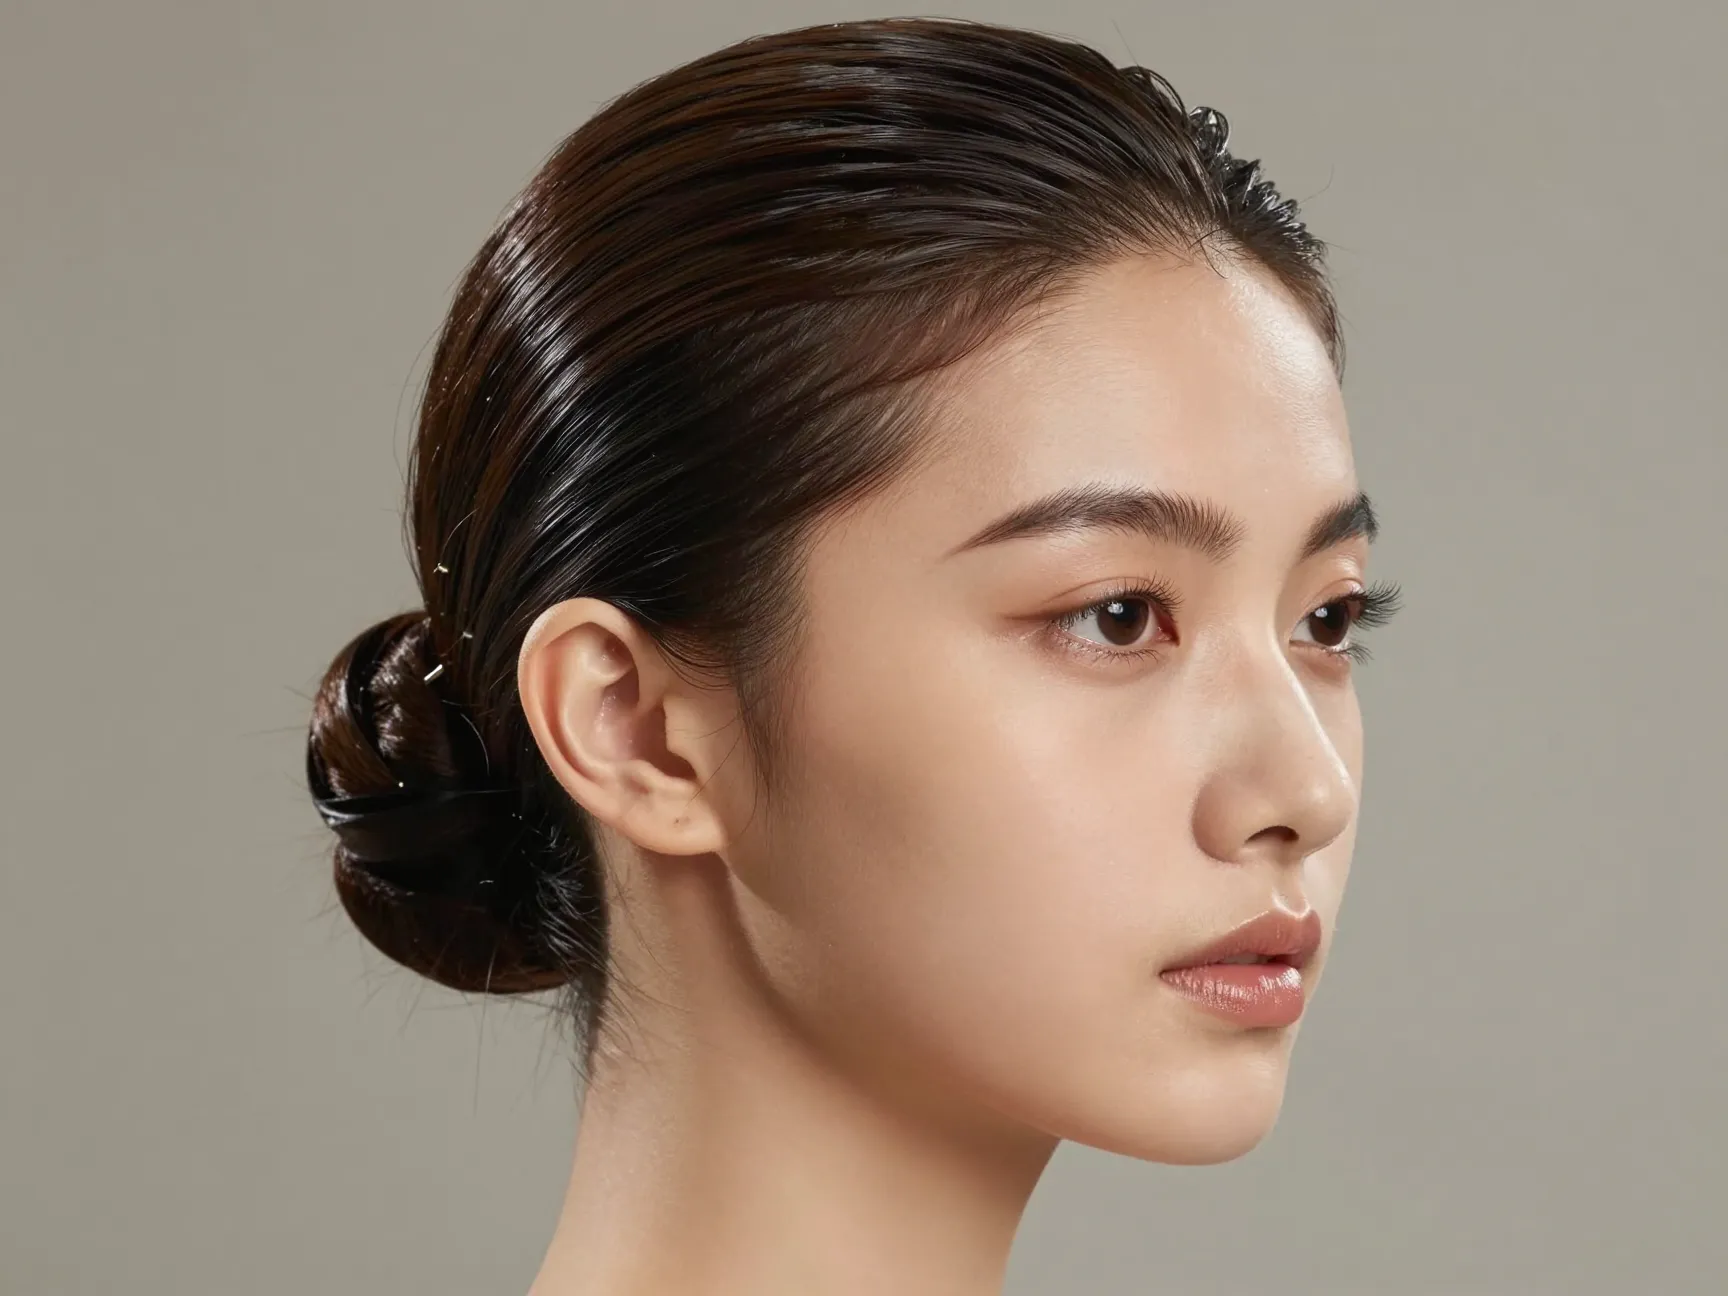
The low bun is the style that launched a thousand TikTok tutorials. It’s clean, elegant, and works on almost every hair length from mid to long [1].
What you need: Hair gel (high-hold), fine-tooth comb, hair tie, bobby pins
How to do it:
- Start with lightly damp or day-old hair
- Apply a generous amount of high-shine gel from the hairline back
- Comb all hair straight back, smoothing flyaways as you go
- Gather into a low ponytail at the nape of the neck
- Twist into a bun and secure with bobby pins
- Spray with glossing spray for a lacquered finish
⏱️ Time: 7–9 minutes
Best for: Oval, round, and heart face shapes. This style also works beautifully as a wash-day hack — it conceals greasy roots while looking completely intentional [1].
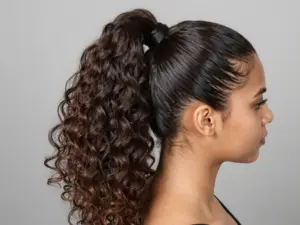
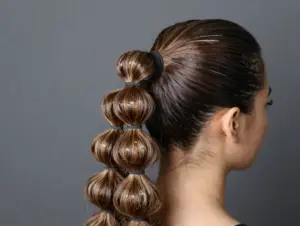
2. Sleek High Ponytail
The sleek high ponytail is a power move. It lifts the face, elongates the neck, and communicates confidence without trying too hard.
What you need: Strong-hold gel, boar bristle brush or fine-tooth comb, hair tie
How to do it:
- Apply gel through damp hair, working from front to back
- Use a boar bristle brush to smooth all hair upward toward the crown
- Secure tightly with a hair tie at the top of the head
- Wrap a small section of hair around the tie to conceal it
- Seal with a light spritz of hairspray
⏱️ Time: 6–8 minutes
Best for: All hair textures. For natural hair, apply extra gel at the edges and use an edge brush for a polished finish [1].
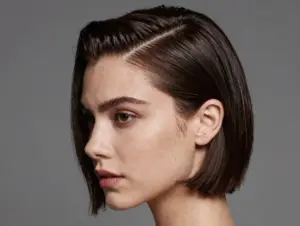
3. Slicked-Back Bob (Short Hair Special)
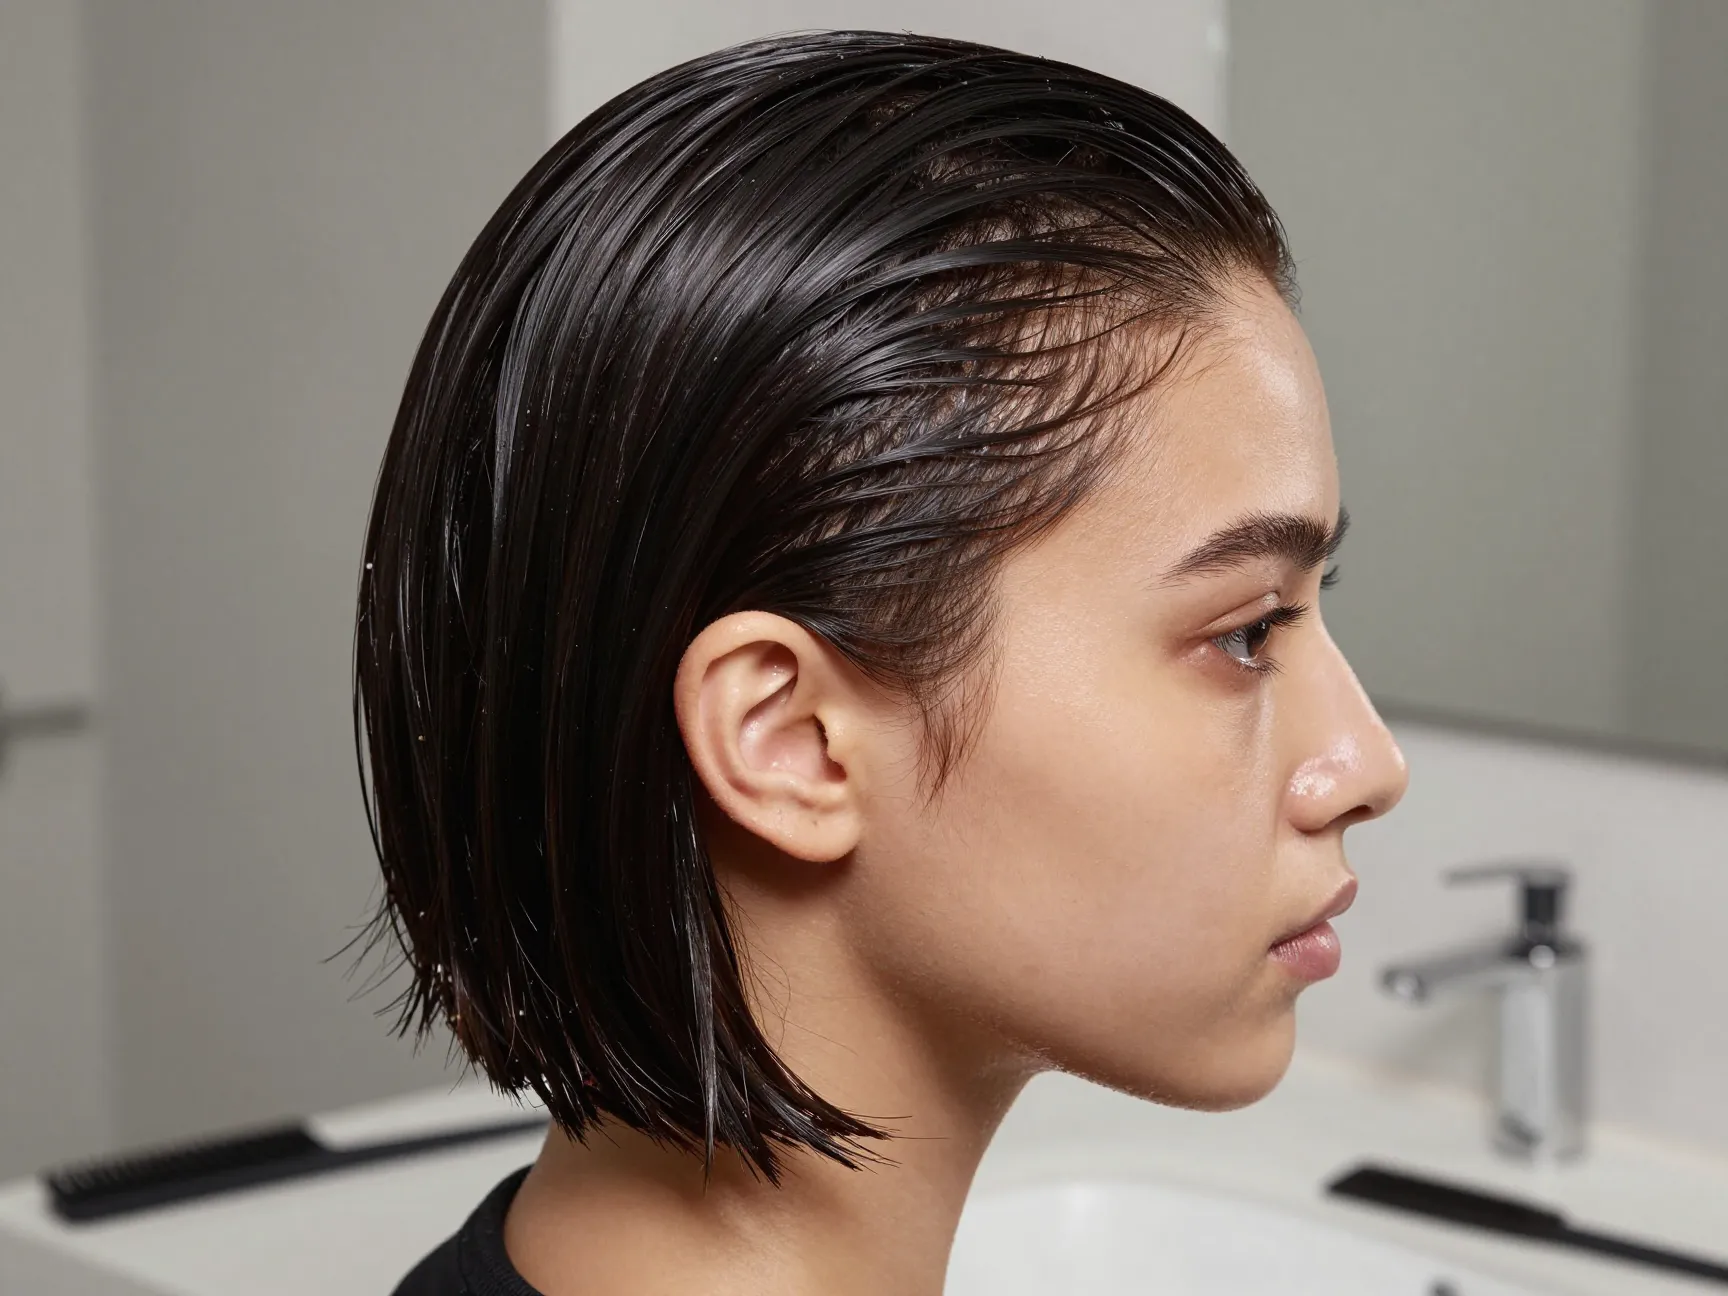
Short hair? No problem. The slicked-back bob is an ultra-chic option for anyone with a chin-length cut who wants to keep hair off their face without sacrificing style [1].
What you need: L’Oréal Paris Studio Line Mega Gel (or similar high-shine gel), fine-tooth comb
How to do it:
- Dampen hair slightly with a spray bottle
- Apply gel generously from roots to ends
- Comb all hair straight back, tucking ends behind the ears
- Use fingertips to press any loose strands flat
- Finish with a glossing spray
⏱️ Time: 5–7 minutes
💡 Quick tip: L’Oréal Paris Studio Line Mega Gel is specifically formulated for high-shine slicked finishes and speeds up styling time significantly [1].
Best for: Bob-length hair, straight to wavy textures, oval and square face shapes.
4. Slick Pixie Cut with Side Sculpt
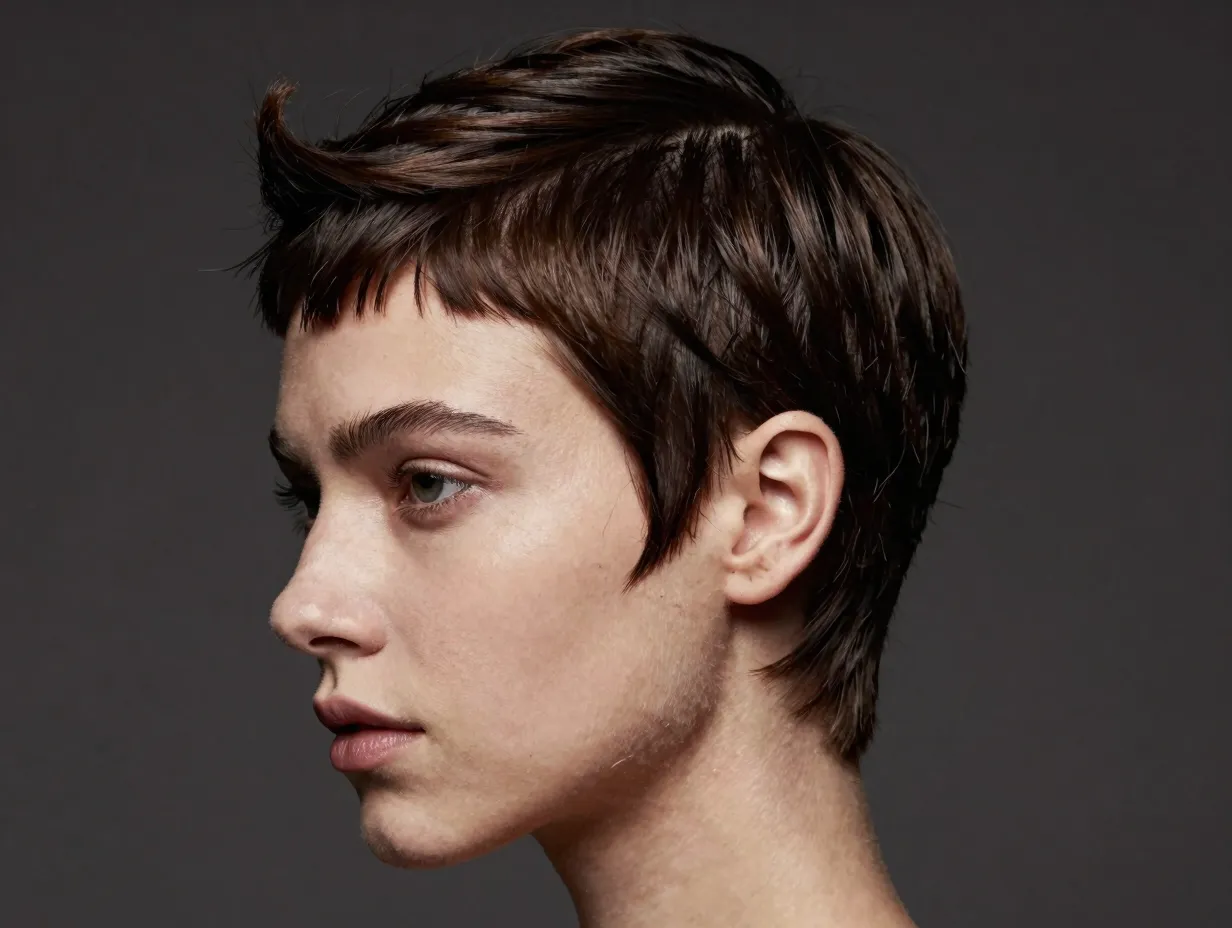
The slick pixie takes the classic pixie cut and transforms it into a sculptural, editorial look using a side part and directional styling [1].
What you need: Fine-tooth comb, strong-hold gel or pomade, edge brush
How to do it:
- Create a deep side part using a comb
- Apply gel to both sides of the part
- Comb the larger section of hair in the opposite direction of the part (toward the side with less hair)
- Use the edge brush to sculpt and define the hairline
- Press strands flat and allow to set for 2–3 minutes
⏱️ Time: 7–10 minutes
Best for: Pixie cuts, fine to medium hair, diamond and oval face shapes. This look photographs exceptionally well and works for both casual and formal settings.
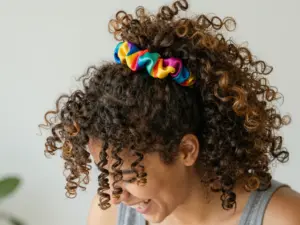
5. Slicked-Back Crown with Natural Curl Puff
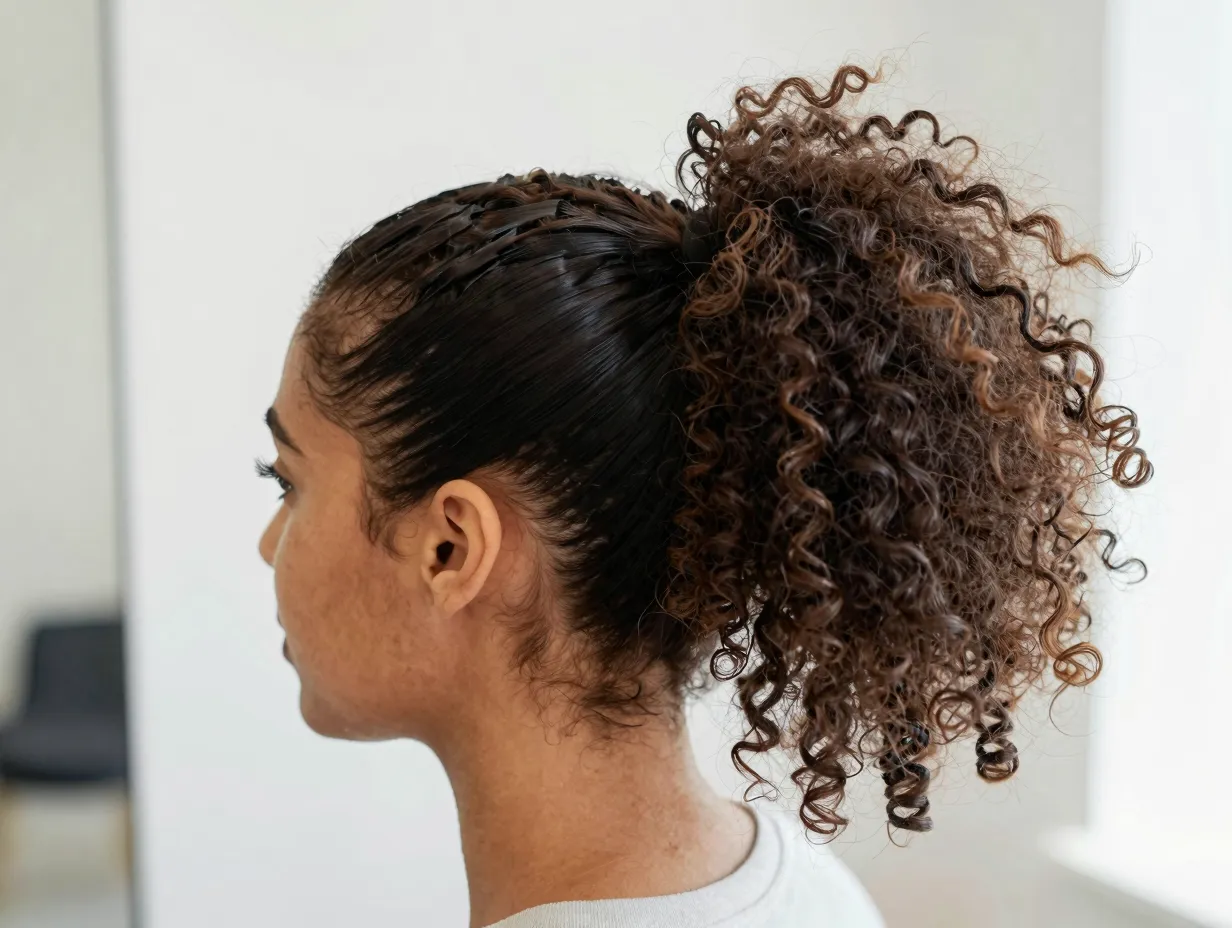
This style is a game-changer for curly and coily hair types. It combines the sleekness of a slicked crown with the volume and bounce of natural curls at the back [1].
What you need: Curl-defining gel, edge brush, hair tie
How to do it:
- Apply gel to the crown section from the hairline to the ear line
- Use an edge brush to smooth and sculpt the crown flat
- Gather hair into a high ponytail, leaving curls loose and textured
- Fluff the curl puff for volume
- Define edges with the brush for a clean finish
⏱️ Time: 8–10 minutes
Best for: Type 3 and Type 4 natural hair. This style celebrates curl texture while delivering the polished slick-back aesthetic [2].
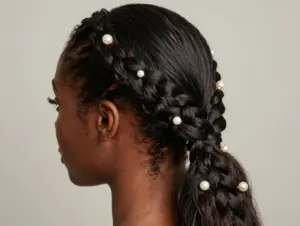
6. Slick Bun with Baby Braid Accents
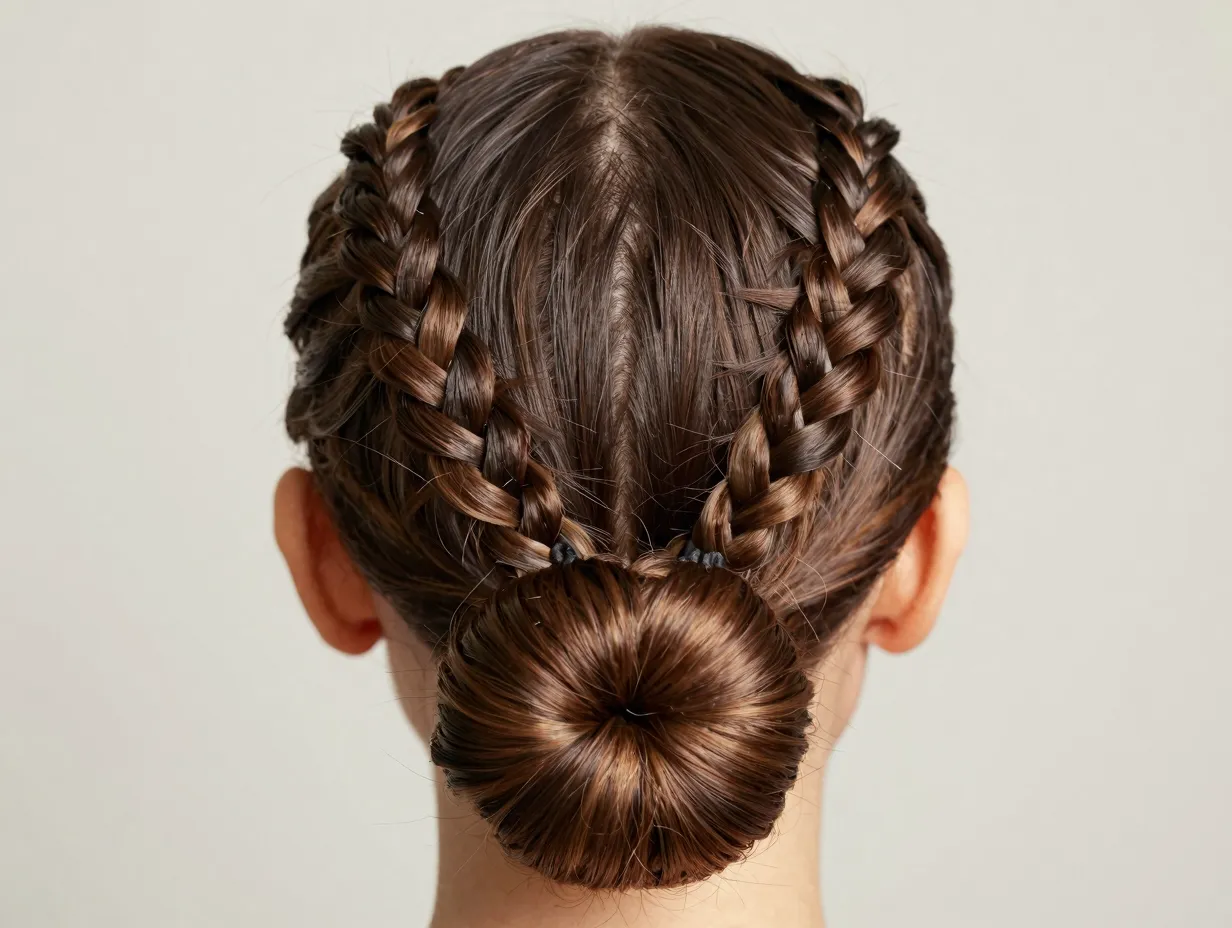
This style adds a decorative twist (literally) to the classic slick bun by incorporating tiny braids along the hairline [1].
What you need: High-hold gel, fine-tooth comb, small hair elastics, bobby pins
How to do it:
- Create a middle part from the forehead to the crown
- Section off a quarter-inch of hair on each side of the part at the hairline
- Braid each small section into a baby braid, directing them downward along the hairline
- Secure each braid with a tiny elastic
- Apply gel to the rest of the hair and slick it all back into a low bun
- Tuck the braids into the bun or let them frame the face
⏱️ Time: 9–10 minutes
Best for: Medium to long hair, all textures. This style works especially well for special occasions when you want something that looks more elaborate than it actually is.
7. Half-Up Slick with Loose Waves
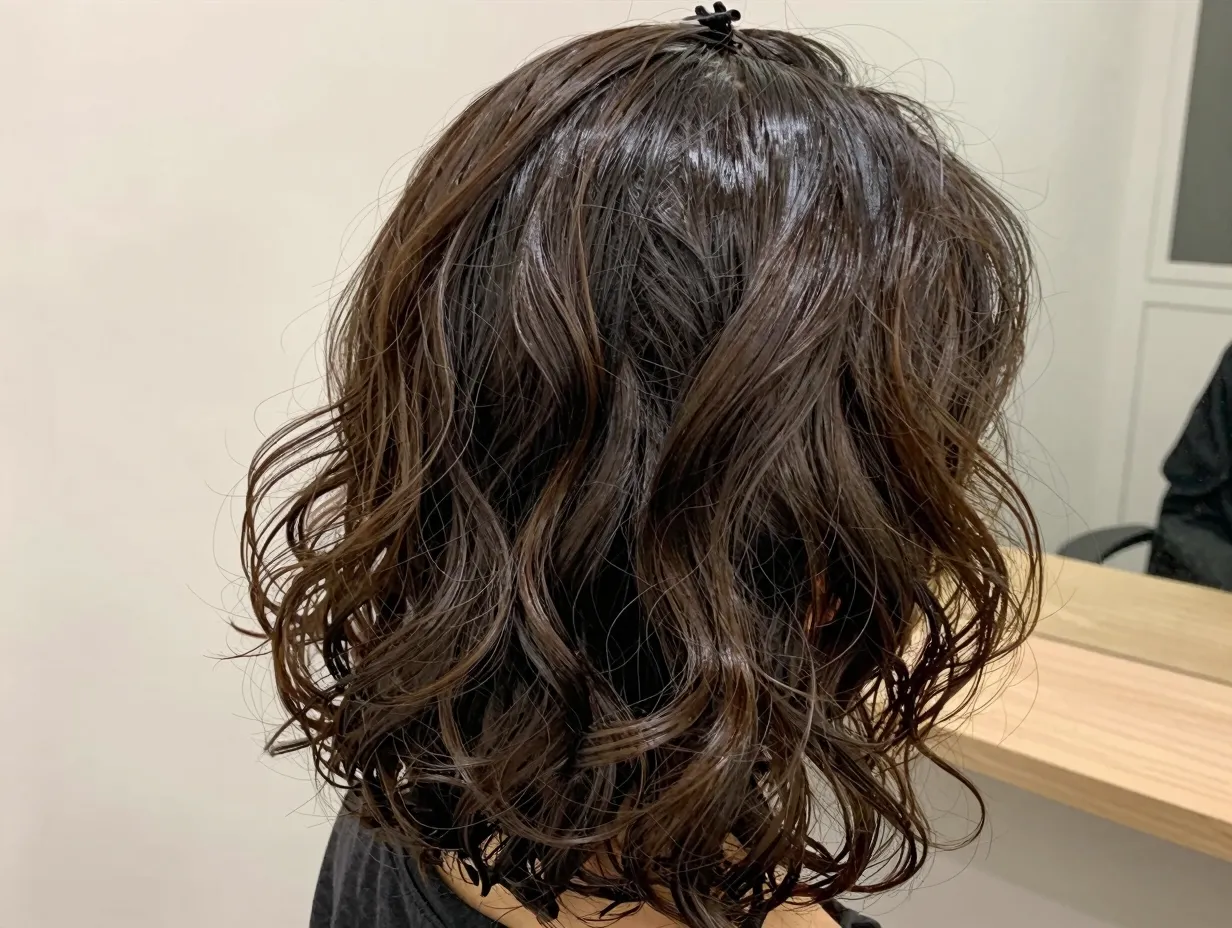
Not everyone wants a fully slicked look. The half-up slick gives you the best of both worlds — a polished crown with loose, effortless waves or curls falling below [2].
What you need: Light-hold gel or mousse, comb, small hair clip or tie
How to do it:
- Apply mousse to the top section of hair from the hairline to the crown
- Comb the top section straight back and secure with a clip or tie at the crown
- Leave the bottom section loose and natural
- Use fingers to scrunch or define the lower section’s texture
- Finish with a light glossing spray on the slicked section only
⏱️ Time: 6–8 minutes
💬 “This style is perfect for those days when you want polish on top but don’t want to commit to a full updo.”
Best for: Wavy and curly hair, medium to long lengths, all face shapes.
8. Slicked-Back Textured Ponytail for Natural Hair
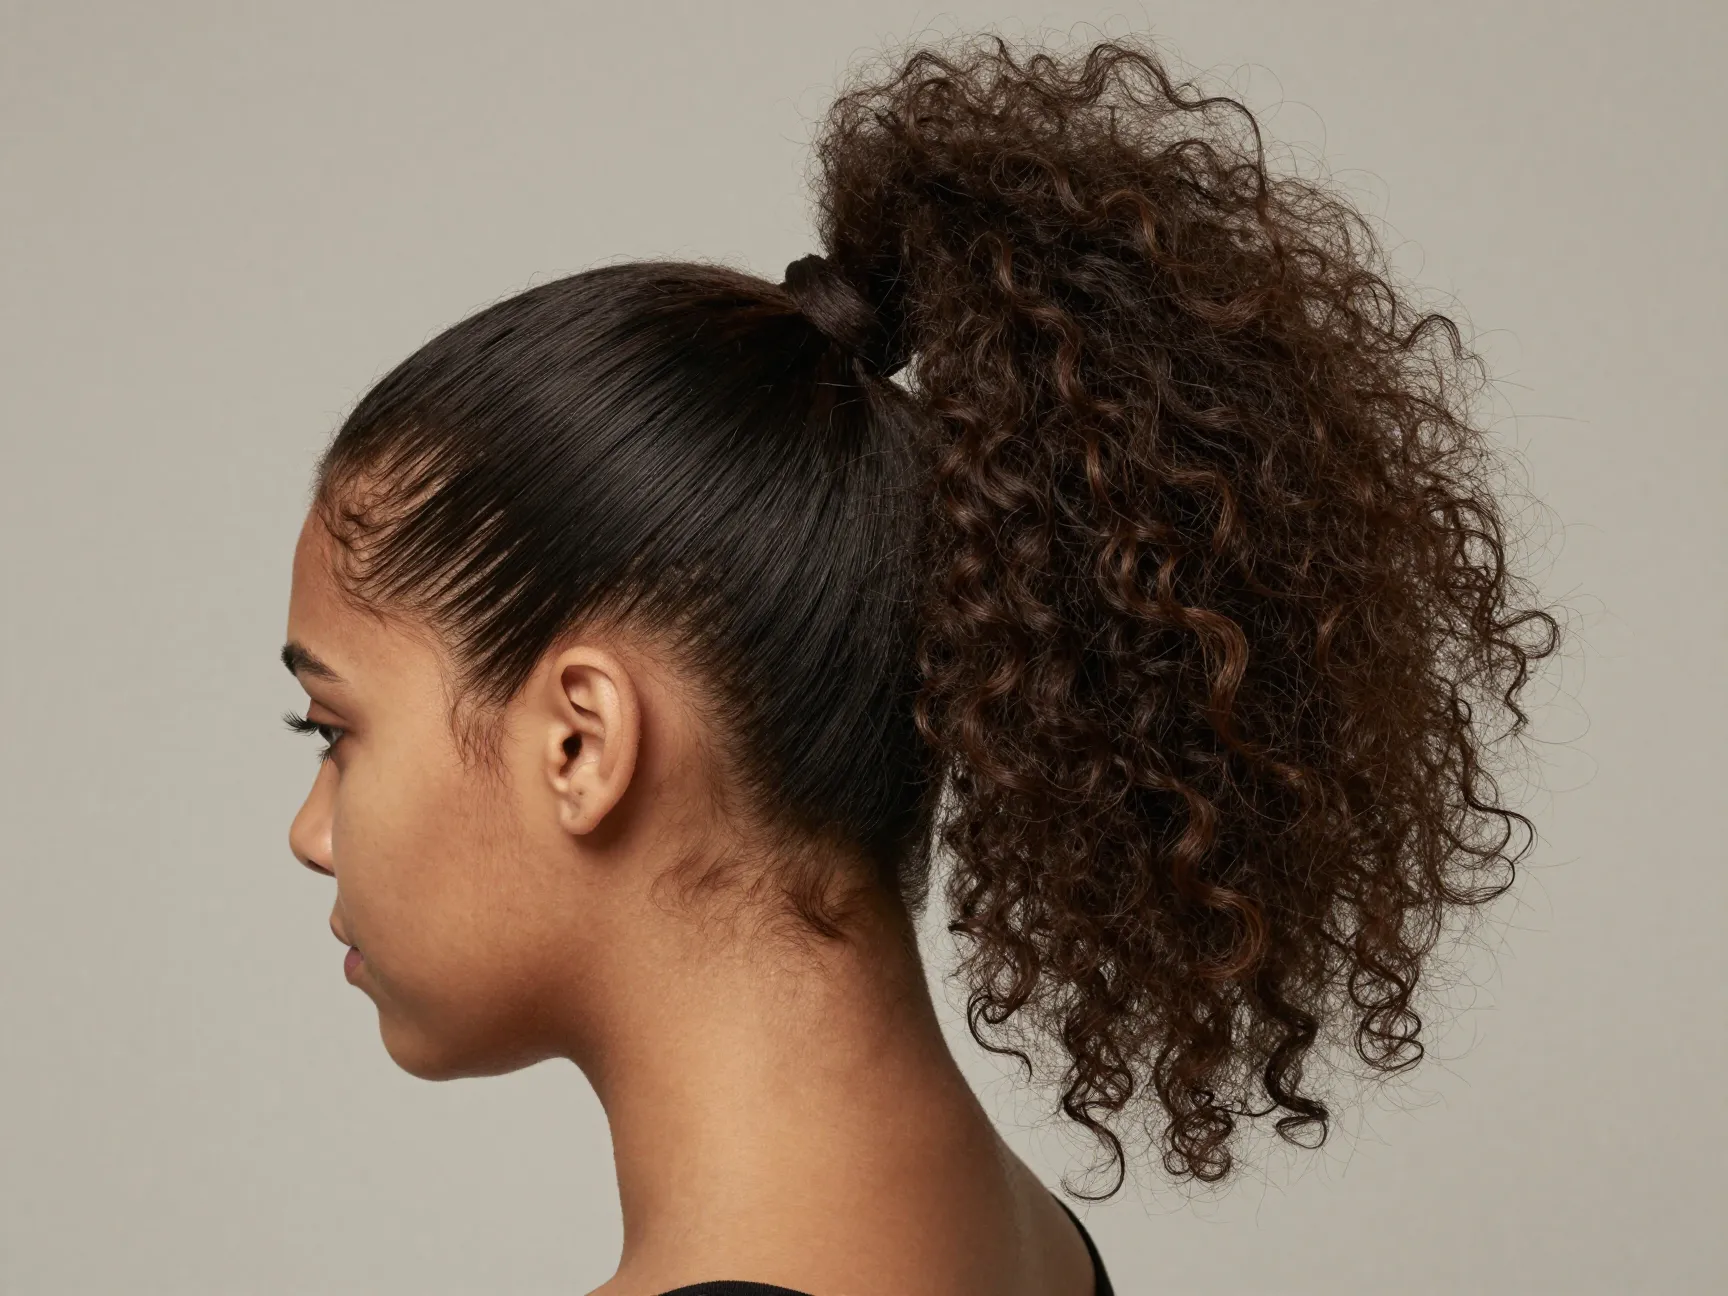
This variation takes the standard ponytail and elevates it by combining sculpted sides with a textured, voluminous tail — a technique that works beautifully on natural hair [2].
What you need: Curl gel, edge control product, edge brush, hair tie
How to do it:
- Apply edge control to the sides and front hairline
- Use an edge brush to smooth and define the edges in swirling or wave patterns
- Apply curl gel to the rest of the hair
- Pull all hair back into a mid or high ponytail
- Fluff and stretch the ponytail for volume
- Let the edges set for 2–3 minutes before leaving
⏱️ Time: 8–10 minutes
Best for: Type 3 and Type 4 natural hair. This style has become a staple in natural hair communities for its balance of structure and texture [2].
9. Side-Swept Slick with Glossy Finish
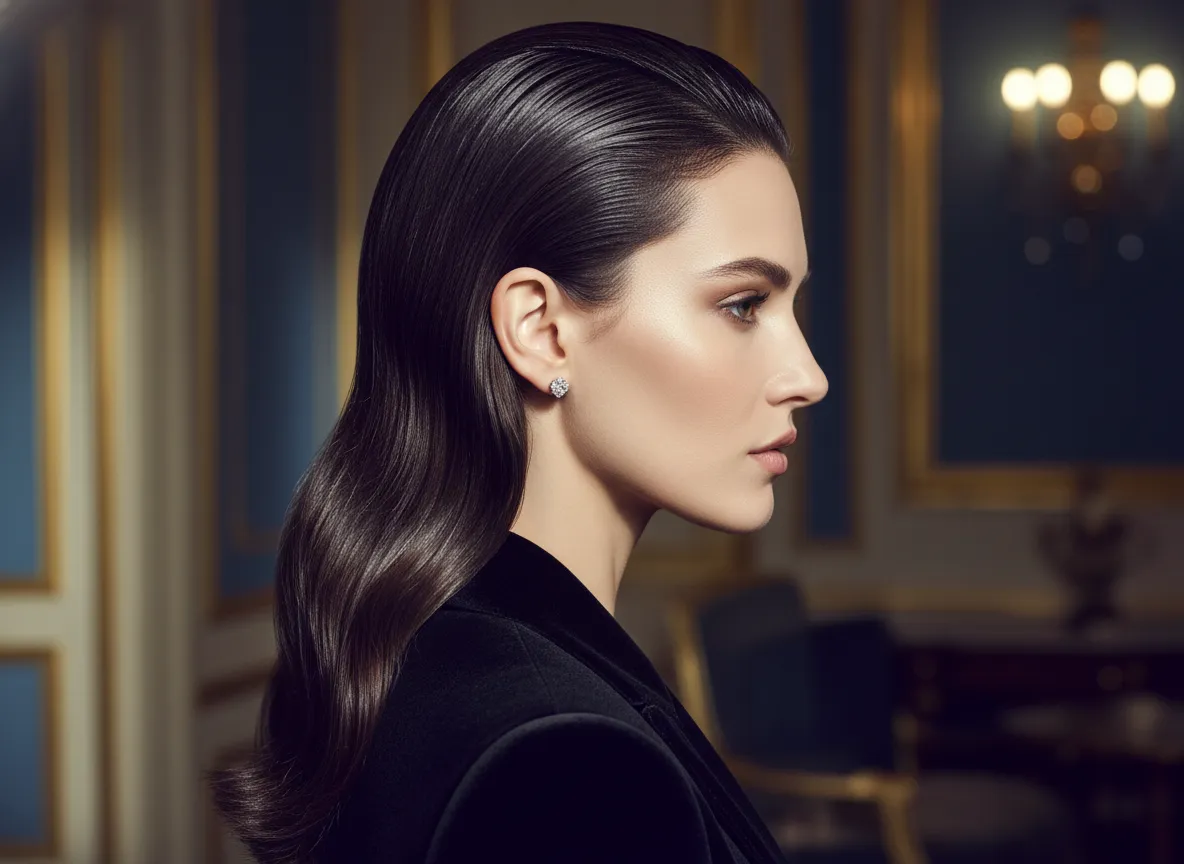
The side-swept slick is the most glamorous of the nine styles and still clocks in under 10 minutes. It’s directional, dramatic, and surprisingly easy [2].
What you need: L’Oréal Paris Studio Line Overworked Hair Putty or strong-hold gel, fine-tooth comb, glossing spray
How to do it:
- Apply putty or gel evenly through damp hair
- Use a comb to direct all hair to one side — either left or right
- Smooth the hair flat against the head, tucking it behind the ear on the swept side
- Allow the ends to fall naturally or tuck them under for a sleeker finish
- Finish generously with glossing spray for a high-shine, lacquered look
⏱️ Time: 6–9 minutes
💡 Product note: L’Oréal Paris Studio Line Overworked Hair Putty provides subtle texture with a matte finish, which works well if you prefer a less shiny look for this style [1].
Best for: Straight to wavy hair, all lengths, oval and oblong face shapes. This is the style to reach for before a dinner date or a last-minute work presentation.
Quick Reference: All 9 Styles at a Glance
| # | Style | Best Hair Type | Time | Difficulty |
|---|---|---|---|---|
| 1 | Classic Low Bun | All types | 7–9 min | ⭐ Easy |
| 2 | Sleek High Ponytail | All types | 6–8 min | ⭐ Easy |
| 3 | Slicked-Back Bob | Short, straight-wavy | 5–7 min | ⭐ Easy |
| 4 | Slick Pixie Sculpt | Short, fine-medium | 7–10 min | ⭐⭐ Medium |
| 5 | Crown + Curl Puff | Curly, coily | 8–10 min | ⭐⭐ Medium |
| 6 | Bun with Baby Braids | Medium-long, all | 9–10 min | ⭐⭐ Medium |
| 7 | Half-Up Slick | Wavy, curly | 6–8 min | ⭐ Easy |
| 8 | Textured Natural Ponytail | Natural hair | 8–10 min | ⭐⭐ Medium |
| 9 | Side-Swept Slick | Straight-wavy | 6–9 min | ⭐ Easy |
Product Guide: What to Use for Each Style
Choosing the right product is half the battle. Here’s a quick breakdown:
For high-shine, sculpted styles (Styles 1, 2, 3, 9):
- Use a strong-hold, high-shine gel like L’Oréal Paris Studio Line Mega Gel [1]
- Apply to damp hair for maximum control and shine
For textured or matte finishes (Styles 4, 7):
- Use L’Oréal Paris Studio Line Overworked Hair Putty for subtle texture with a matte finish [1]
- Best applied to dry or slightly damp hair
For natural and curly hair styles (Styles 5, 8):
- Use a curl-defining gel combined with an edge control product
- Apply in sections for even distribution [2]
For styles with braids or intricate detailing (Style 6):
- Use a medium-to-strong hold gel that won’t flake
- Apply to small sections before braiding for best results
Tips for Making Slick-Back Styles Last All Day
Even the best style can fall apart by noon if you skip these steps:
- Don’t skip the glossing spray — it seals the style and adds longevity [2]
- Use day-old hair when possible — natural oils act as a natural pomade and improve hold [1]
- Carry a travel-size gel or edge control for touch-ups throughout the day
- Sleep with a silk scarf or bonnet to preserve the style overnight
- Avoid touching your hair — oils from your hands break down product faster
Face Shape Guide: Which Style Suits You Best?
| Face Shape | Best Styles | Why It Works |
|---|---|---|
| Oval | All 9 styles | Most versatile shape — almost anything works [2] |
| Round | Low Bun, High Ponytail, Side-Swept | Adds height and elongates the face [2] |
| Diamond | Slick Pixie, Half-Up Slick | Softens angular cheekbones |
| Heart | Low Bun, Textured Ponytail | Balances wider forehead |
| Oblong | Side-Swept, Half-Up | Adds width, prevents elongation |
Conclusion: Your 10-Minute Hair Transformation Starts Now
The 9 cute & easy slick back hairstyles you can do in 10 minutes covered in this guide prove one thing clearly: great hair doesn’t require great amounts of time. From the classic low bun that hides a greasy wash day to the sculptural slick pixie that turns heads in a boardroom, every style here is designed to fit into a real, busy life.
Your actionable next steps:
- Pick one style from the list that matches your current hair length and texture
- Gather your tools — a fine-tooth comb, your preferred gel or mousse, and a glossing spray
- Try it on day-old hair first — you’ll be surprised how much easier it is [1]
- Bookmark this guide for mornings when you need inspiration fast
- Explore the video tutorials linked in the references below for visual step-by-step guidance [4][5][6][7][9][10]
Whether you’re running late, prepping for a big day, or just tired of the same old look, these slicked-back styles are your shortcut to effortless polish. The comb is in your hand — now go make it happen. 💫
References
[1] How To Do Slicked Back Hair – https://www.lorealparisusa.com/beauty-magazine/hair-style/updo-and-bun-hairstyles/how-to-do-slicked-back-hair
[2] How To Slick Back Hair Styles – https://www.rankandstyle.com/articles/how-to-slick-back-hair-styles
[3] Slicked Back – https://shorthairstyles.com/slicked-back/
[4] Watch – https://www.youtube.com/watch?v=3AYVAYYf9Ic
[5] Watch – https://www.youtube.com/watch?v=XXUyifu-2Qo
[6] Watch – https://www.youtube.com/watch?v=5HV_RZrbn1M
[7] Watch – https://www.youtube.com/watch?v=qNdSVukwLOg
[8] Slick Back Hairstyles – https://simplyhappyhair.com/slick-back-hairstyles/
[9] Watch – https://www.youtube.com/watch?v=IoT7d-0WHYU
[10] Watch – https://www.youtube.com/watch?v=sS23qrpSu_k