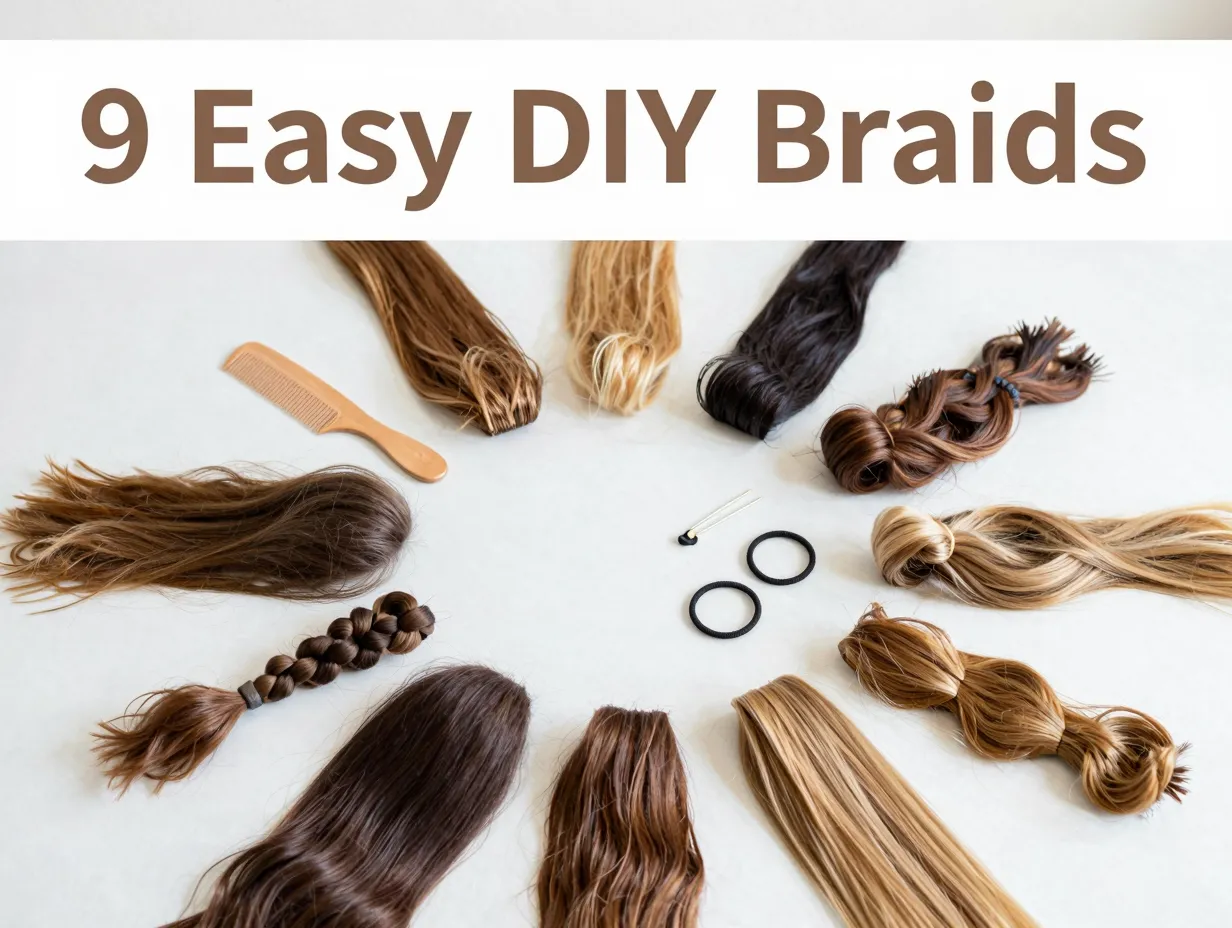
9 Easy Braids to Do on Yourself for a Perfect DIY Style
Nearly 70% of people who attempt to braid their own hair give up after the first try — not because braiding is genuinely hard, but because no one showed them the right starting point. That’s a shame, because self-braiding is one of the most rewarding, cost-effective hair skills you can build. This guide on 9 easy braids to do on yourself for a perfect DIY style cuts straight to the techniques that actually work for beginners and intermediate stylists alike. Whether your hair is short, long, thick, or fine, at least five of these nine styles will work beautifully for you — starting today.
Key Takeaways 📌
- You don’t need salon experience to master beautiful braids — most of these styles take under 15 minutes once you’ve practiced twice.
- Two-strand and rope braids are the best entry points for absolute beginners because they use fewer strands and simpler crossing patterns [2].
- Dutch and French braids are the most versatile styles, working as casual daywear or elegant updos [1].
- “Fake braids” using ponytail techniques are a legitimate shortcut when you’re still building coordination [4].
- The right tools matter — a rat-tail comb, snag-free hair ties, and a light-hold hairspray are all you truly need [3].
Why Self-Braiding Is a Skill Worth Learning in 2026
Before we dive into the list, let’s address the elephant in the room: braiding your own hair is genuinely different from braiding someone else’s. You’re working blind, your arms tire quickly, and tension is harder to control. But here’s the truth — every professional stylist started exactly where you are right now.
The payoff is enormous. A single mastered braid style can replace a $45 salon blowout for casual events, protect your hair from heat damage, and give you a polished look on a five-minute timeline. In 2026, with short-form video tutorials everywhere, there has never been a better time to learn.
💡 Pro Tip: Practice each new braid style on a dry run the night before you need it. Your hands need muscle memory, not just mental knowledge.
Essential Tools Before You Start
| Tool | Why You Need It | Budget Option |
|---|---|---|
| Rat-tail comb | Clean sections, neat parts | Any fine-tooth comb |
| Snag-free hair ties | Secure without breakage | Spiral hair coils |
| Bobby pins | Anchor styles, hide ends | U-pins for thick hair |
| Light-hold hairspray | Tame flyaways, lock style | Flexible-hold mousse |
| Hair clips | Hold sections while working | Binder clips (seriously) |
The 9 Easy Braids to Do on Yourself for a Perfect DIY Style
Let’s get into it. Each braid below is ranked roughly from easiest to slightly more challenging — but I promise, none of these require professional training.
1. The Two-Strand Twist (Rope Braid)
Difficulty: ⭐ Beginner | Time: 3–5 minutes
The two-strand twist — sometimes called a rope braid — is the single most accessible braid for anyone just starting out. Instead of weaving three strands together, you simply twist two sections of hair in the same direction, then twist them around each other in the opposite direction [2]. The opposing tension is what creates that satisfying rope-like appearance.
How to do it:
- Divide a section of hair into two equal parts.
- Twist each part clockwise (or both counterclockwise — consistency is key).
- Wrap the two twisted sections around each other in the opposite direction.
- Secure the end with a small hair tie.
Best for: All hair types, especially natural and textured hair. Works beautifully as a single braid down the back or as twin braids.
Quick Win: This style holds better on second-day hair or hair with a light texturizing spray applied first.
2. The Classic Three-Strand Braid
Difficulty: ⭐ Beginner | Time: 2–4 minutes
This is the foundation of everything. If you can master the classic three-strand braid, every other style on this list becomes significantly easier. It’s the ABCs of braiding, and it’s worth drilling until it feels automatic [6].
How to do it:
- Divide hair into three equal sections: left, center, right.
- Cross the right section over the center. The right strand is now the center.
- Cross the left section over the new center.
- Repeat, alternating sides, until you reach the end.
- Secure with a hair tie.
Pro tip: Keep tension even across all three strands. Uneven tension is the number-one reason beginner braids look messy.
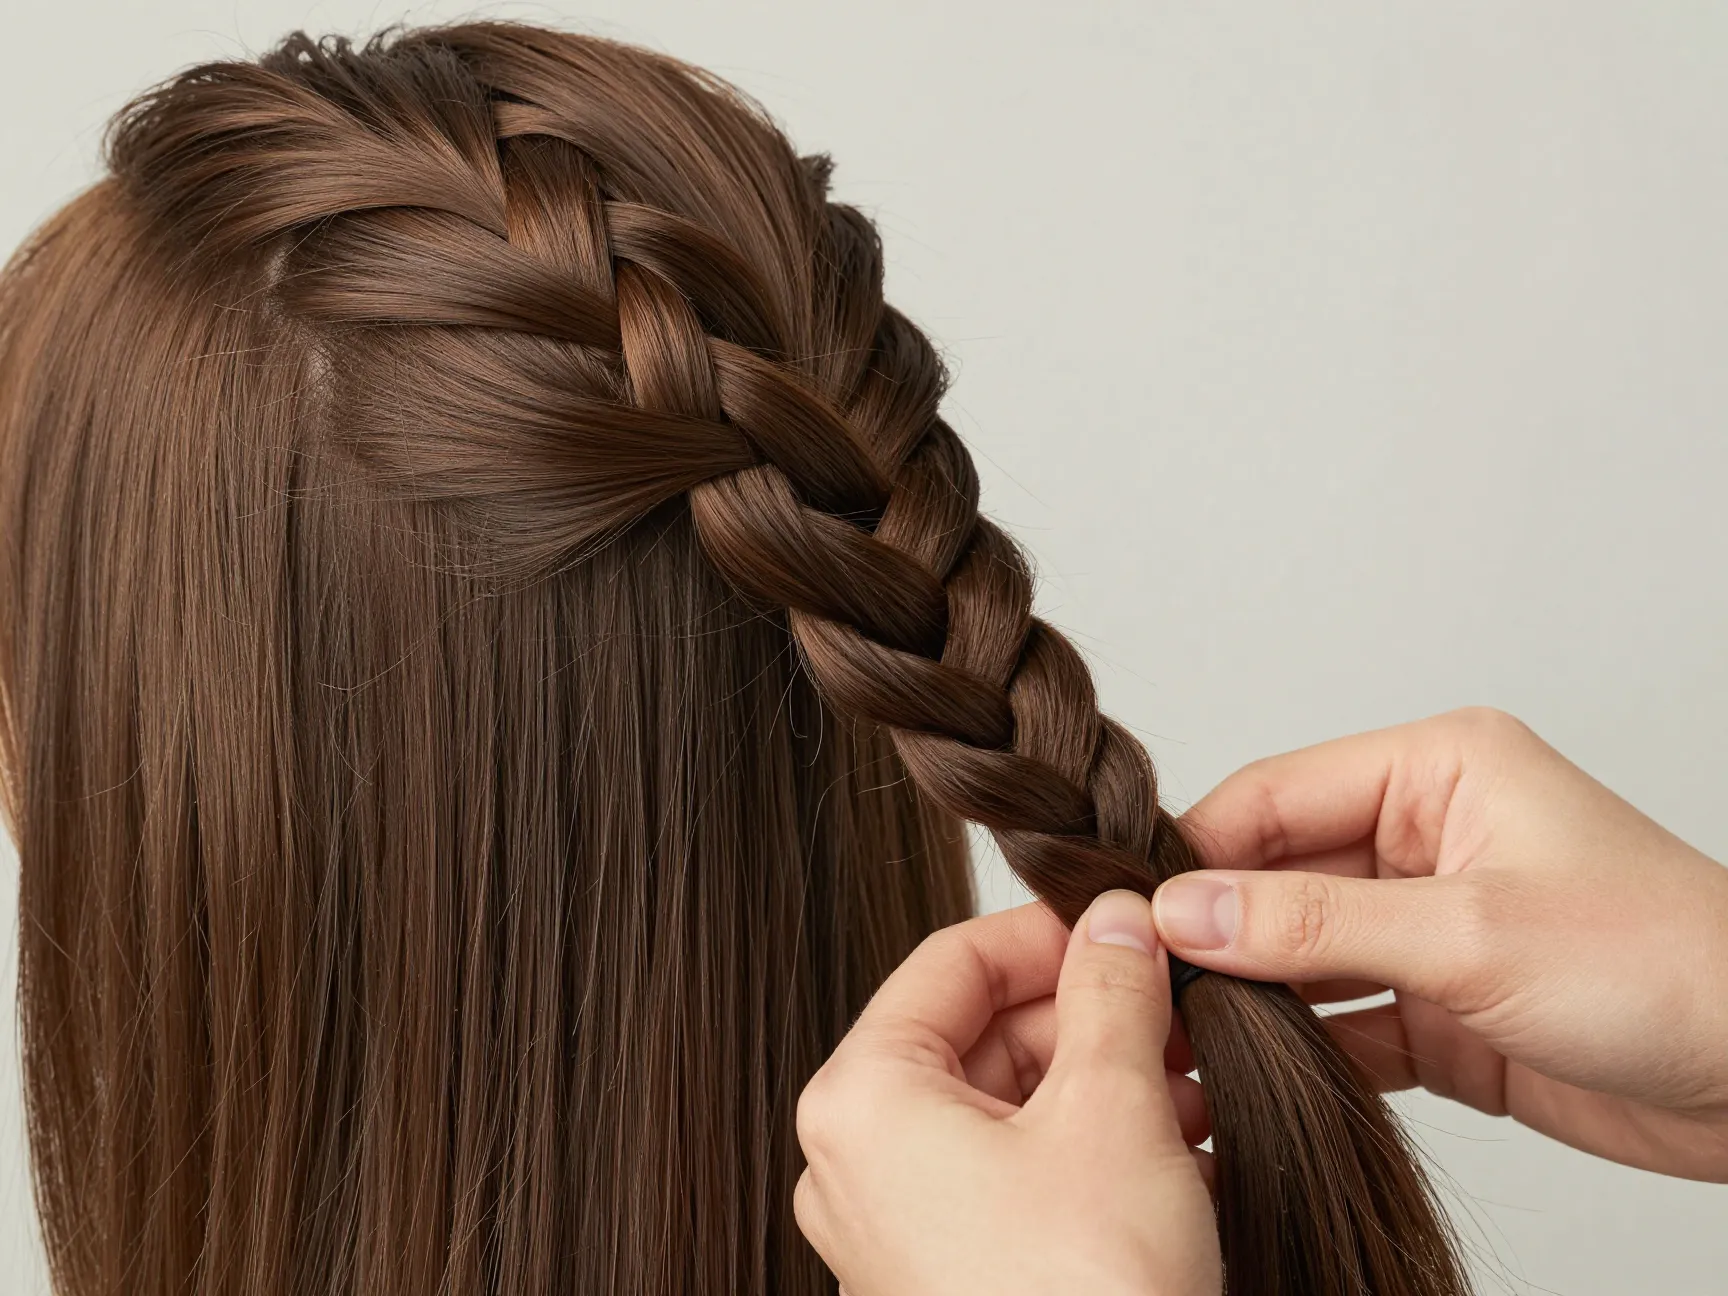
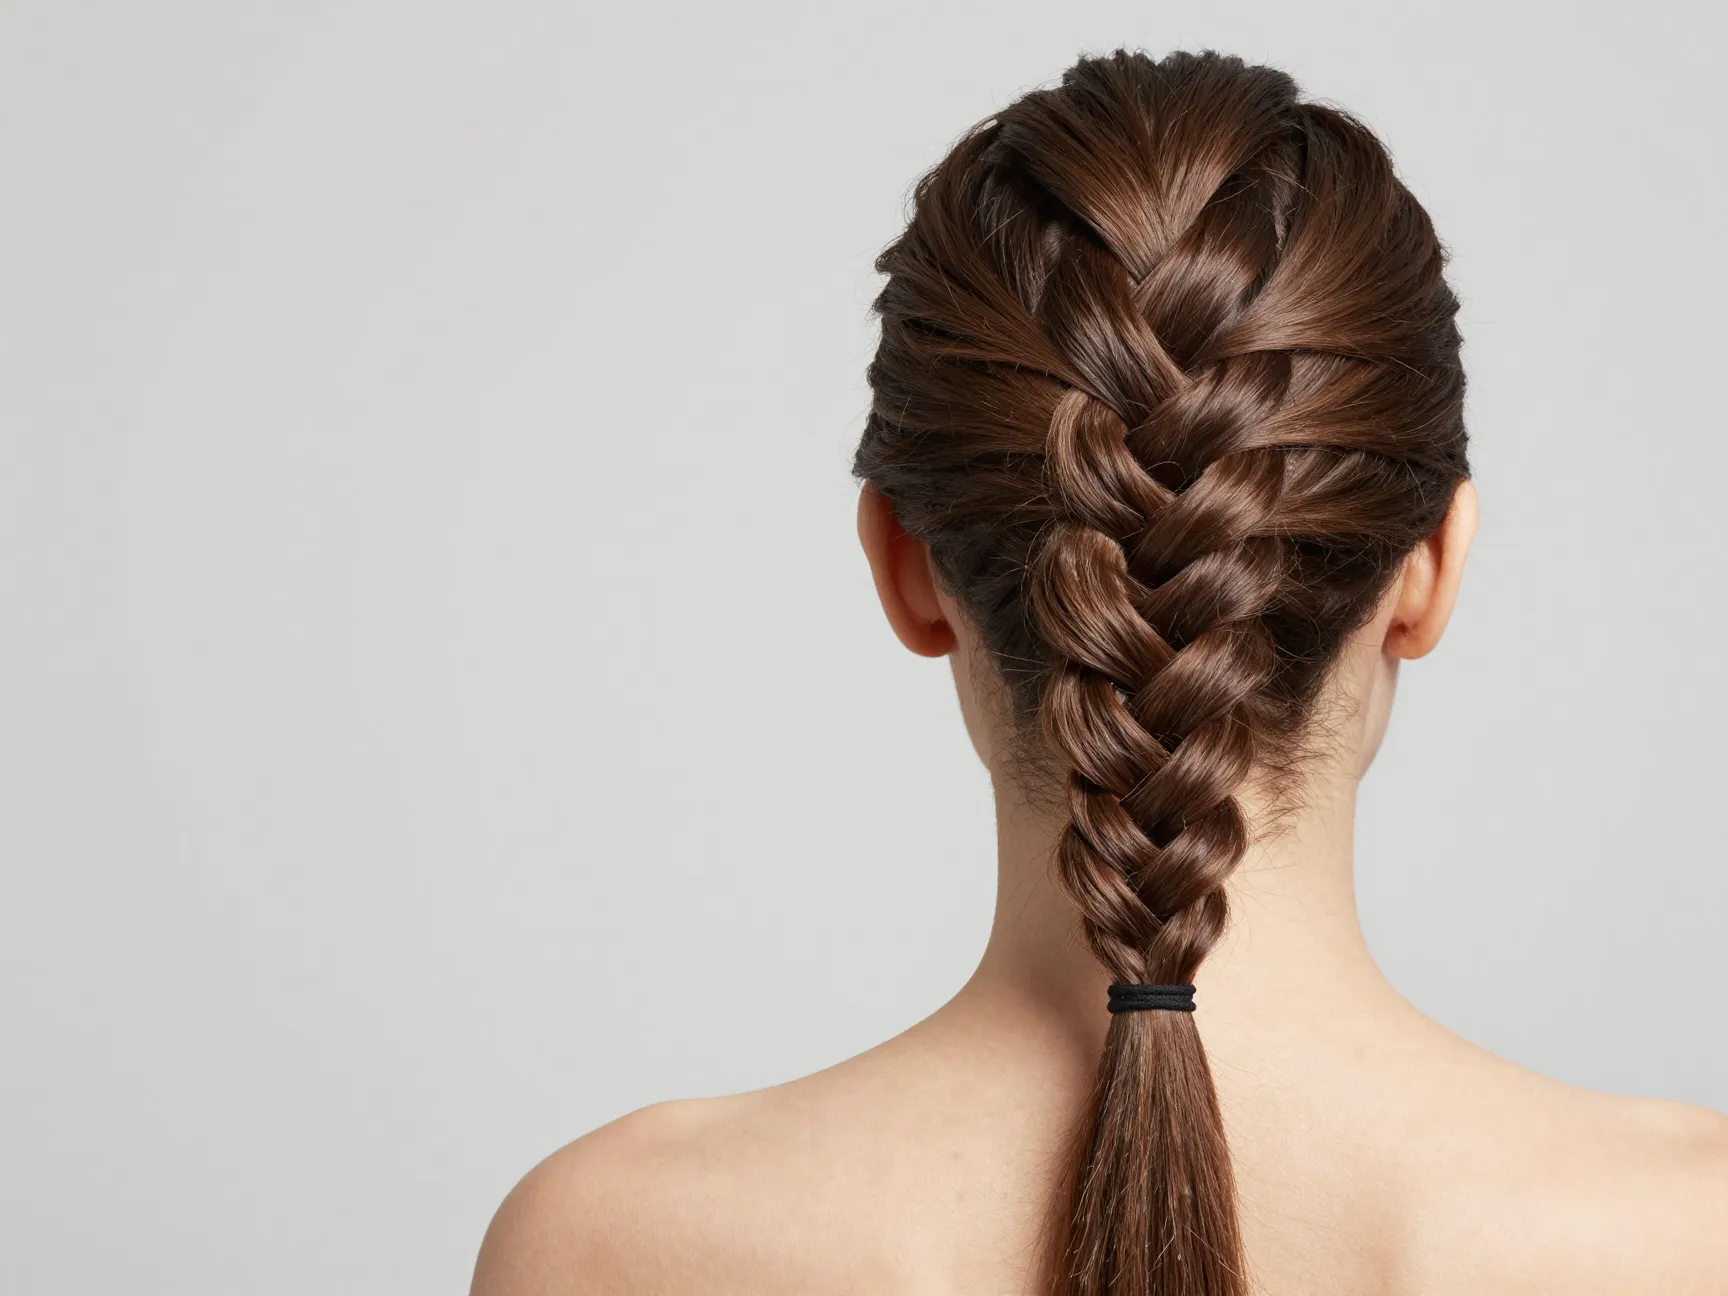
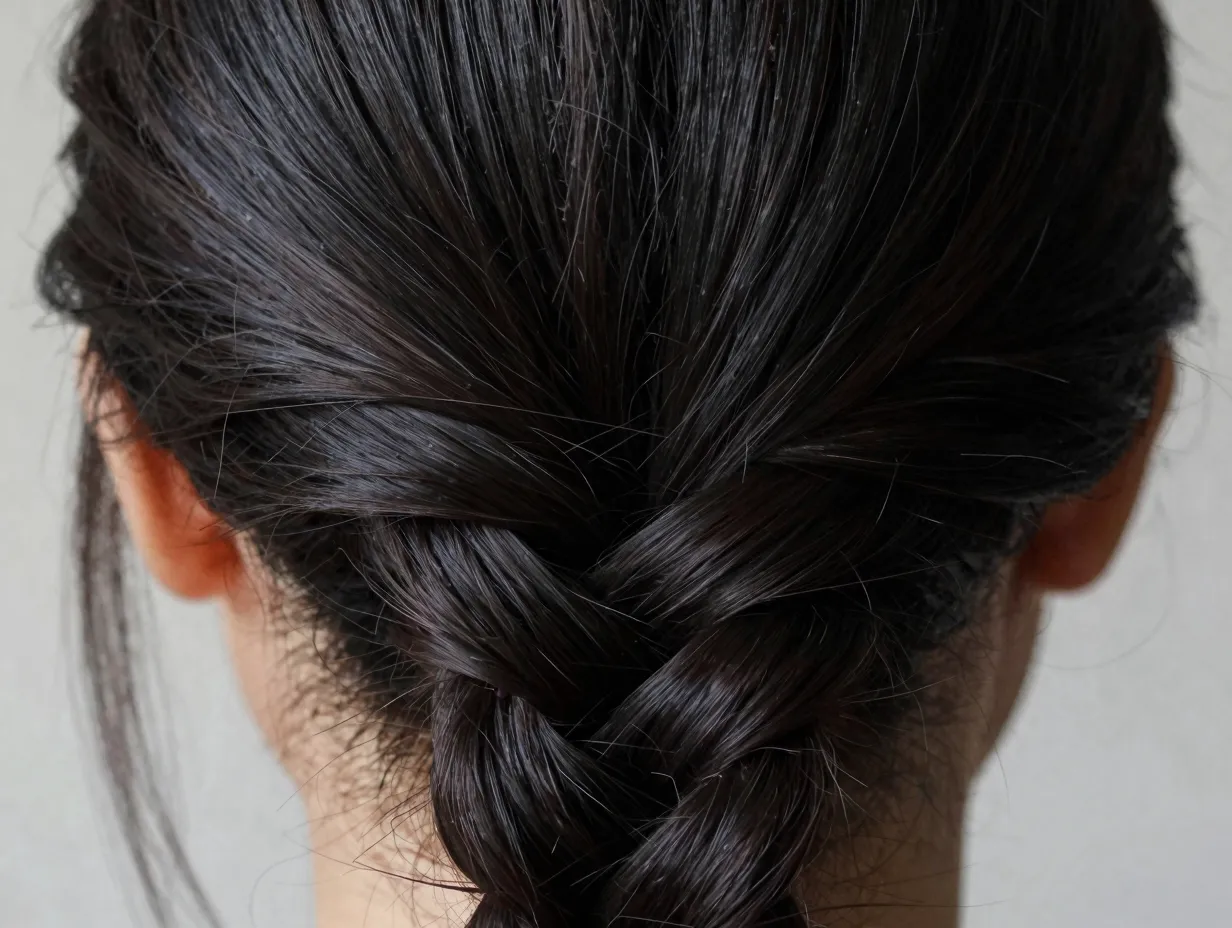
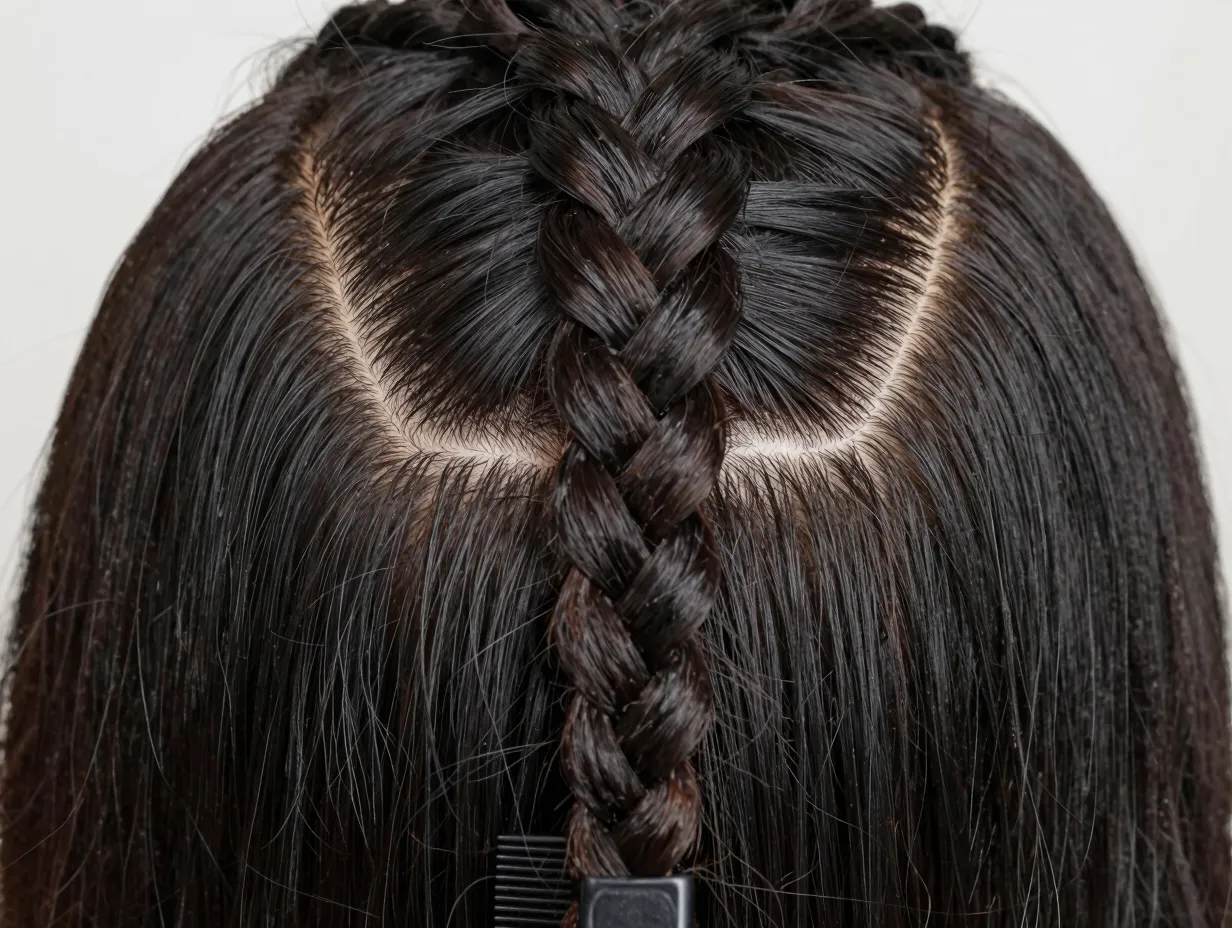
3. The French Braid
Difficulty: ⭐⭐ Beginner-Intermediate | Time: 8–12 minutes
The French braid is the style most people think of when they imagine “a real braid.” It starts at the crown of the head and gradually incorporates new sections of hair as you work downward. It’s more complex than a three-strand braid, but the technique is the same — you’re just adding hair with each pass [3].
How to do it:
- Take a small section of hair from the top of your head and divide it into three parts.
- Begin a standard three-strand braid with one cross.
- Before the next cross, add a small section of loose hair to the strand you’re about to move.
- Continue adding hair from both sides as you braid downward.
- Once all hair is incorporated, finish with a standard three-strand braid and secure.
Styling note: A French braid looks polished enough for work or a formal event, yet casual enough for the gym. It’s genuinely the most versatile braid on this list.
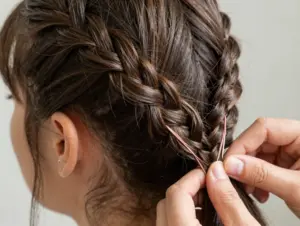
4. The Dutch Braid (Inverted French Braid)
Difficulty: ⭐⭐ Beginner-Intermediate | Time: 10–15 minutes
The Dutch braid is often called the “inside-out” French braid because you cross strands under the center instead of over it. This creates a braid that sits raised on top of the hair rather than sinking into it — giving it that bold, 3D appearance that looks incredibly impressive for the effort involved [1].
Dutch braids typically take less than 15 minutes to complete and require only a hair tie, comb, and hairspray to finish [3].
How to do it:
- Section off hair at the crown and divide into three parts.
- Cross the right strand under the center strand.
- Cross the left strand under the new center.
- Add hair to each strand before crossing, just like a French braid.
- Continue until all hair is incorporated, then finish and secure.
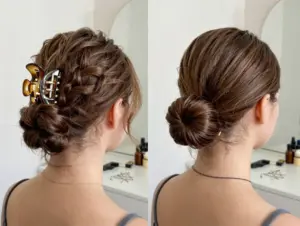
Updo variation: Once finished, tuck the tail under the braid and pin it with bobby pins for an elegant updo that works for weddings, interviews, or date nights [1].
🌟 Pull Quote: “The Dutch braid is the single best braid to learn after the French braid — it photographs beautifully and takes the same amount of time.”
5. The Fishtail Braid
Difficulty: ⭐⭐ Beginner-Intermediate | Time: 10–15 minutes
The fishtail braid looks impossibly intricate but uses only two sections of hair, making it more approachable than it appears [3]. The key is keeping the sections you pull very thin and consistent.
How to do it:
- Divide all hair into two equal sections.
- Take a thin slice from the outer edge of the left section.
- Cross it over and add it to the right section.
- Take a thin slice from the outer edge of the right section.
- Cross it over and add it to the left section.
- Repeat until you reach the end. Secure with a hair tie.
Styling tip: Once secured, gently tug on the edges of the braid to “pancake” it — this creates that wide, textured fishtail look you see in magazines.
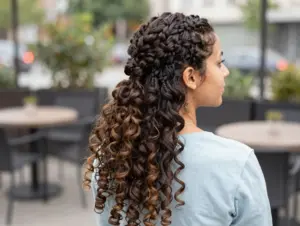
6. The Crown Braid
Difficulty: ⭐⭐⭐ Intermediate | Time: 15–20 minutes
The crown braid wraps around the head like a halo, creating one of the most romantic and editorial looks in the braiding world [3]. It requires patience and a few extra bobby pins, but the result is genuinely stunning.
How to do it:
- Part hair down the middle to create two sections.
- French braid or Dutch braid each section, starting at the nape and braiding upward toward the crown.
- Wrap each finished braid across the top of the head in opposite directions.
- Tuck the ends under the opposite braid and secure with bobby pins.
- Spray lightly to set.
Best for: Medium to long hair. Works especially well on hair with some texture or wave.
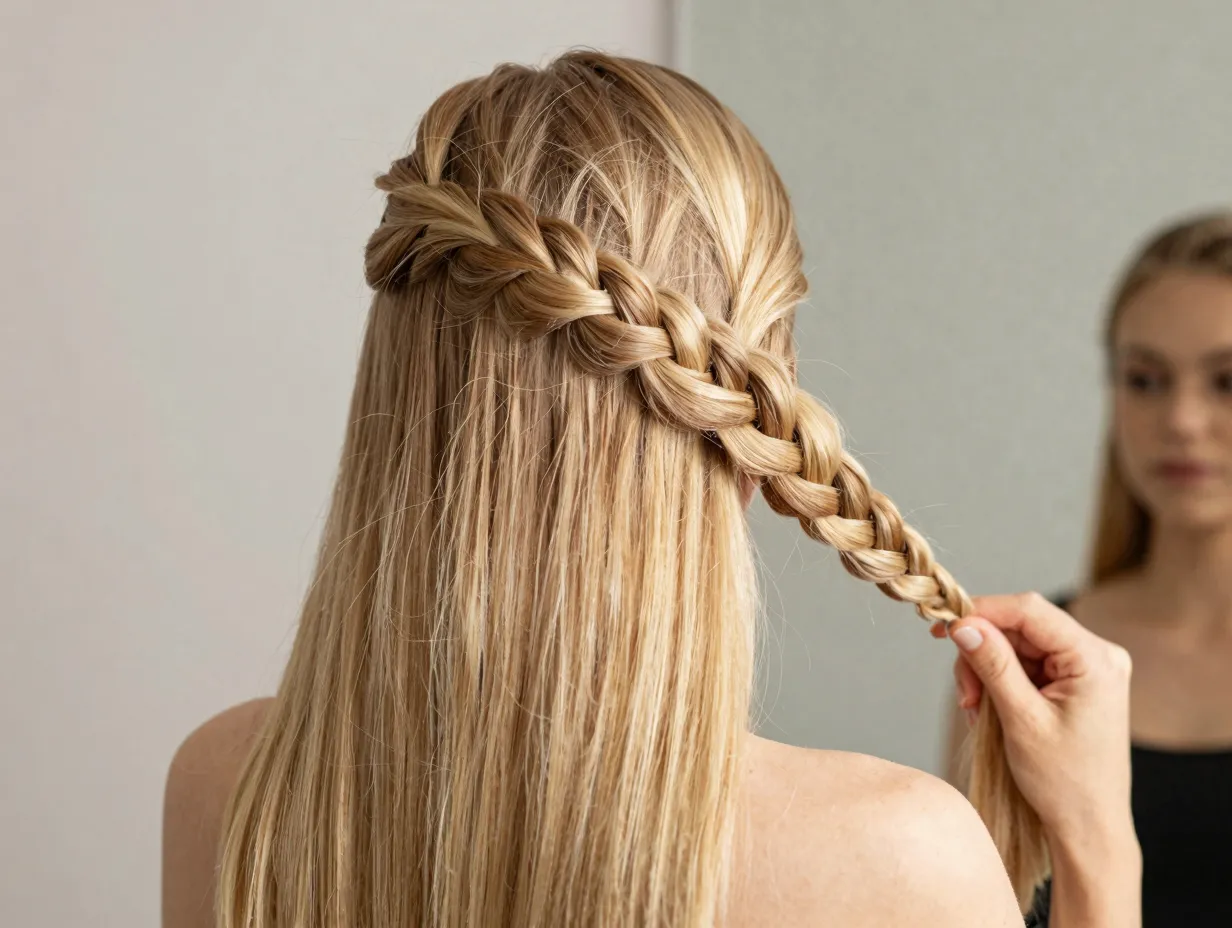
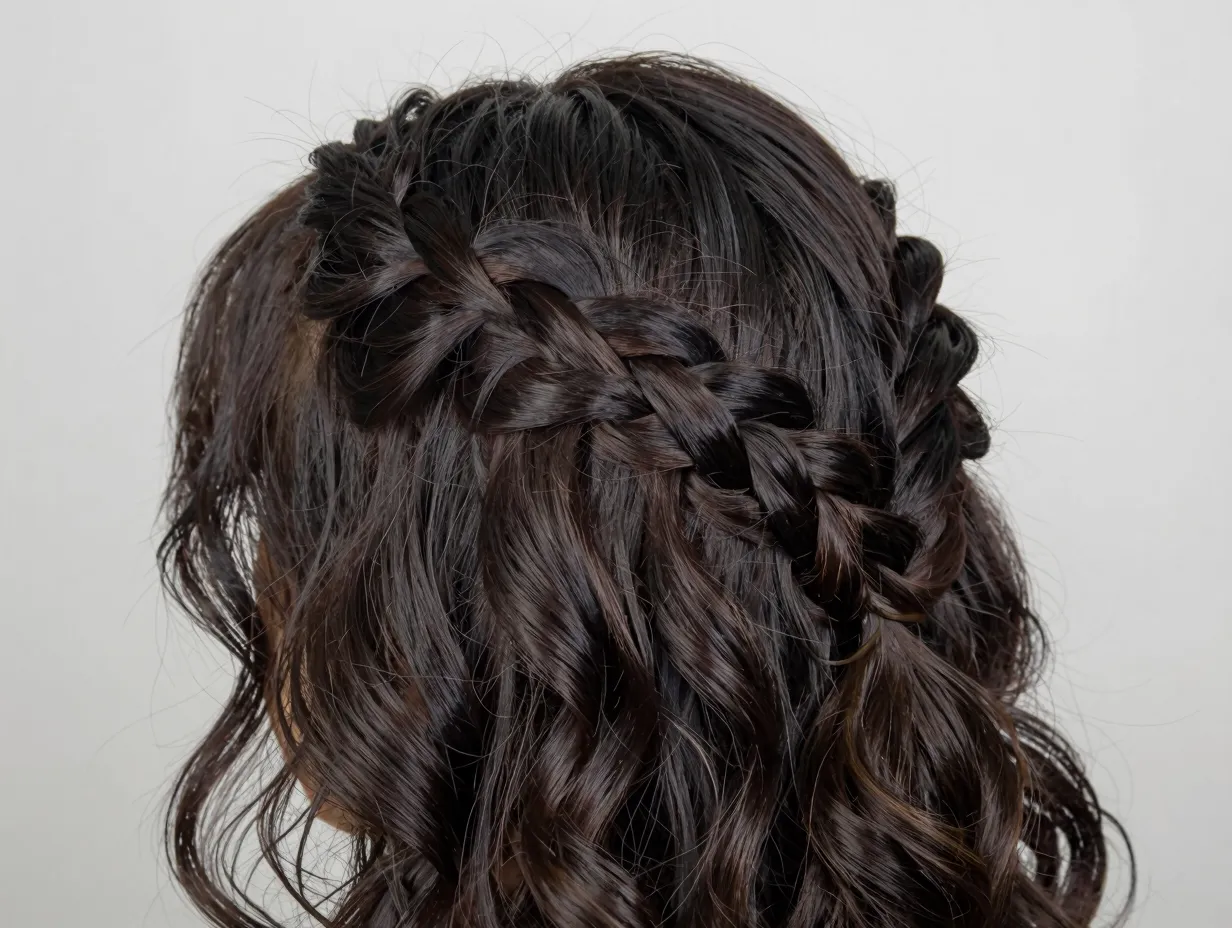
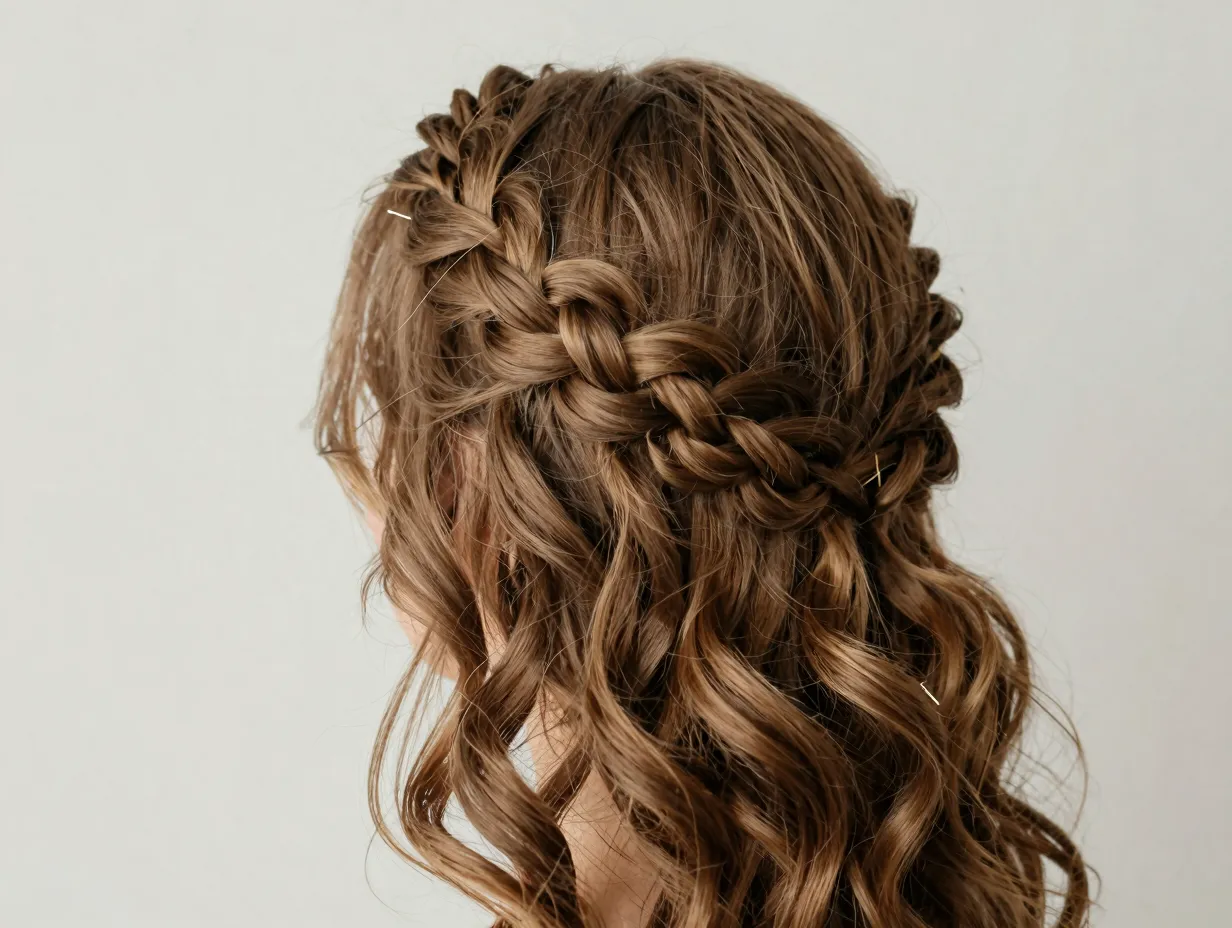
7. The Waterfall Braid
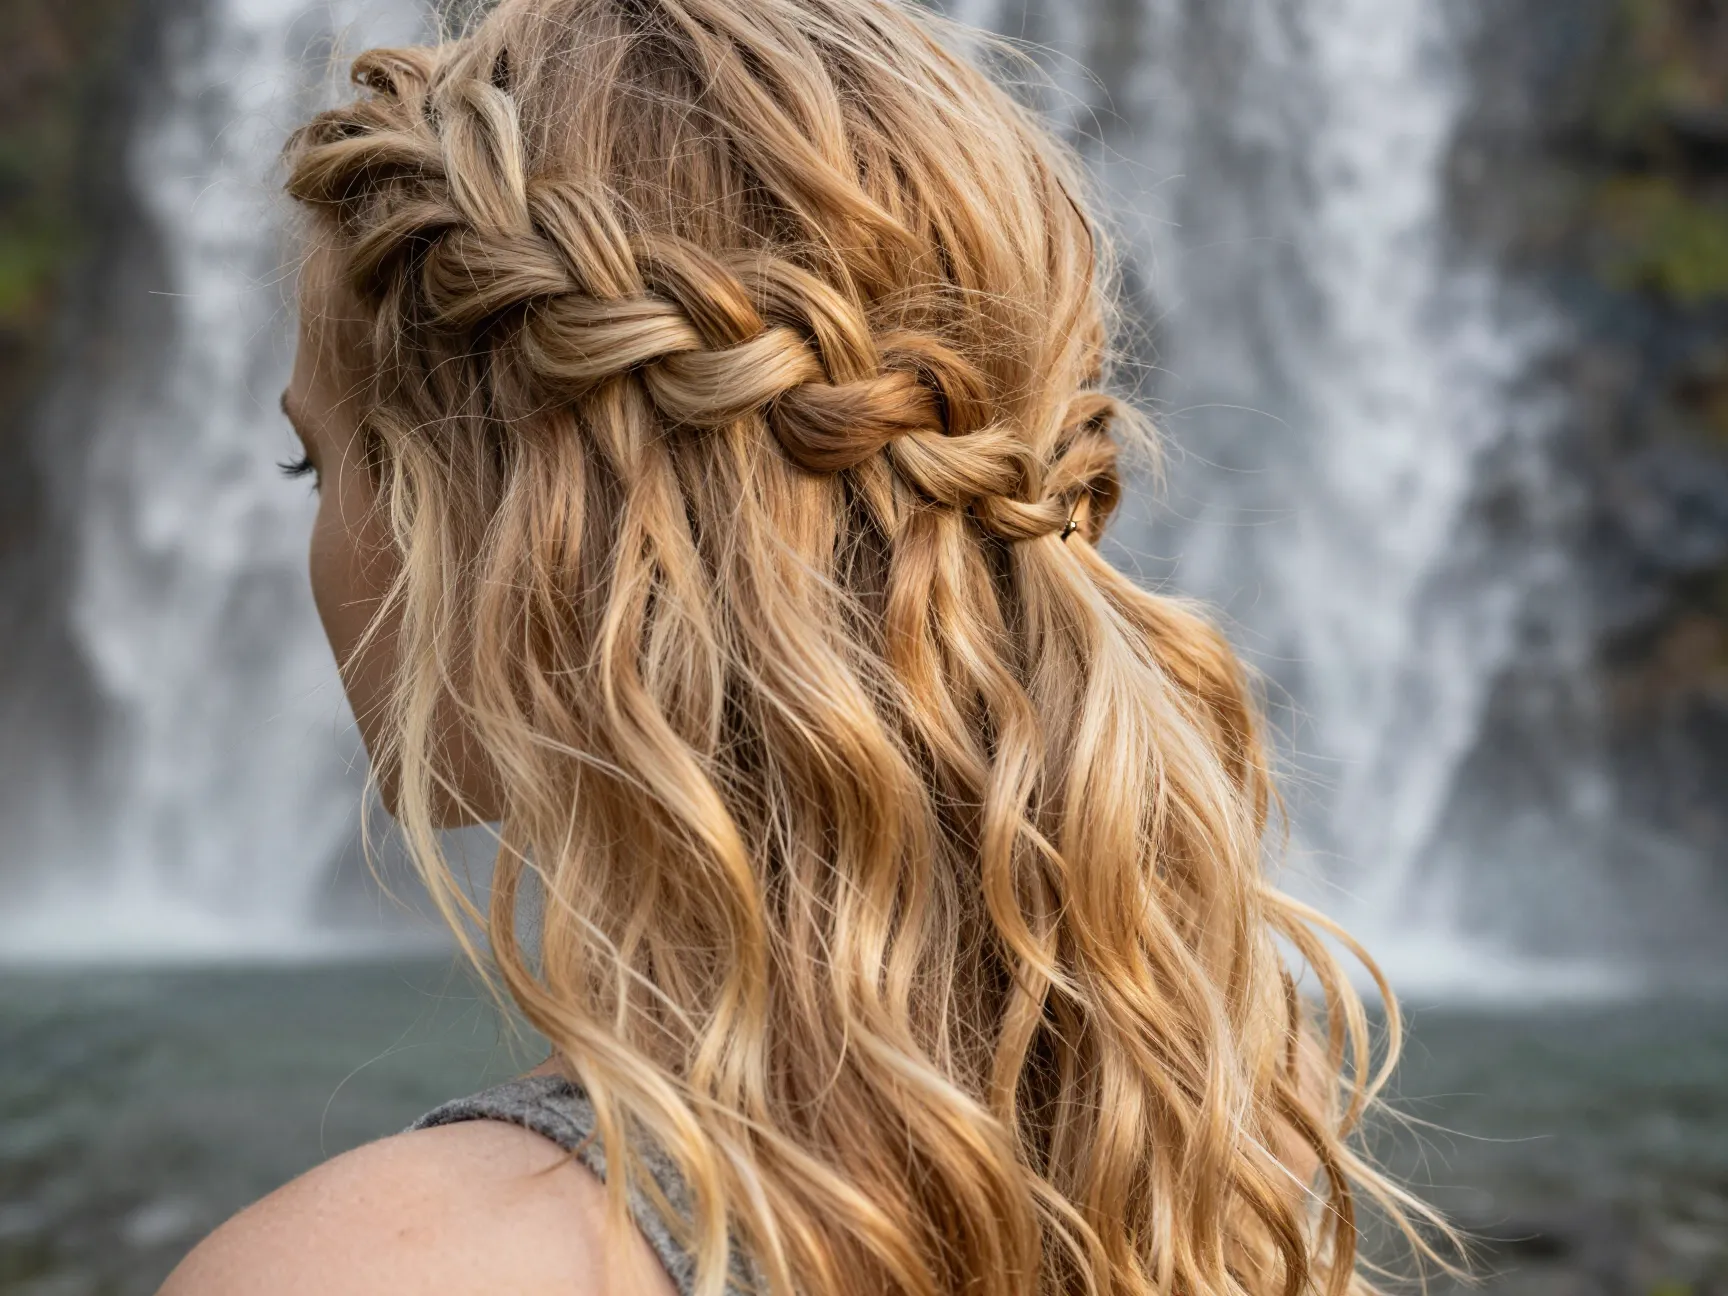
Difficulty: ⭐⭐⭐ Intermediate | Time: 10–15 minutes
The waterfall braid is a partial French braid where strands are intentionally dropped rather than incorporated, creating cascading sections of loose hair that fall through the braid like — you guessed it — a waterfall [3]. It’s one of the most romantic half-up styles you can create on yourself.
How to do it:
- Start a French braid at the temple, working horizontally across the head.
- When you would normally add the bottom strand to the braid, instead drop it and pick up a new section of hair from above.
- The dropped strand falls freely through the braid.
- Continue across the head, securing the end behind the ear with a bobby pin.
Styling note: Pair with loose, beachy waves for a bohemian festival look, or keep the rest of the hair smooth for something more polished.
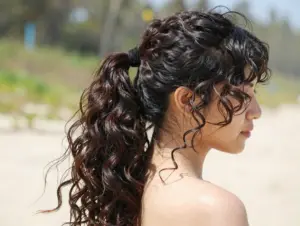
8. The Pull-Through Braid
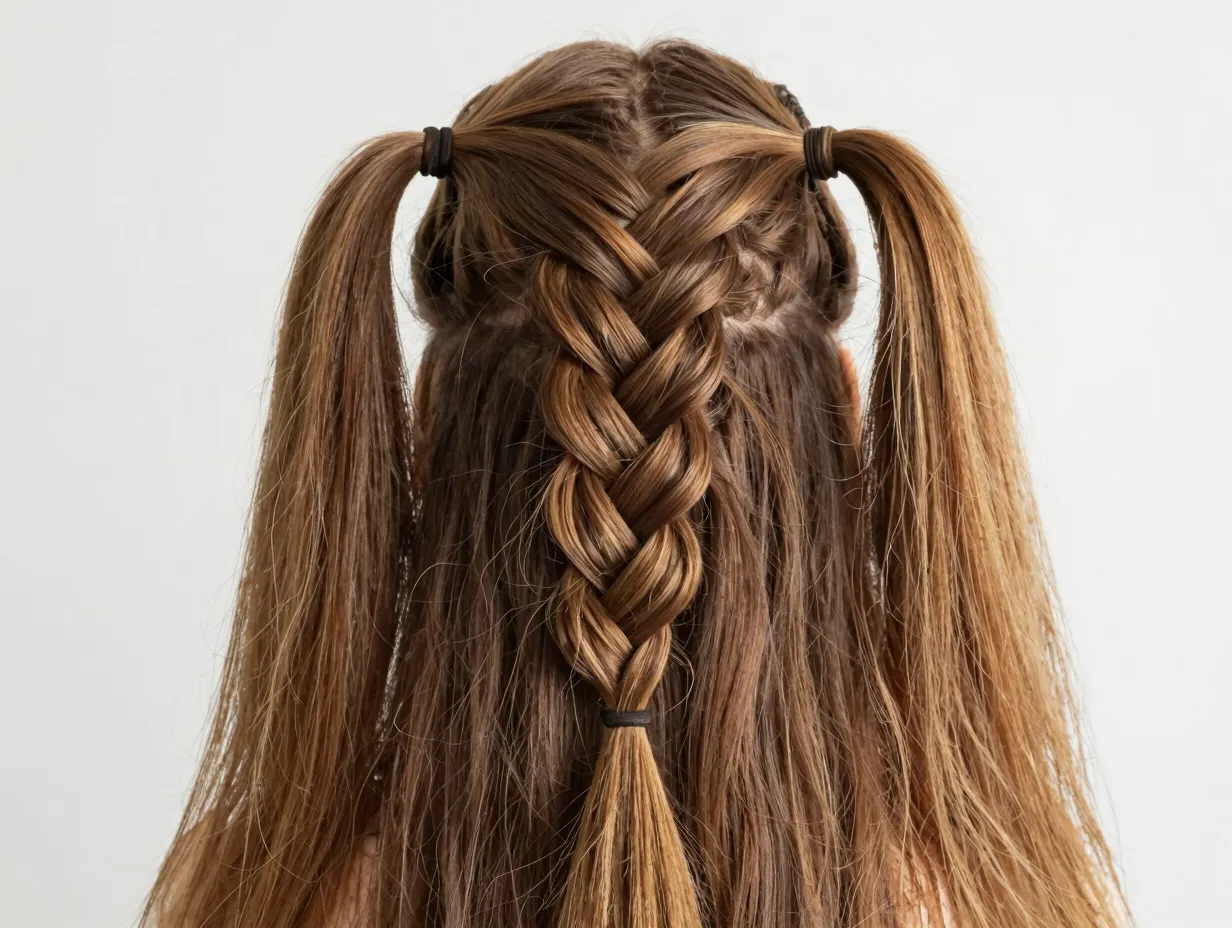
Difficulty: ⭐⭐ Beginner-Intermediate | Time: 10–12 minutes
Here’s a secret the internet discovered a few years ago: the pull-through braid isn’t technically a braid at all. It’s made entirely with ponytails — which means anyone can do it, even if traditional braiding coordination still feels awkward [4]. It creates a thick, voluminous braid-like structure that looks like it took 30 minutes.
How to do it:
- Create a small ponytail at the crown of your head.
- Create a second ponytail just below the first, incorporating the tail of the first.
- Split the first ponytail in half and pull the second ponytail up through the split.
- Create a third ponytail below, incorporating the second.
- Repeat down the length of the hair.
- Gently tug each section to add volume and width.
Why it works: This is essentially a “fake braid” technique — legitimate, effective, and perfect for beginners building confidence [4].
9. The Box Braid (Single Box Braid Sections)
Difficulty: ⭐⭐⭐ Intermediate | Time: 20–30 minutes for a full set
Box braids are a protective style with deep roots in African hair culture. While a full head of box braids typically requires professional installation for best results, you can absolutely practice single box braid sections on your own hair or extensions to learn the technique [6]. Each individual box braid is simply a three-strand braid started from a cleanly sectioned square of hair.
How to do it:
- Section hair into clean square or rectangular parts using a rat-tail comb.
- Clip all sections except the one you’re working on.
- Divide the section into three equal strands.
- Braid using a standard three-strand technique, keeping consistent tension.
- Secure the end. Repeat across the head.
Important note: Box braids look best when tension is even and sections are uniform. Take your time with the sectioning — it’s the most important step.
Tips to Make Every DIY Braid Look Professional
Even the most technically correct braid can look sloppy without these finishing details:
Before you braid:
- Work on hair that’s been brushed smooth but isn’t freshly washed — day-old hair has more grip.
- Apply a light texturizing spray or mousse for extra hold.
- Use a rat-tail comb to create clean, precise sections [6].
While you braid:
- Keep tension consistent — not too tight (scalp damage risk), not too loose (braid unravels).
- Use a mirror setup: one full-length mirror in front, one handheld mirror behind.
- Clip sections you’re not working on to keep them out of the way.
After you braid:
- Lightly mist with flexible-hold hairspray to tame flyaways.
- Gently tug the edges of the braid for a fuller, more relaxed look.
- Seal the ends with a small amount of hair oil to prevent fraying.
Common Mistakes Beginners Make (And How to Fix Them)
| Mistake | Why It Happens | The Fix |
|---|---|---|
| Braid falls apart quickly | Uneven tension, slippery hair | Add texturizing spray before braiding |
| Braid looks bumpy | Inconsistent strand sizes | Re-section with a comb before starting |
| Arms get tired mid-braid | Unfamiliar muscle use | Practice in short sessions; take breaks |
| Can’t reach the back | Limited flexibility | Try braiding over one shoulder instead |
| Flyaways everywhere | Fine or freshly washed hair | Use edge control or light pomade on perimeter |
How Long Does It Take to Learn Each Braid?
One of the most common questions I hear is: “How long will it actually take me to get good at this?” Here’s an honest breakdown:
- Two-strand twist / Rope braid: 1–2 practice sessions
- Classic three-strand braid: 2–3 practice sessions
- French braid: 5–7 practice sessions
- Dutch braid: 5–7 practice sessions
- Fishtail braid: 3–5 practice sessions
- Pull-through braid: 1–2 practice sessions
- Waterfall braid: 7–10 practice sessions
- Crown braid: 8–12 practice sessions
- Box braid sections: 5–10 practice sessions
🔑 Key Insight: The French and Dutch braids have the steepest learning curve but the highest everyday payoff. Prioritize these two after mastering the basics.
Which Braid Is Right for Your Hair Type?
Not every braid works equally well on every hair type. Here’s a quick guide:
Fine or straight hair: French braid, Dutch braid, pull-through braid (adds volume)
Thick or coarse hair: Fishtail braid, box braids, rope braid (showcases texture)
Curly or wavy hair: Crown braid, waterfall braid, two-strand twist (works with natural texture)
Short hair (chin to shoulder length): Dutch braid, French braid, rope braid (works even on shorter lengths)
Natural or textured hair: Two-strand twist, box braids, rope braid (protective and beautiful)
Conclusion: Your Next Steps Toward Braiding Mastery
The 9 easy braids to do on yourself for a perfect DIY style covered in this guide represent a complete toolkit — from the simplest two-strand twist to the more ambitious crown braid. You don’t need to master all nine at once. In fact, I’d recommend a specific path:
Your 4-week action plan:
- Week 1: Master the three-strand braid and rope braid until they feel automatic.
- Week 2: Add the French braid and pull-through braid to your repertoire.
- Week 3: Tackle the Dutch braid and fishtail braid.
- Week 4: Attempt the waterfall braid, crown braid, and box braid sections.
By the end of this month, you’ll have a full suite of DIY braid styles ready for any occasion — from a Monday morning commute to a weekend wedding. The investment is a few hours of practice. The return is a lifetime of beautiful, effortless hair.
Start tonight. Pick the rope braid. Do it three times. That’s all it takes to begin.
References
[1] Braids For Beginners – https://www.everydayhairinspiration.com/2021/04/16/braids-for-beginners/
[2] Watch – https://www.youtube.com/watch?v=eCI26waVNB8
[3] 13 Cute Easy Braid Hairstyles For 2019 And How To Do Them – https://www.lulus.com/blog/beauty/13-cute-easy-braid-hairstyles-for-2019-and-how-to-do-them/
[4] Watch – https://www.youtube.com/watch?v=bjdUk4wOtM4
[5] Watch – https://www.youtube.com/watch?v=j4P3ebc1AEo
[6] How To Braid Your Own Hair – https://www.instructables.com/How-to-Braid-Your-Own-Hair/