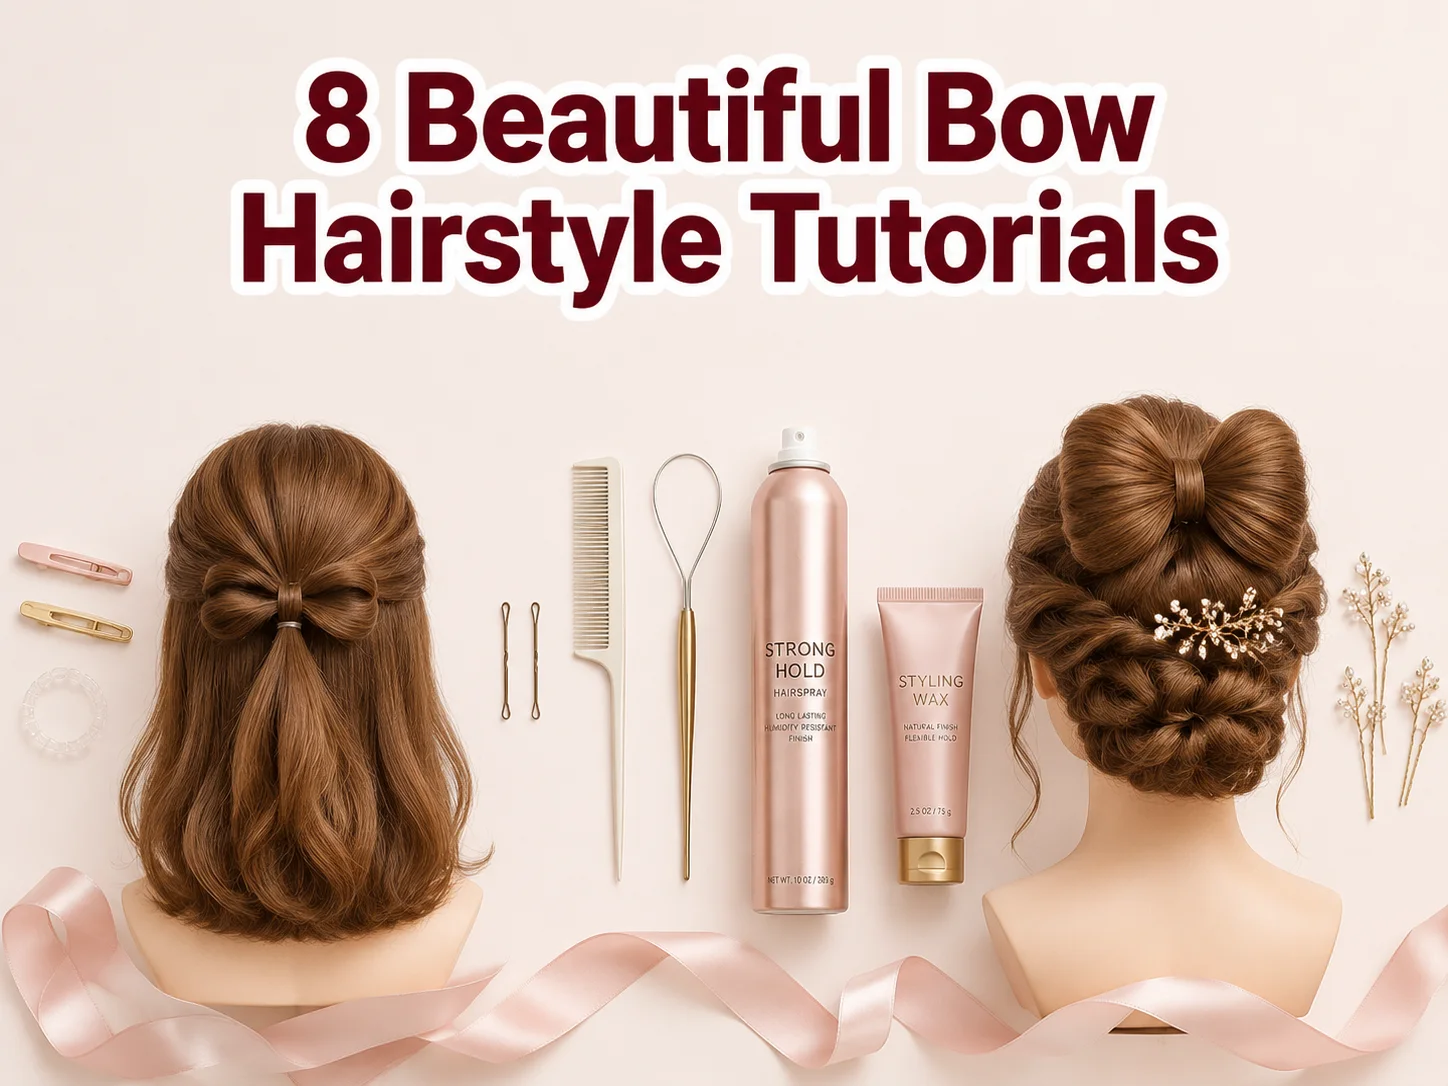
8 Beautiful Bow Hairstyle Tutorials for Every Skill Level
Bow hairstyles have surged by over 300% in search interest since 2022 — and in 2026, they show absolutely no signs of slowing down. What was once dismissed as a “little girl” look has evolved into one of the most versatile, sophisticated styling trends across runways, red carpets, and everyday life. Whether you’re a complete beginner or a seasoned stylist, these 8 Beautiful Bow Hairstyle Tutorials for Every Skill Level give you a clear, achievable path to mastering one of the most charming trends in modern hair styling.
From a quick school-run bow to an elaborate bridal updo, bow hairstyles are genuinely for everyone. I’ve pulled together the best techniques, tips, and tutorials so you can find your perfect match — no salon appointment required.
Key Takeaways
- 🎀 Bow hairstyles work for all skill levels — from absolute beginners to advanced stylists.
- 🎀 Placement matters as much as technique — knowing where to put your bow is half the battle.
- 🎀 You don’t need to sculpt a bow from your own hair — clip-in bows are a valid, stylish option.
- 🎀 Bow looks are no longer just “cute” — they range from casual brunch wear to wedding-ready elegance.
- 🎀 The right tools make all the difference — bobby pins, clear elastics, and strong-hold hairspray are your best friends.
Why Bow Hairstyles Are Having a Major Moment in 2026
Before we dive into the tutorials, let’s talk about why bow hairstyles have become such a cultural staple. Bow styles bridge the gap between playful and polished. They work on short, medium, and long hair. They suit casual Fridays and black-tie events alike. And critically, they are accessible — most bow looks require only a few bobby pins and a hair elastic [5].
“Bow hairstyles are no longer seen as only ‘cute’ or childlike — they balance sophistication with a playful twist and fit short, medium, and long lengths.” [5]
Guides and aggregator pages now frame bow hairstyles as suitable from everyday wear through to weddings, reinforcing their broad, cross-occasion appeal [5]. Whether you’re styling your own hair or your child’s, these tutorials have you covered.
Quick Skill Level Guide
| Skill Level | Time Required | Tools Needed | Best For |
|---|---|---|---|
| 🟢 Beginner | 5–10 minutes | Elastic, bobby pins | Daily wear, kids’ hair |
| 🟡 Intermediate | 15–25 minutes | Elastic, pins, comb, hairspray | Parties, dates, events |
| 🔴 Advanced | 30–45 minutes | Full styling kit | Weddings, proms, editorial |
8 Beautiful Bow Hairstyle Tutorials for Every Skill Level
Here are eight carefully selected bow hairstyle tutorials, ordered from beginner-friendly to advanced, so you can start exactly where you are and grow your skills at your own pace.
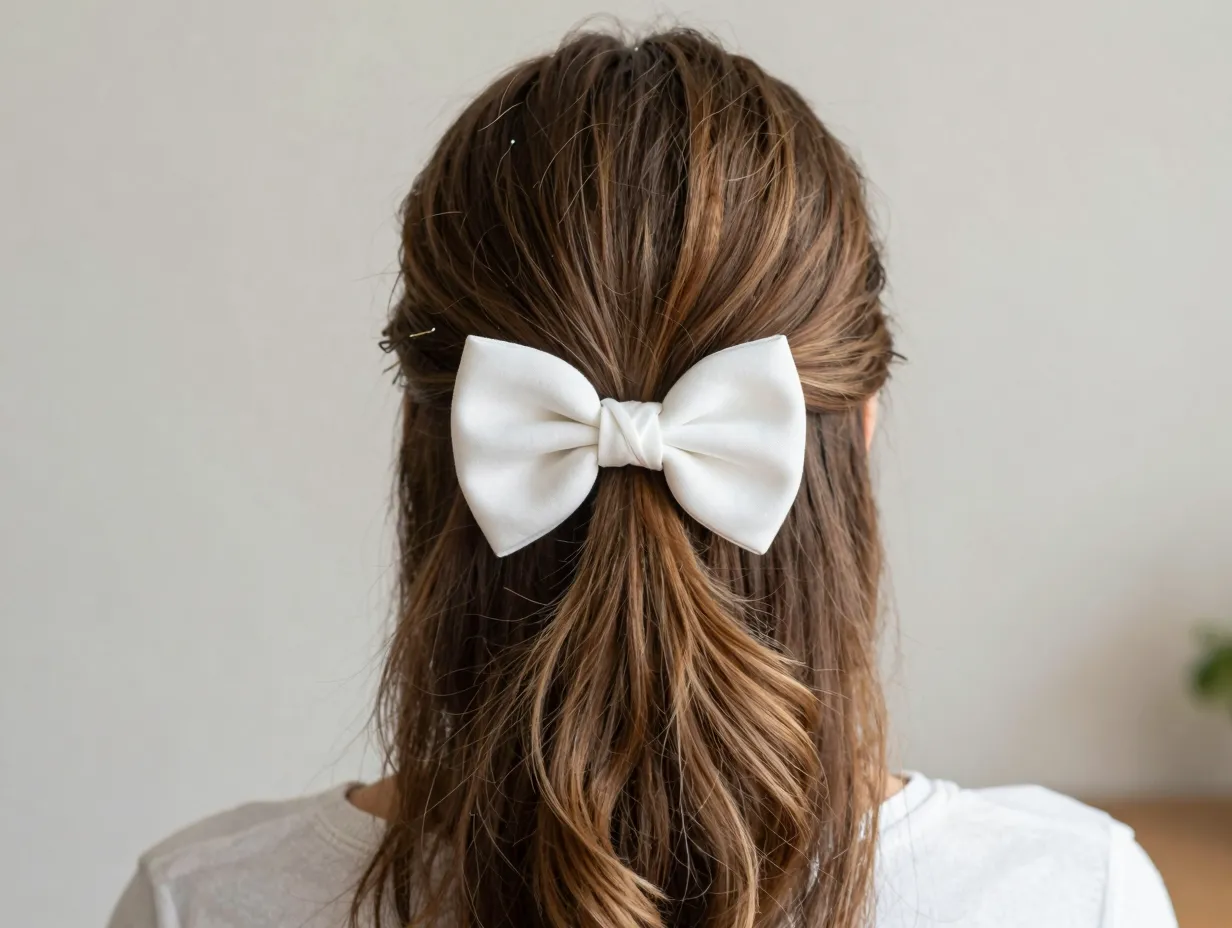
1. The Classic Half-Up Hair Bow (Beginner)
Skill level: 🟢 Beginner
Best for: Everyday wear, school, casual outings
Hair length: Medium to long
The half-up hair bow is the most widely shared beginner-friendly bow hairstyle right now — and for good reason. It’s simple, adorable, and endlessly adaptable [1].
How to do it:
- Section off the top half of your hair and pull it into a small ponytail.
- Before pulling the elastic all the way through on the last loop, leave a small bunny-ear loop of hair.
- Split that loop into two equal sections.
- Use a topsy tail tool (or your fingers) to flip the ponytail section up through the middle.
- Push the back ponytail upward to form two rounded loops — your bow shape.
- Secure with bobby pins on each side.
- Wrap the remaining tail around the center and pin it to create the bow’s knot.
✅ Pro tip: Lightly backcomb the loops before pinning to add volume and make the bow look fuller.
This technique can be adapted into ponytails, pigtails, or buns, making it one of the most versatile starter styles in the bow family [1].
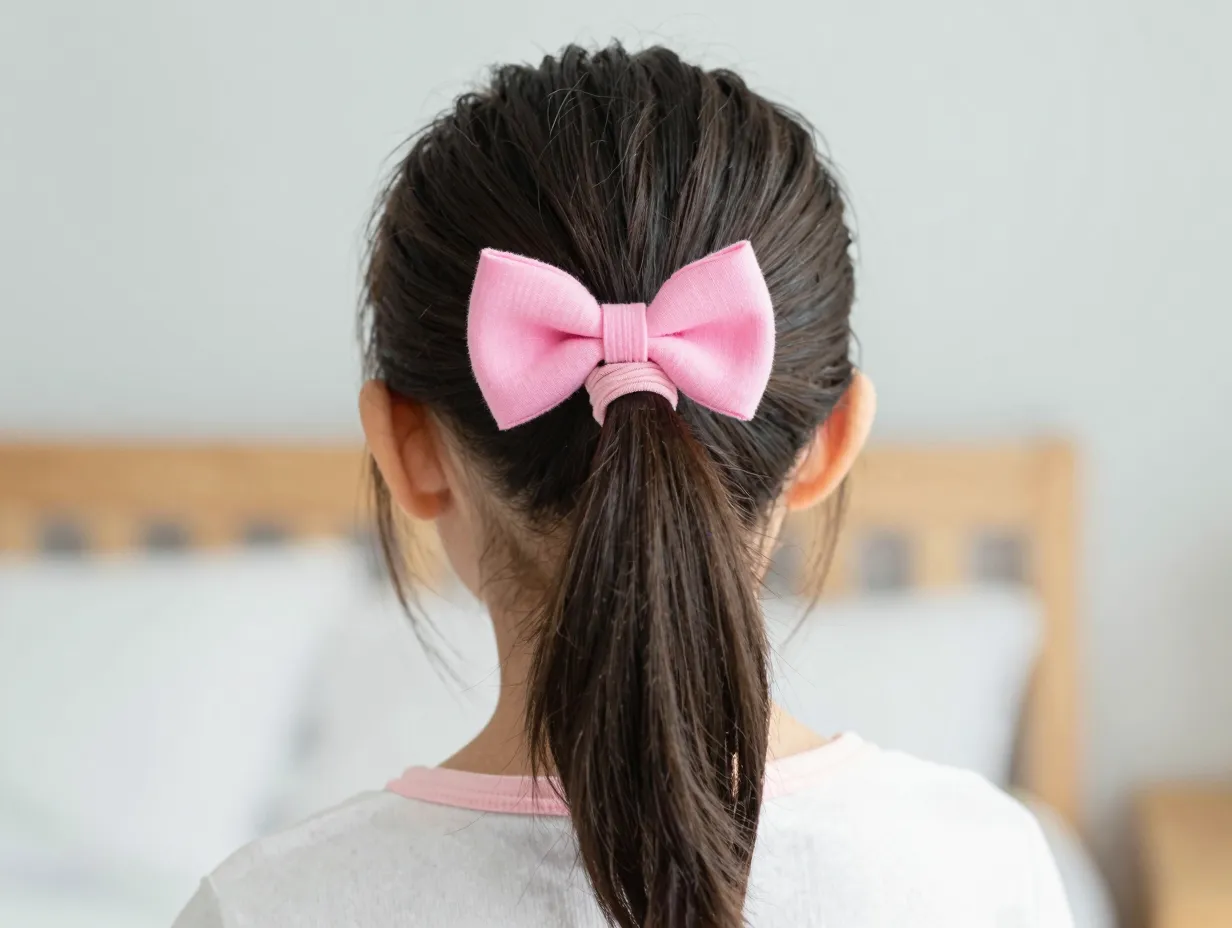
2. The Super-Easy Ponytail Bow (Beginner)
Skill level: 🟢 Beginner
Best for: Kids’ hair, busy mornings, quick styling
Hair length: Short to medium
If you’re a parent styling a child’s hair or simply want the fastest possible bow look, this is your go-to method [3]. Multiple creators promote this “easy way” bow tutorial specifically for low-skill levels, with minimal sectioning required.
How to do it:
- Pull all hair into a standard ponytail at the desired height.
- On the final loop of the elastic, pull only halfway through to create a looped bun.
- Split the loop into two sections and gently pull them apart to form bow wings.
- Secure with a second small elastic or bobby pins.
- Let the remaining tail hang naturally or tuck it under.
✅ Pro tip: Use a hair elastic that matches your hair color for a cleaner, more seamless finish.
This method is explicitly framed as a “super-easy, entry-level approach” and is ideal for children’s hairstyles [3]. It takes under five minutes once you’ve practiced it twice.
3. The Bow-Topped High Bun (Beginner–Intermediate)
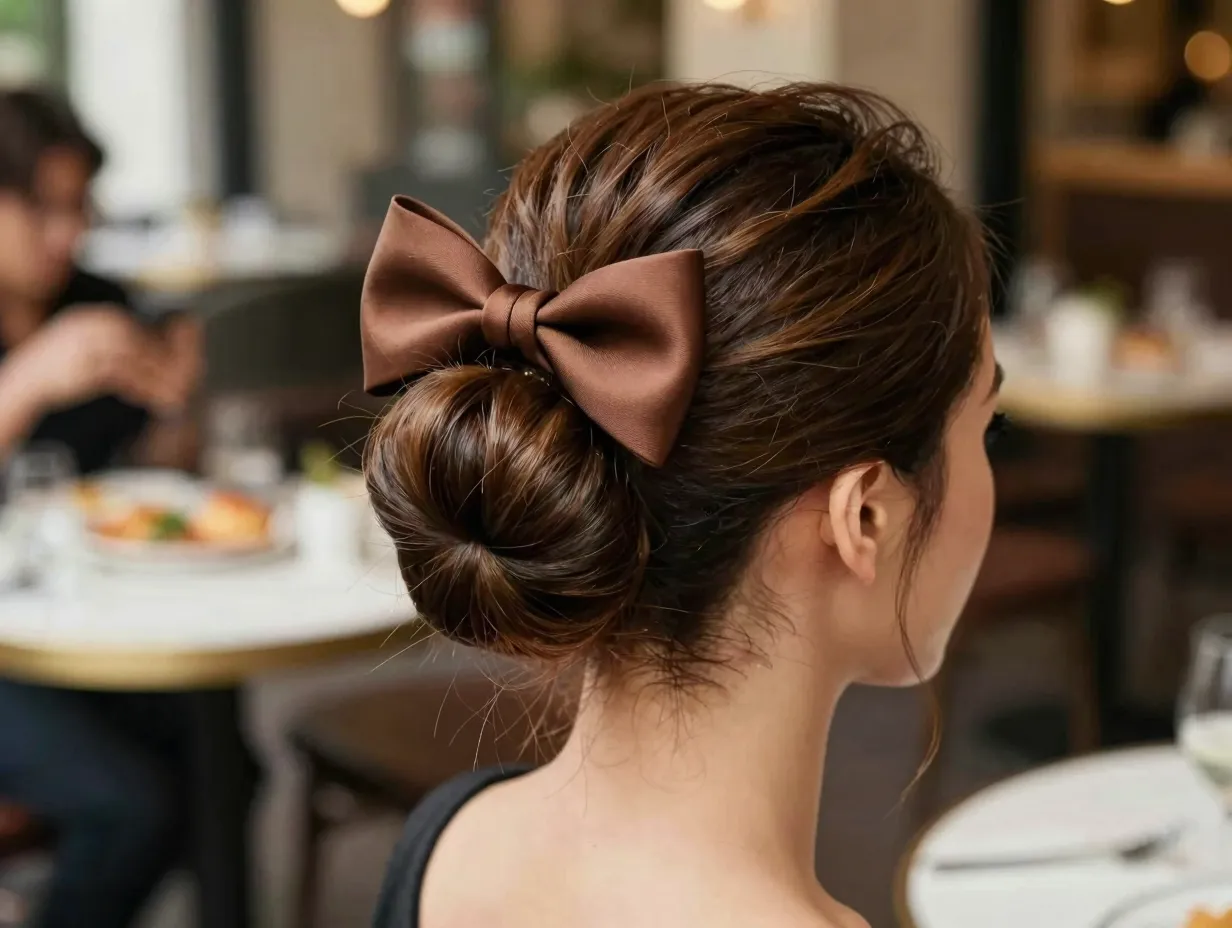
Skill level: 🟢🟡 Beginner–Intermediate
Best for: Brunch, casual events, everyday glam
Hair length: Medium to long
The bow bun is a step up from the basic ponytail bow and delivers a significantly more polished result [5]. It works beautifully for medium to long hair and is appropriate from brunch to weddings, according to style guides [5].
How to do it:
- Pull your hair into a high ponytail and secure it tightly.
- Divide the ponytail into two equal sections.
- Loop each section back on itself and pin to create two rounded bow wings.
- Take a small piece of hair from the remaining tail and wrap it around the center of the bow to form the knot.
- Pin the knot piece underneath.
- Tuck any remaining tail under the bun and secure with pins.
✅ Pro tip: Apply a small amount of styling wax to smooth flyaways before forming the bow for a sleeker finish.
4. The Half-Up Bow with Braided Accent (Intermediate)
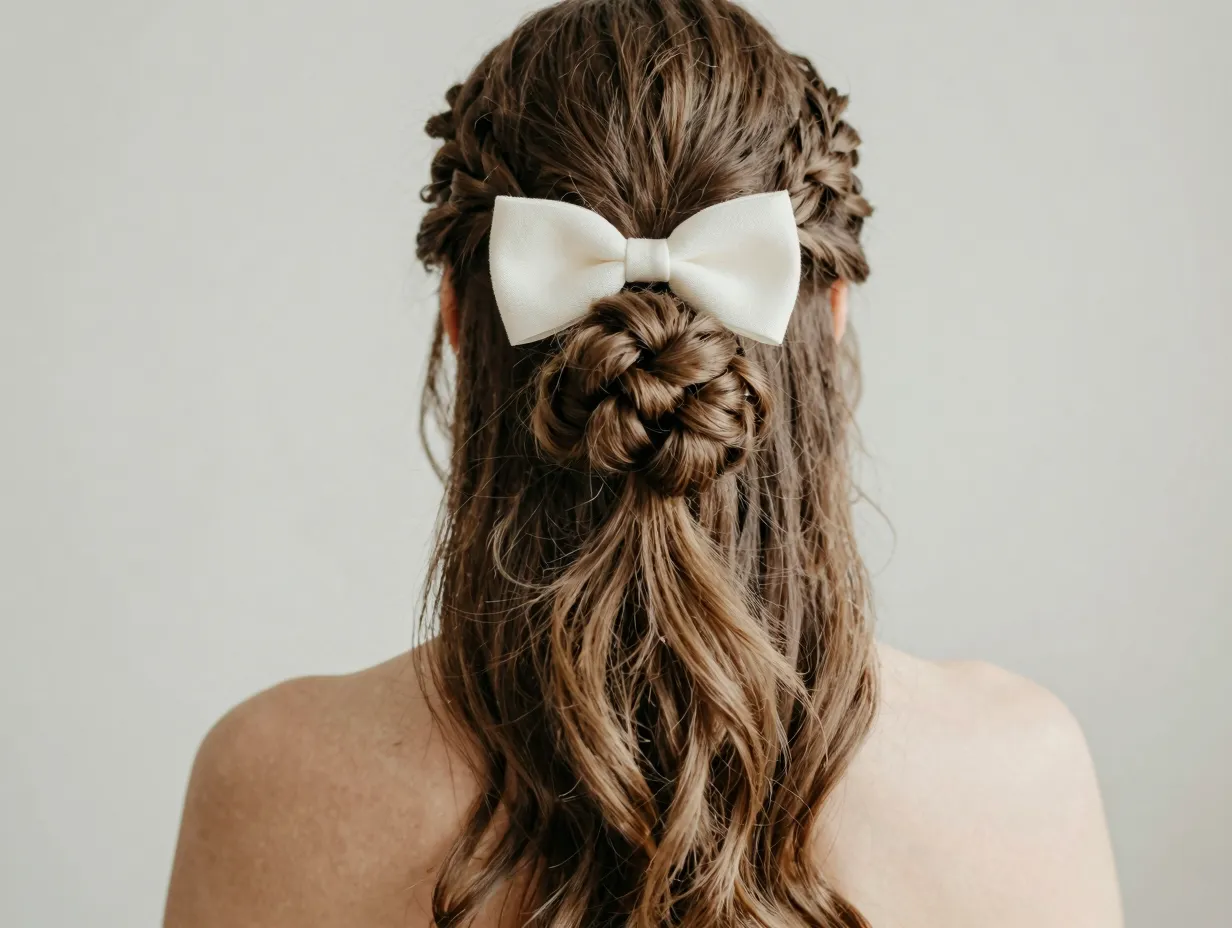
Skill level: 🟡 Intermediate
Best for: Prom, parties, weddings, special occasions
Hair length: Medium to long
This style combines a bow at the crown with braided elements and a mini messy bun finish — a combination that looks far more complex than it actually is [7]. It’s pitched specifically for special occasions like prom, weddings, and parties, and is designed to be achievable without professional help [7].
How to do it:
- Part your hair and take a section from the crown area.
- Create a small, tight ponytail at the crown.
- Form a bow from this ponytail using the loop-and-pin method (see Tutorial 1).
- Take two side sections and create simple three-strand braids on each side.
- Bring the braids back and join them into a small messy bun beneath the bow.
- Secure with pins and finish with hairspray.
✅ Pro tip: Leave a few face-framing pieces loose to soften the overall look — this works especially well for romantic occasions.
5. The Festive High-Ponytail Bow (Intermediate)
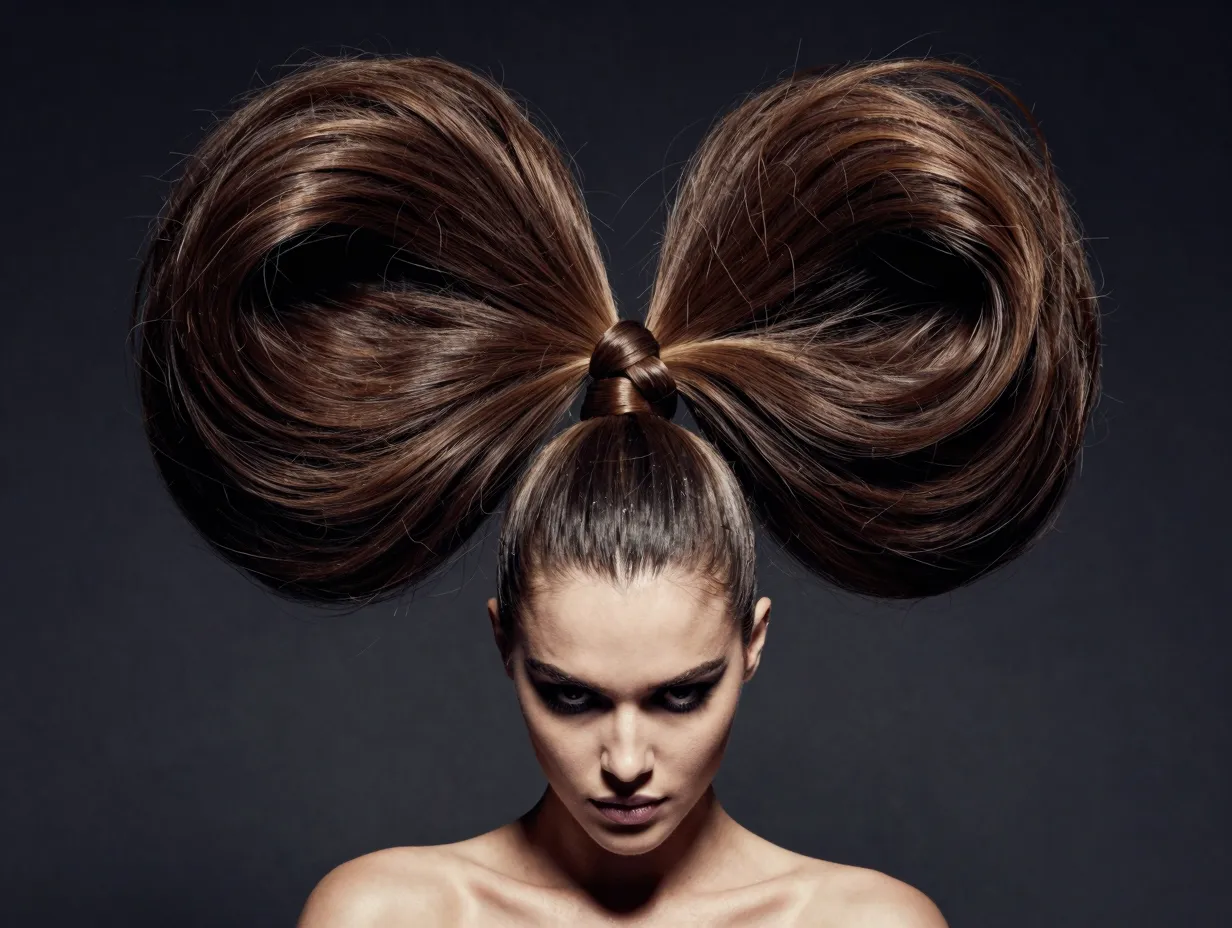
Skill level: 🟡 Intermediate
Best for: Parties, editorial looks, events
Hair length: Long
This is the classic editorial bow look — structured, bold, and striking. Cosmopolitan’s guide outlines a method that relies on backcombing and styling products for structure, reflecting a more salon-inspired approach [2].
How to do it:
- Pull all your hair into a high ponytail and secure firmly.
- Divide the ponytail into two equal sections.
- Backcomb each section thoroughly to add volume and body.
- Fold each section back on itself toward the base of the ponytail to form a loop (the bow wings).
- Pin each wing securely at the base.
- Take a small piece of hair and wrap it around the center to form the knot.
- Finish with styling wax on the surface and a generous mist of strong-hold hairspray [2].
✅ Pro tip: The more you backcomb, the bigger and more dramatic the bow. For a sleeker, more refined look, skip the backcombing and rely on the fold alone.
6. The Bubble Braid Bow Ponytail (Intermediate–Advanced)
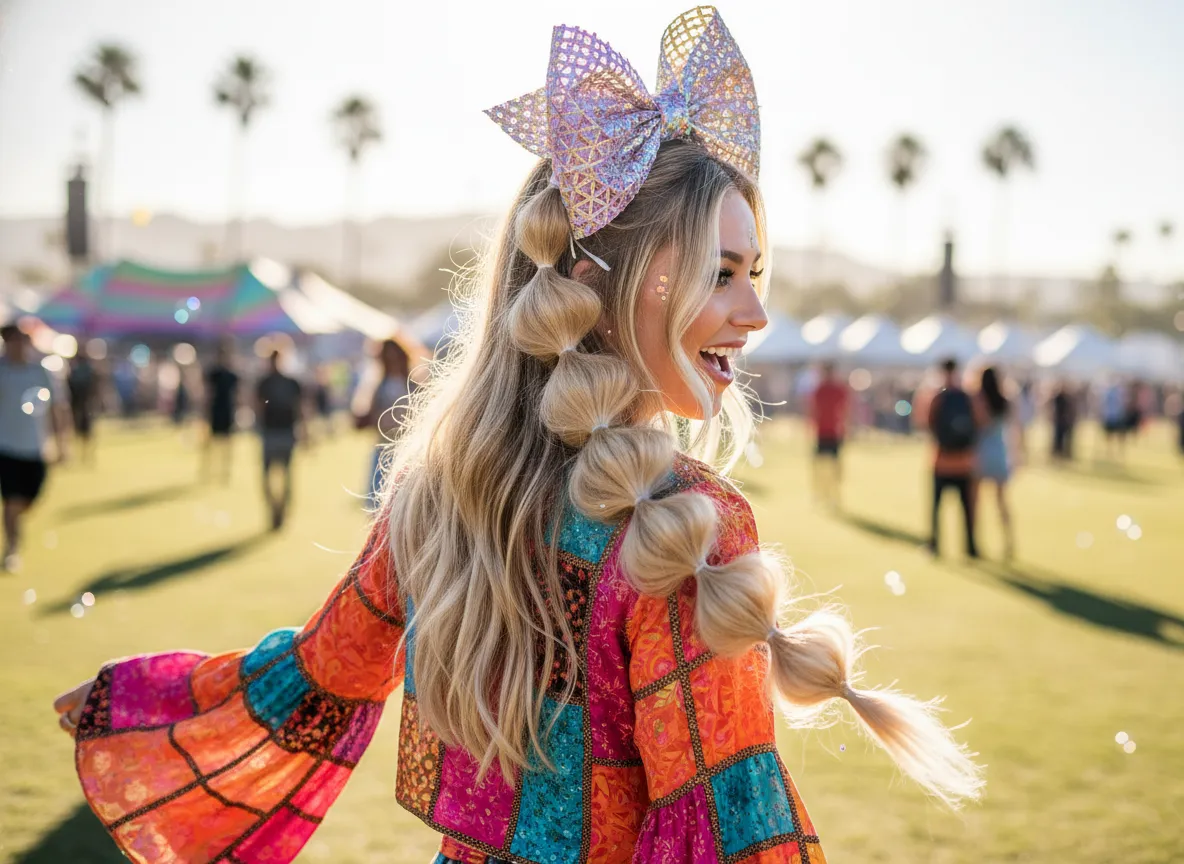
Skill level: 🟡🔴 Intermediate–Advanced
Best for: Festivals, editorial shoots, statement looks
Hair length: Long
The bubble braid bow ponytail is one of the freshest bow-adjacent trends of 2026. It combines the structure of a bow at the crown with a bubble-braided ponytail trailing below — a genuinely show-stopping combination [5].
How to do it:
- Create a bow at the crown using your preferred method (Tutorial 1 or 3 works well here).
- Gather the remaining hair into a low ponytail below the bow.
- Section the ponytail into equal segments and secure each with a small clear elastic.
- Gently pull apart each segment to create the “bubble” effect.
- Finish with light-hold hairspray to keep the bubbles in place.
✅ Pro tip: The bubbles look best when they’re slightly uneven — don’t overthink the perfection here. A little texture adds to the charm.
7. The Double Bow (Twin Buns) (Intermediate–Advanced)
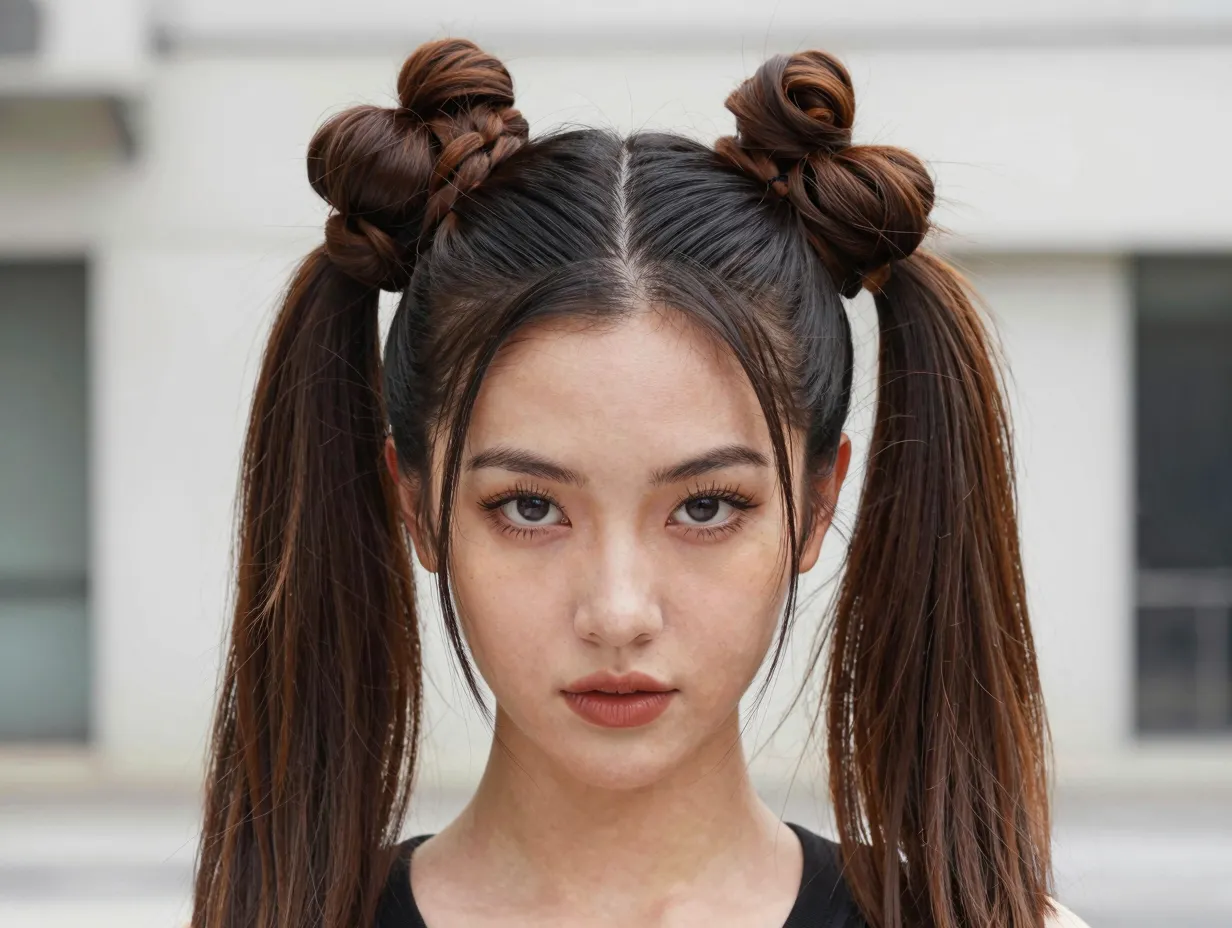
Skill level: 🟡🔴 Intermediate–Advanced
Best for: Festivals, Y2K-inspired looks, bold everyday styling
Hair length: Medium to long
Double bows — also called space buns with bow accents — are one of the most eye-catching placements in the bow hairstyle repertoire [4]. Hermosahair highlights double buns as one of seven key bow placements worth mastering [4].
How to do it:
- Part your hair down the center from front to back.
- Secure each side into a high ponytail.
- On each ponytail, form a bow using the loop-and-pin method.
- Make sure both bows are symmetrical in size and height — use a mirror to check both sides.
- Secure any loose ends and pin them neatly.
- Apply hairspray to hold.
✅ Pro tip: Slightly mismatched bows can look intentionally cool for festival or editorial styling — don’t stress about perfection.
8. The Bridal Bow Updo (Advanced)
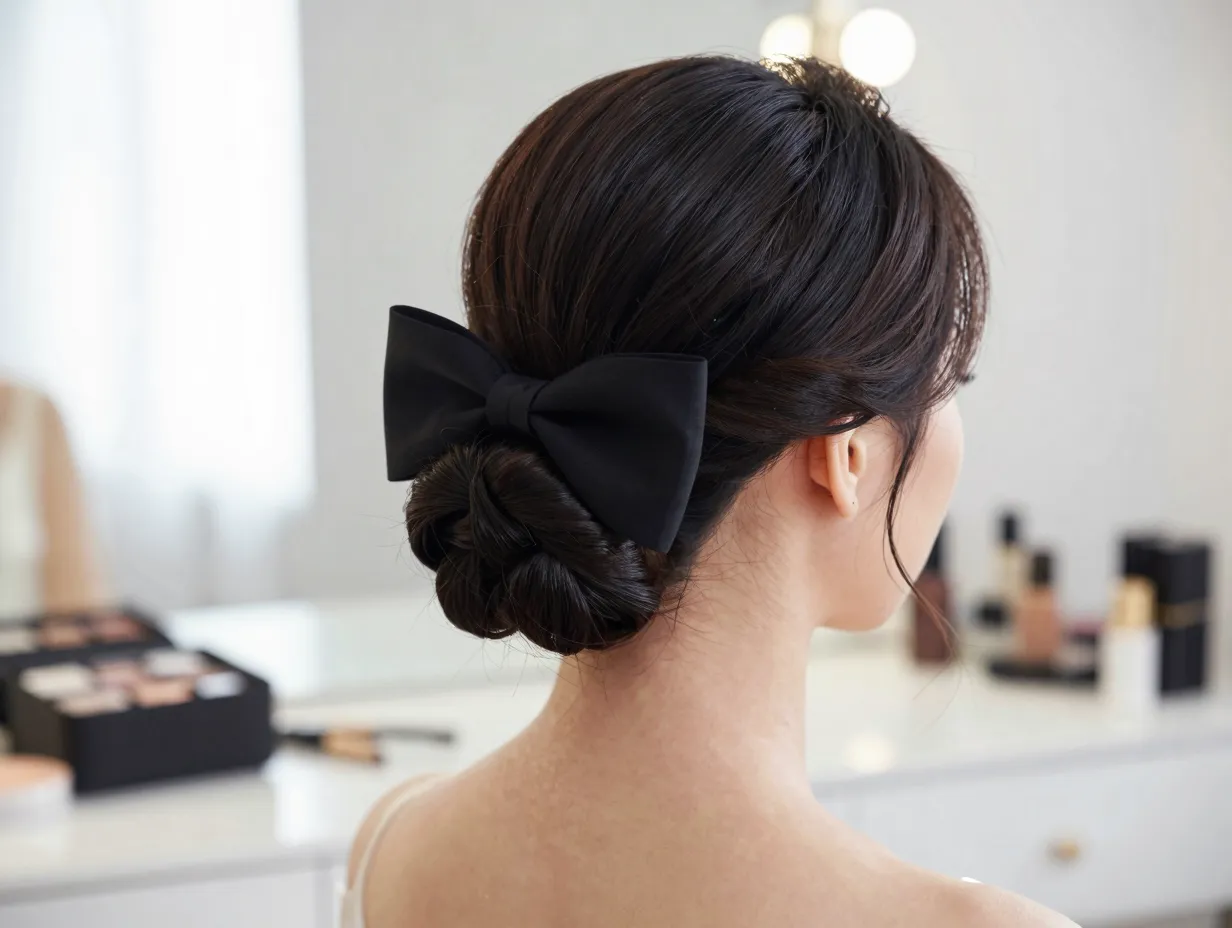
Skill level: 🔴 Advanced
Best for: Weddings, black-tie events, bridal parties
Hair length: Long (extensions can help)
The bridal bow updo is the pinnacle of bow hairstyle artistry. It combines a sculpted bow with an elegant updo base, often incorporating braids, twists, or a chignon [4][6]. This is the style that has appeared on bridal runways and in editorial shoots throughout 2025 and into 2026.
How to do it:
- Begin with a sleek, well-prepped base — blow-dry and straighten or curl as preferred.
- Create a low chignon or twisted updo at the nape of the neck and pin securely.
- Reserve a generous section of hair at the crown (or use extension pieces for volume).
- Form a large, structured bow from this section using the fold-and-pin method.
- Position the bow at the crown or slightly to one side for an asymmetric bridal effect.
- Smooth every surface with a fine-tooth comb and styling wax.
- Finish with strong-hold hairspray and secure any loose pins.
✅ Pro tip: Practice this style at least twice before the big day. Bridal bows benefit enormously from a trial run — and having a second pair of hands makes the process significantly easier.
“Bridal bow hairstyles and even bow accents on frontal wigs are now firmly part of the mainstream styling conversation.” [4]
Choosing the Right Bow Placement for Your Style
One of the most underrated skills in bow hairstyling is knowing where to place your bow. Hermosahair’s guide highlights seven key bow placements that can transform the same basic technique into completely different looks [4]:
- On braids — weave a bow into a braid for a whimsical, fairy-tale effect.
- High buns — place the bow at the very top for maximum visual impact.
- Messy low buns — a bow here adds polish to an otherwise relaxed style.
- Double buns — twin bows for a bold, symmetrical statement.
- Half-up styles — the most versatile placement, balancing casual and formal.
- Bridal styles — structured bows at the crown or nape for wedding elegance.
- Frontal wigs — attach a bow to a wig for an accessible, no-skill-required option [4].
Tools You’ll Need for These 8 Beautiful Bow Hairstyle Tutorials for Every Skill Level
Having the right tools on hand makes every bow hairstyle significantly easier to execute. Here’s a quick reference list:
| Tool | Why You Need It |
|---|---|
| Bobby pins | Securing bow loops and knots |
| Clear hair elastics | Invisible hold for ponytails and sections |
| Fine-tooth comb | Backcombing and smoothing surfaces |
| Topsy tail tool | Flipping sections for the half-up bow |
| Styling wax | Smoothing flyaways on structured bows |
| Strong-hold hairspray | Locking the finished style in place |
| Sectioning clips | Keeping unused hair out of the way |
| Texturizing spray | Adding grip to slippery or fine hair |
Clip-In Bows: A Legitimate Alternative
Not everyone is ready — or willing — to sculpt a bow from their own hair, and that’s completely fine. Clip-in and snap-in bows are a stylish, accessible alternative that delivers the same visual impact with zero technique required [4][6].
HairVietnam’s guide walks through the distinction between forming a bow from your own hair versus adding a clip-in bow, helping users choose the approach that suits their dexterity and comfort level [6]. For beginners, clip-in bows are a fantastic starting point — you can experiment with placement and sizing without any commitment.
Tips for Different Hair Types
Bow hairstyles are not one-size-fits-all, and a few adjustments go a long way:
- Fine hair: Use texturizing spray before styling to add grip. Backcomb gently to build volume in the bow loops.
- Thick hair: You may need extra bobby pins to secure the bow. Consider using a stronger elastic.
- Curly or coily hair: Work with second-day hair for easier manipulation. Define your sections clearly before forming the bow.
- Short hair: Opt for smaller bows placed at the crown or use clip-in bows for fuller looks.
- Color-treated hair: Use heat-free techniques where possible to protect your color investment.
Frequently Asked Questions
Q: Can I do a bow hairstyle on short hair?
Yes! Half-up bows and clip-in bows work beautifully on shorter lengths. The key is working with what you have rather than trying to replicate long-hair tutorials exactly.
Q: How do I keep my bow from falling out?
Use strong-hold hairspray and ensure each loop is secured with at least two crossed bobby pins. The topsy-tail technique also creates a more locked-in structure than simple pinning.
Q: Are bow hairstyles appropriate for professional settings?
Absolutely — a sleek, structured bow on a low bun or half-up style is polished and professional. Avoid overly voluminous or asymmetric bows in conservative workplaces.
Q: How long does a bow hairstyle last?
With proper pinning and hairspray, most bow hairstyles last a full day. Bridal-level bows with strong-hold products can last through an entire wedding reception.
Conclusion: Your Next Steps with These 8 Beautiful Bow Hairstyle Tutorials for Every Skill Level
Bow hairstyles in 2026 are genuinely for everyone — every hair type, every skill level, and every occasion. The 8 Beautiful Bow Hairstyle Tutorials for Every Skill Level covered in this guide give you a clear progression path: start with the classic half-up bow or the super-easy ponytail bow if you’re new to this, work your way through the festive high-ponytail bow and the braided accent style as your skills grow, and tackle the bridal bow updo when you’re ready to go all-in.
Here’s your action plan:
- Pick one tutorial that matches your current skill level and try it this week.
- Gather your tools — at minimum, bobby pins, clear elastics, and hairspray.
- Practice the basic loop-and-pin method until it feels natural — everything else builds from there.
- Experiment with placement using the seven bow placement ideas from Hermosahair [4].
- Share your results — the bow hairstyle community online is incredibly supportive and full of inspiration.
The bow is not just a hairstyle. It’s a statement. And now you have everything you need to make it yours. 🎀
References
[1] Watch – https://www.youtube.com/watch?v=7fIuS6uSPQs
[2] Bow Hairstyle How To Pictures – https://www.cosmopolitan.com/uk/beauty-hair/hair/a24207/bow-hairstyle-how-to-pictures/
[3] Watch – https://www.youtube.com/watch?v=4BrEW8OOQcs
[4] Hair Bow Hairstyles – https://www.hermosahair.com/blogs/blog/hair-bow-hairstyles
[5] Easy Bow Hairstyles – https://www.haiirology.com/blog/easy-bow-hairstyles
[6] Bow Hairstyle – https://hairvietnam.com/bow-hairstyle/
[7] Watch – https://www.youtube.com/watch?v=fEBBtsXtOAM
[8] Watch – https://www.youtube.com/watch?v=gqmmz4WVwVU
[9] Watch – https://www.youtube.com/watch?v=jn_t4tSY-wQ
[10] Watch – https://www.youtube.com/watch?v=hWLRXhqgSak