8 Curly Hair Styles Tutorials to Unlock Your Best Curl Day Ever
Nearly 65% of people worldwide have naturally wavy or curly hair — yet most curly-haired individuals spend years fighting their texture instead of working with it. That stops today. This guide to 8 Curly Hair Styles Tutorials to Unlock Your Best Curl Day Ever is your complete roadmap to embracing, styling, and showing off every coil, wave, and ringlet you’ve got.
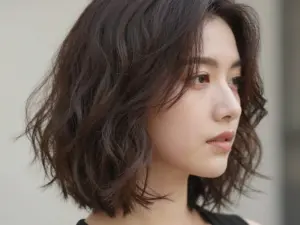
Whether your curls fall into the loose, beachy type 2 category or you’re rocking tight, voluminous type 4 coils, the right technique makes all the difference. Each tutorial below is grounded in real styling methods, tested across multiple curl types, and designed to be achievable — even on a rushed morning.
Key Takeaways 🌀
- Foundation matters most: A solid wash-day routine using shampoo, conditioner, and leave-in conditioner sets the stage for every style on this list [2]
- Your curl type determines your best styles: Type 2 and 3 curls thrive in loose updos and braided styles, while type 4 curls shine in puffs and scarf-wrapped looks [3]
- Accessories are your secret weapon: Scarves, clips, and headbands can elevate any curly style in minutes without extra effort [6]
- Versatility is built-in: Several styles here transition seamlessly from day to night without a complete restyle [4]
- Consistency beats perfection: Mastering two or three go-to styles from these 8 curly hair tutorials will transform your daily routine
Why These 8 Curly Hair Styles Tutorials Work for Every Curl Type
Before diving into the tutorials themselves, it helps to understand why these specific styles were chosen. Not every curly hairstyle works on every texture, and that disconnect is exactly what leaves so many people frustrated. The 8 Curly Hair Styles Tutorials to Unlock Your Best Curl Day Ever featured here were selected because they:
✅ Cover a wide range of curl types (2A through 4C)
✅ Use accessible, affordable tools and products
✅ Range from five-minute quick styles to more polished looks
✅ Include both protective and wear-and-go options
✅ Work for casual, professional, and evening occasions
“The biggest mistake curly-haired people make is skipping the foundational steps — great styling starts in the shower, not in front of the mirror.” [2]
Understanding Your Curl Type Before You Style
| Curl Type | Description | Best Styles from This List |
|---|---|---|
| Type 2A–2C | Loose, beachy waves | Casual updo, accessory-enhanced styles |
| Type 3A–3B | Defined, springy spirals | High bun with tendrils, French braid ponytail |
| Type 3C–4A | Tight corkscrews | Dual bun, scarf-wrapped puff |
| Type 4B–4C | Dense, coily ringlets | High puff, protective braided styles |
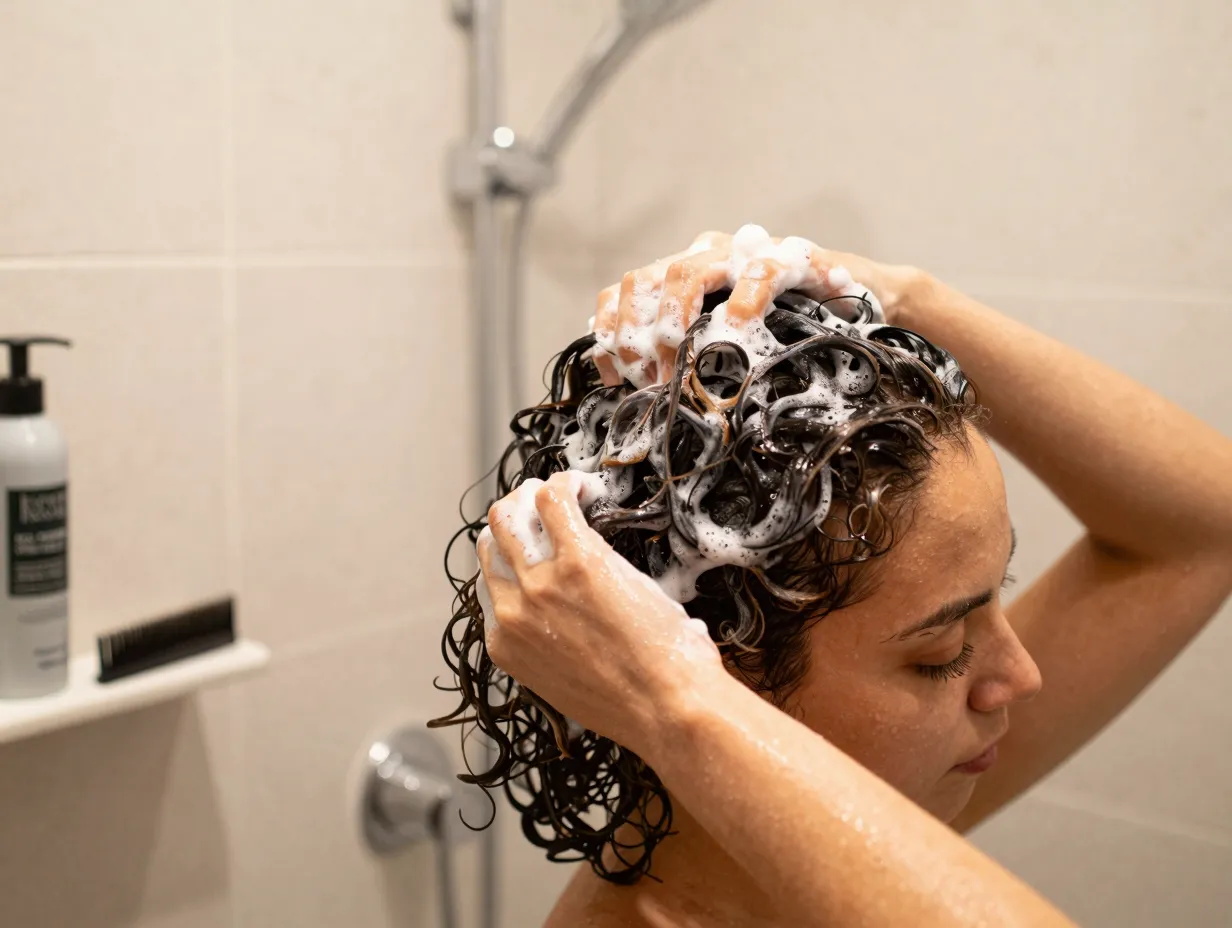
The Non-Negotiable Foundation: Your Wash Day Routine
Every style in this guide performs best when your curls start from a clean, well-conditioned base. A universal curly hair routine framework — tested across wavy to coily hair types — recommends beginning with a quality shampoo and conditioner, followed immediately by a leave-in conditioner applied to soaking-wet hair [2]. This three-step foundation creates the moisture and definition that make every style below look polished rather than frizzy.
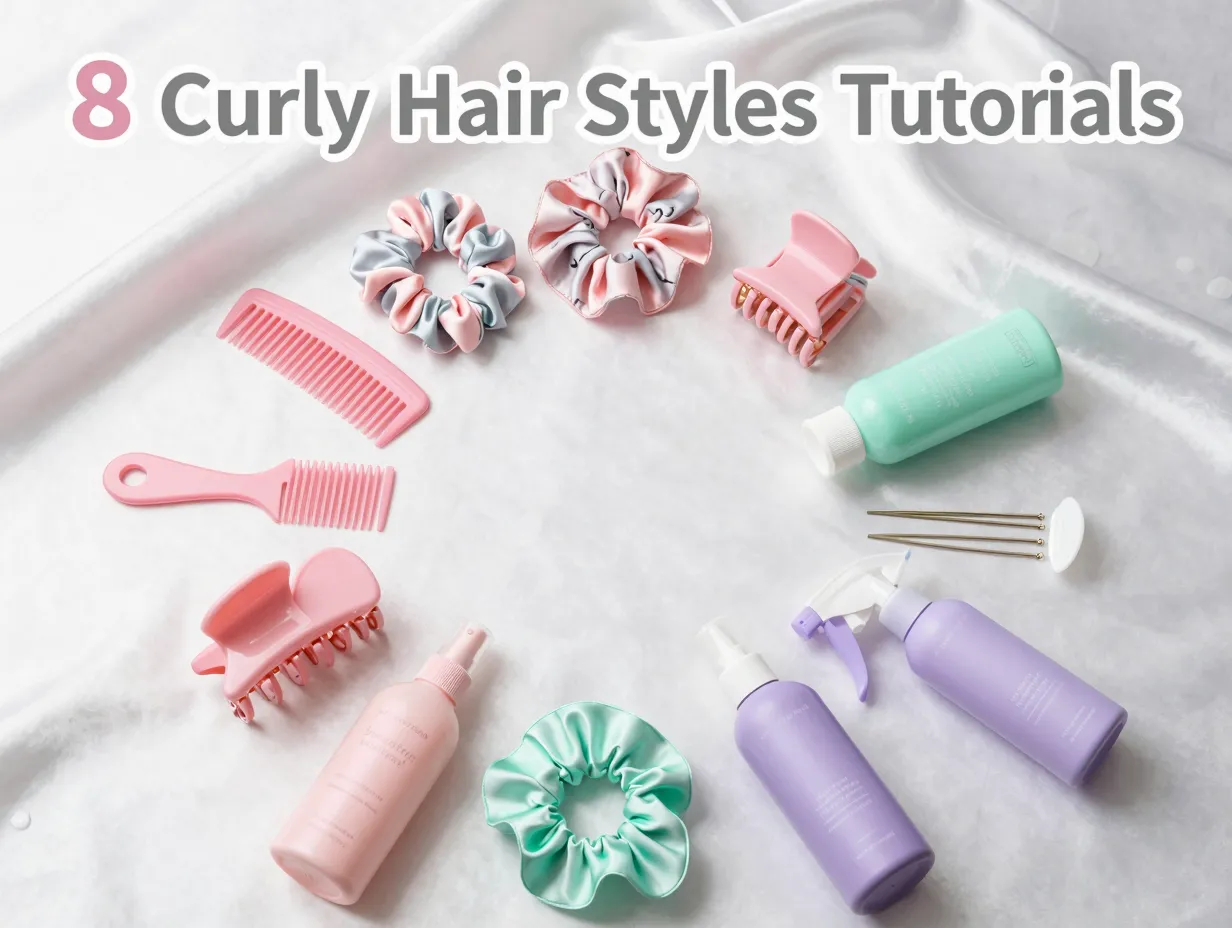
Essential products to have on hand:
- Sulfate-free shampoo
- Deep conditioner or co-wash
- Leave-in conditioner
- Curl-defining gel or cream
- Microfiber towel or cotton T-shirt
- Wide-tooth comb or detangling brush
The Complete 8 Curly Hair Styles Tutorials to Unlock Your Best Curl Day Ever
1. The Universal Wash-and-Go (Your Curl Day Reset)
Best for: All curl types | Time: 10–15 minutes active, plus drying time
The wash-and-go is the foundation of all curly styling — and it’s the starting point for most of the styles below. This isn’t just “wash your hair and leave.” Done correctly, it produces defined, frizz-free curls that last for days [2].
Step-by-step:
- Shampoo thoroughly, focusing on the scalp
- Apply conditioner from mid-length to ends; detangle with a wide-tooth comb while the conditioner is in
- Rinse and immediately apply leave-in conditioner to soaking-wet hair
- Scrunch in a curl-defining gel or cream, working in sections
- Diffuse on low heat or air dry without touching
Pro tip 💡: The “squish to condish” method — scrunching water and conditioner into your hair simultaneously — dramatically improves curl clumping and definition [9].
What makes it work: Applying products to dripping-wet hair seals in moisture and encourages your natural curl pattern to form without interference [2].
2. The Casual Loose Updo (Effortless Everyday Elegance)
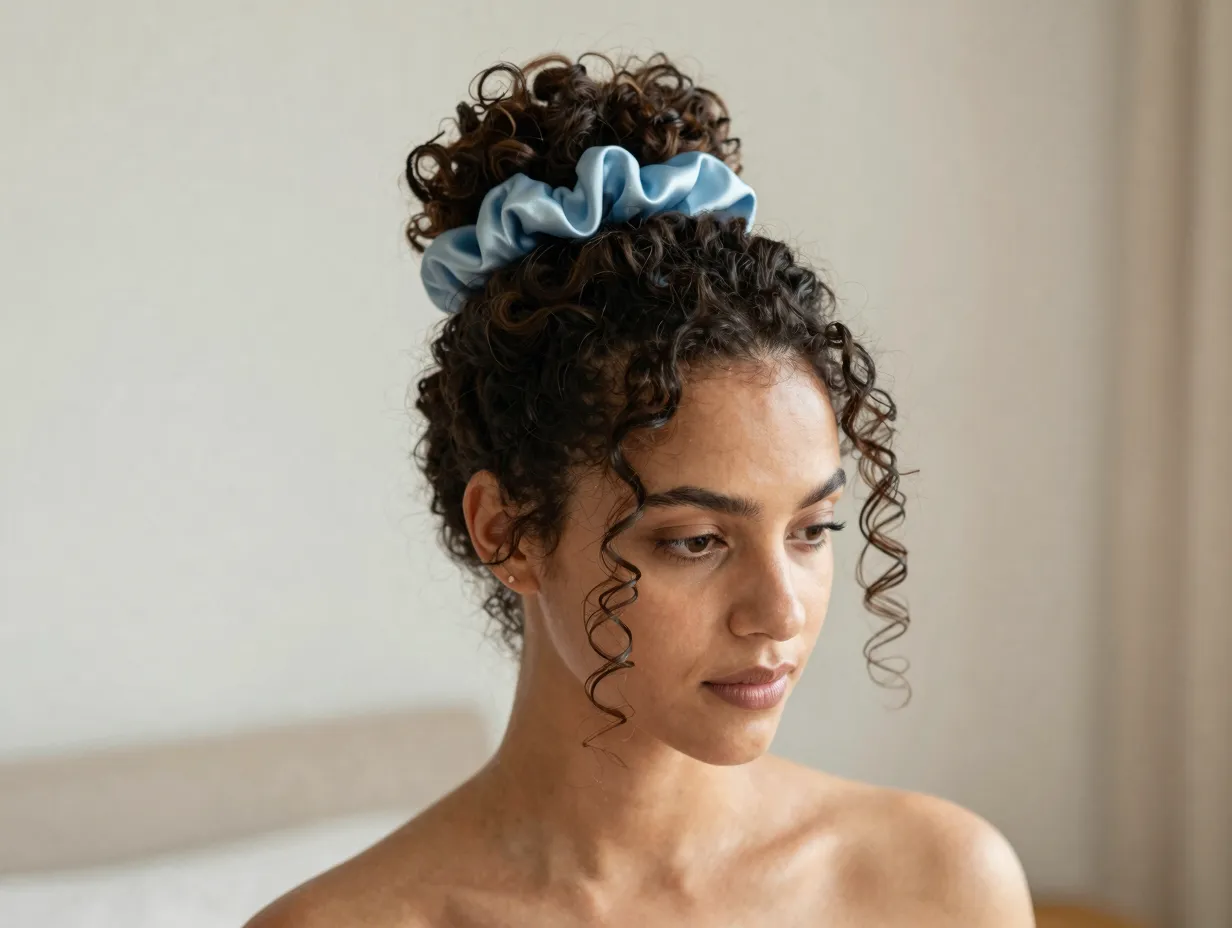
Best for: Type 2 and Type 3 curls | Time: 5–8 minutes
This is the style you reach for when you want to look put-together without actually trying too hard. The casual loose updo works beautifully on type 2 and type 3 curls, using a scrunchie or bobby pins to gather hair loosely at the crown or nape [3].
Step-by-step:
- Start with second or third-day curls (or freshly diffused hair)
- Gather hair loosely — don’t smooth it down
- Secure with a satin-lined scrunchie, leaving pieces loose around the face
- Apply a small amount of gel styler to edges and any flyaways [3]
- Pull a few curls free at the temples for a soft, romantic frame
Why it works: The looseness of this updo honors your curl’s natural volume rather than fighting it. Gel stylers tame the edges without making the whole look stiff [3].
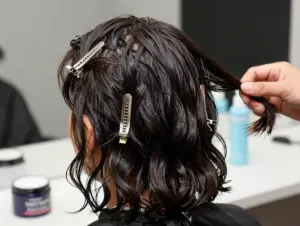
3. The Slicked High Bun with Tendrils (Sleek Meets Soft)

Best for: Type 3A–3C curls | Time: 8–12 minutes
Few styles feel as simultaneously polished and playful as the slicked high bun with tendrils. This look creates a sleek, secured bun at the crown while leaving a few carefully chosen ringlets loose to frame the face [4].
Step-by-step:
- Apply a smoothing gel or edge control to the top and sides of your hair
- Gather hair into a high ponytail, smoothing as you go
- Twist or coil the ponytail into a bun and secure with bobby pins
- Pull two or three ringlets free at the temples and cheekbones
- Set edges with a soft-hold gel and a satin scarf for 10 minutes
The styling secret 🔑: The tendrils are what make this style feel intentional rather than rushed. Choose your best-defined ringlets and leave them out before securing the bun [4].
4. The French Braid Low Ponytail (Day-to-Night Perfection)
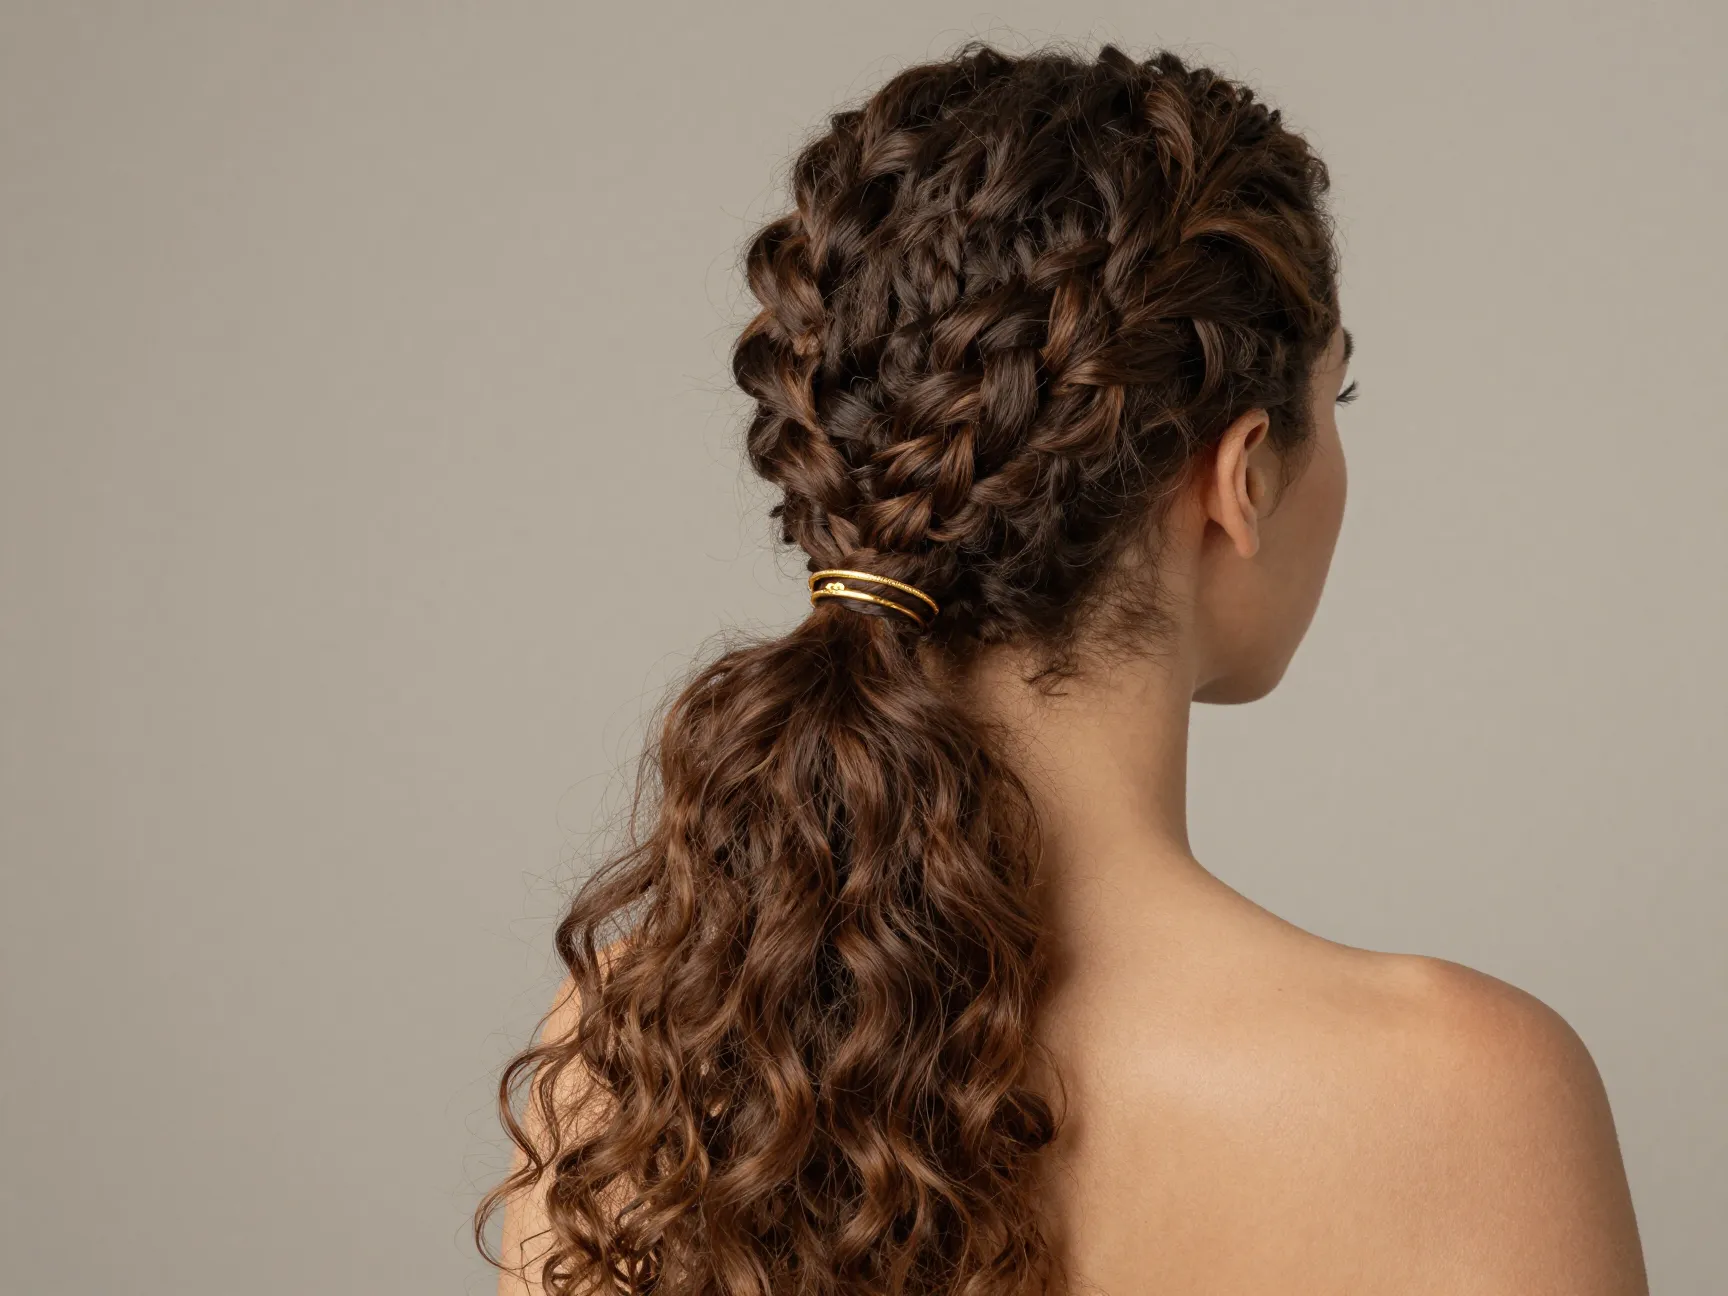
Best for: Type 2C–3B curls | Time: 10–15 minutes
This style earns its place in the 8 curly hair styles tutorials lineup because of its remarkable versatility. A French braid that transitions into a secured low ponytail resists falling out throughout the day and looks just as elegant at a dinner reservation as it does at a morning meeting [4].
Step-by-step:
- Start at the crown and begin a classic French braid, incorporating hair from both sides as you work downward
- Continue braiding to the nape of the neck
- Transition from the French braid into a regular three-strand braid or simply gather the remaining hair
- Secure with a hair tie at the low ponytail position
- Gently tug the braid sections to create a fuller, more voluminous look
Day-to-night tip 🌙: Add a decorative hair cuff or wrap a thin ribbon around the ponytail tie to instantly elevate this style for evening [4].
5. The Dual Bun Illusion (One Style, Triple the Impact)

Best for: Type 3C–4B curls | Time: 10–15 minutes
This is one of the most clever styling tricks in the curly hair world. By separating hair into three sections and creating three buns tied close together, you create the visual illusion of one large, intricate updo — with a fraction of the effort [4].
Step-by-step:
- Part hair into three horizontal sections: top, middle, and bottom
- Twist or coil each section into a bun
- Secure each bun close to the others so they appear as one connected style
- Use bobby pins to tuck in any loose ends
- Finish with a light-hold spray to keep flyaways in check
Why curly girls love this look: The natural volume and texture of curly and coily hair makes these buns appear fuller and more defined than they would on straight hair. The result looks like you spent an hour styling [4].
6. The Scarf-Wrapped High Puff (Protective and Stunning)
Best for: Type 4A–4C curls | Time: 8–12 minutes
The scarf-wrapped high puff is one of the most celebrated styles in the natural hair community — and for good reason. Starting with a high puff as your base, then wrapping a longer, wider scarf around the head multiple times, creates added height, a polished finish, and a look that’s genuinely unique every time [5].
Step-by-step:
- Gather hair into a high puff using a soft hair tie or puff cuff
- Smooth edges with edge control gel and a soft brush
- Fold a long, wide scarf lengthwise into a thick band
- Wrap the scarf around the base of the puff, starting at the front
- Continue wrapping and tucking until secure, leaving the puff exposed at the top
- Adjust the scarf’s knot or tuck for symmetry
Scarf selection matters 🧣: A longer scarf (at least 60 inches) gives you more wrapping options. Silk or satin scarves add a luxurious finish and protect hair from friction [5].
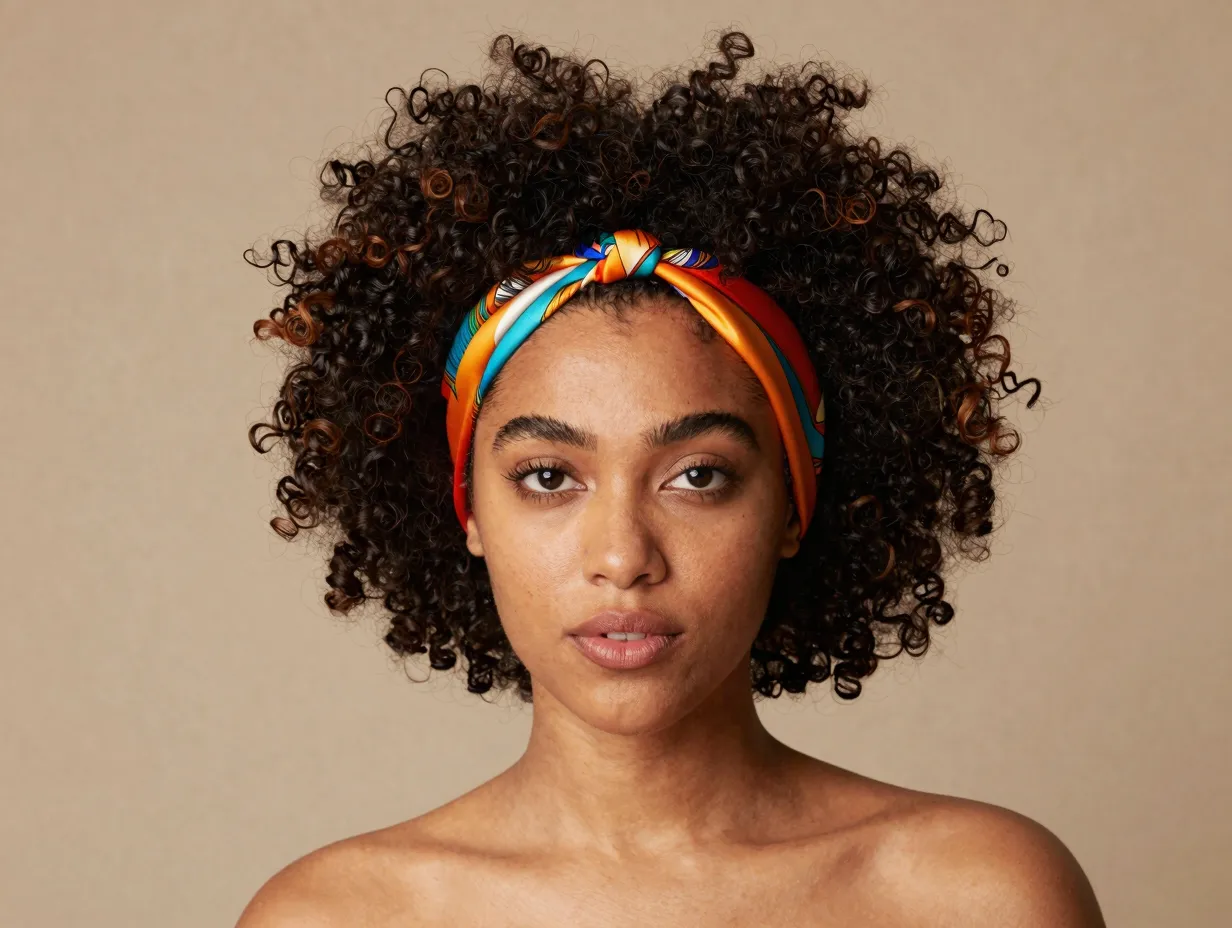
7. The Accessory-Enhanced Style (Maximum Impact, Minimum Effort)
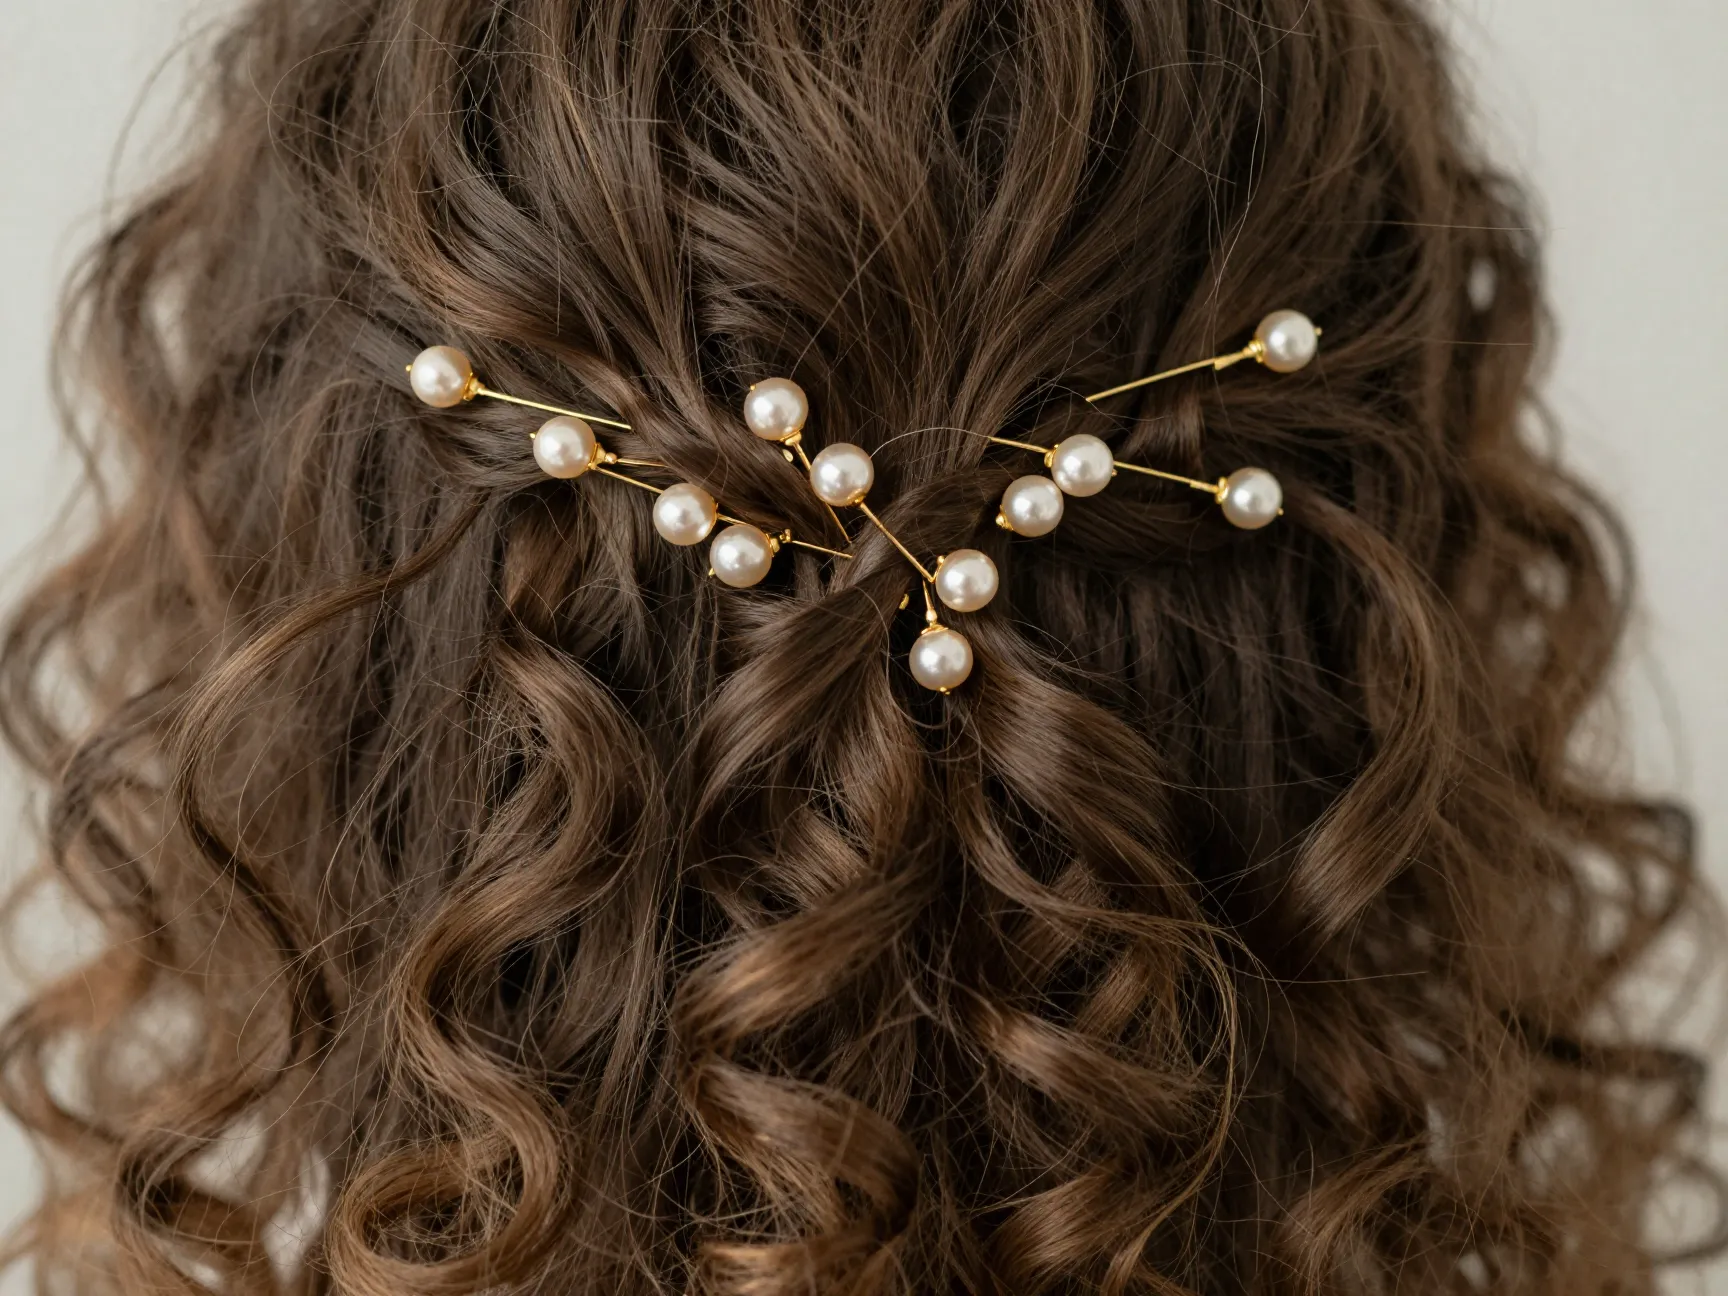
Best for: All curl types | Time: 3–5 minutes
Sometimes the best curly hair tutorial is the one that teaches you to stop overthinking. Headbands, statement clips, and creatively placed bobby pins can transform a basic wash-and-go or second-day style into something that looks deliberately styled [6].
Step-by-step options:
Option A — Headband refresh:
- Place a wide, embellished headband across the crown
- Pull a few curls forward for face-framing softness
- Done ✅
Option B — Statement clip updo:
- Gather half your hair at the crown
- Twist loosely and secure with an oversized claw clip or jaw clip
- Let the remaining curls fall naturally
Option C — Bobby pin art:
- Take small sections of curls near the temple
- Pin them back in a decorative pattern using gold or pearl-tipped bobby pins [6]
- Leave the rest of your curls free
The power of accessories: These additions don’t just look good — they also protect your ends and keep hair out of your face without requiring heat or heavy products [6].
8. The Protective Braided Style (Long-Term Curl Health)
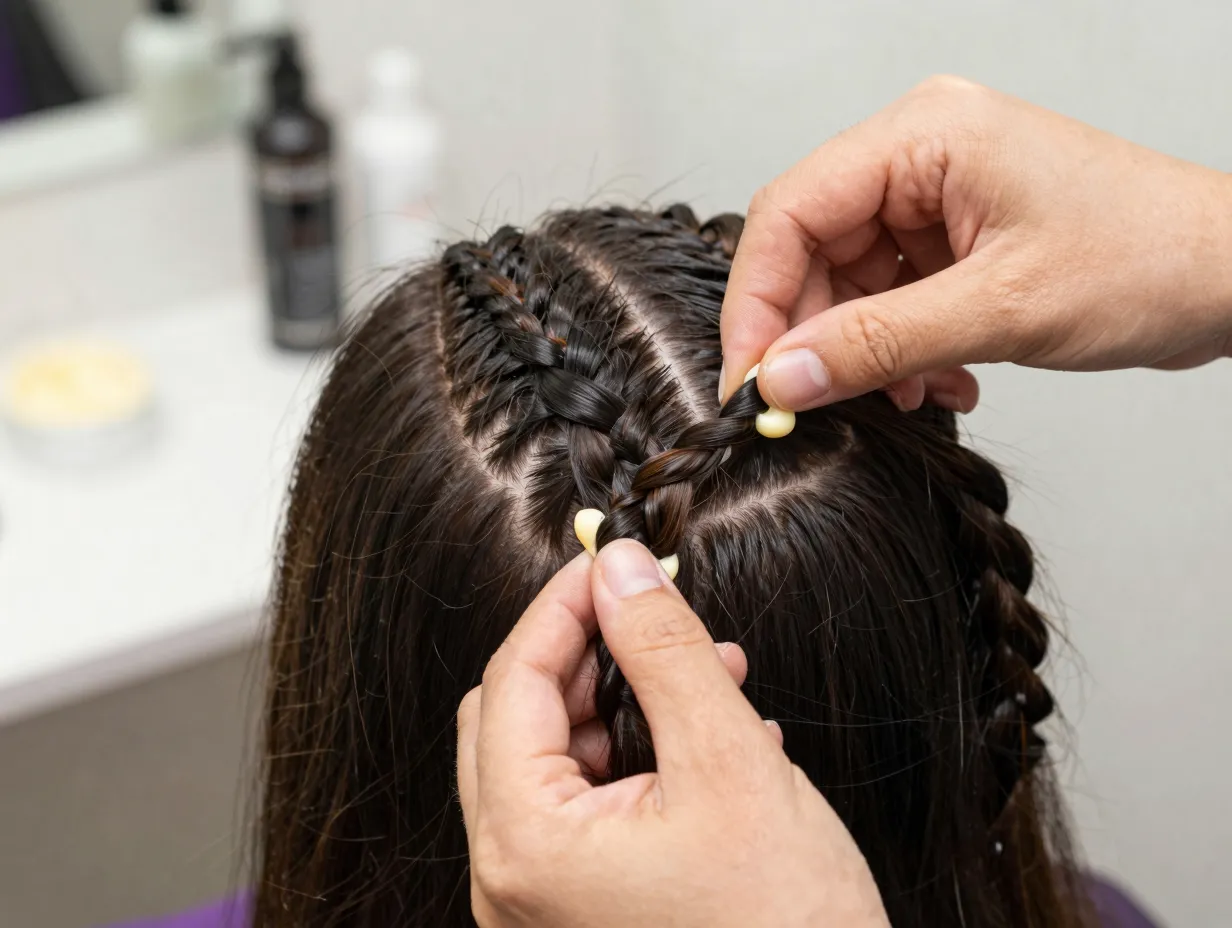
Best for: Type 3C–4C curls | Time: 20–30 minutes
The final style in our 8 Curly Hair Styles Tutorials to Unlock Your Best Curl Day Ever is the one with the longest-lasting benefits. Protective braided styles — whether two-strand twists, box braids, or cornrows — shield your ends from environmental damage, reduce daily manipulation, and support healthy curl growth over time [9].
Step-by-step (two-strand twists as the accessible entry point):
- Section freshly washed, conditioned hair into 8–12 sections
- Apply a moisturizing twist cream or butter to each section
- Divide each section into two equal strands
- Twist the two strands around each other from root to tip
- Secure the end with a small hair tie or allow it to coil naturally
- Repeat across all sections
- Allow to dry fully before unraveling for a twist-out, or wear as-is
Protective style benefits:
| Benefit | Why It Matters |
|---|---|
| Reduces breakage | Less daily combing and manipulation |
| Retains moisture | Sealed ends lose less water |
| Promotes length retention | Ends stay protected from friction |
| Low daily maintenance | Style once, refresh for days [9] |
Maintenance tip: Sleep with a satin bonnet or on a satin pillowcase to keep your protective style fresh longer [10].
Pro Tips to Get the Most from Every Curl Tutorial
Knowing the steps is only half the equation. These expert-level tips will help you execute every style from this list with better results:
🌊 Work in sections. Dividing your hair into four to six sections before applying products ensures even coverage and better curl definition.
⏰ Timing is everything. Apply styling products while hair is at its wettest — the moment you step out of the shower — for maximum hold and definition [2].
🚫 Avoid touching while drying. Scrunching or touching curls while they dry breaks up the curl clumps and causes frizz. Let them set completely before touching [9].
💧 Refresh, don’t redo. Most of these styles can be refreshed on day two or three with a light mist of water and a small amount of leave-in conditioner. You don’t need a full wash day every time.
🌡️ Heat is optional. A diffuser on low speed and low heat can speed up drying without disrupting your curl pattern. Air drying is always a safe alternative.
📱 Watch tutorials in real time. The sources behind this guide include video tutorials that show exact hand movements and techniques that are hard to convey in text alone [1] [6] [7] [8].
Common Curly Hair Styling Mistakes to Avoid
Even with the best tutorials, a few common errors can undermine your results. Here’s what to watch out for:
- Using too much product — More isn’t always better. Start with a small amount and add more only if needed
- Skipping the leave-in conditioner — This step is non-negotiable for frizz control and definition [2]
- Using a regular terrycloth towel — The rough texture disrupts curl patterns and causes frizz; switch to a microfiber towel or cotton T-shirt
- Styling on dry hair — Most curl products are designed to be applied to wet hair; applying them dry creates crunch and uneven texture
- Brushing curls when dry — This causes instant frizz; only detangle with a wide-tooth comb when hair is wet and conditioned
- Ignoring your curl type — A style that works beautifully on type 3A curls may not suit type 4C hair; always match the tutorial to your texture [3] [10]
Conclusion: Your Best Curl Day Starts Now
Your curls are not a problem to be solved — they’re a texture to be celebrated. The 8 Curly Hair Styles Tutorials to Unlock Your Best Curl Day Ever in this guide give you a complete toolkit for every occasion, mood, and curl type. From the foundational wash-and-go to the protective braided style, each tutorial builds on the last and reinforces one core truth: great curly hair is the result of the right technique, not the right genetics.
Your Actionable Next Steps 🎯
- Identify your curl type using the table in this article before choosing your first style to try
- Stock your product toolkit with the essentials listed in the foundation section
- Start with Tutorial 1 or 2 — the wash-and-go and casual updo are the most forgiving for beginners
- Watch the video sources linked in the references below for real-time visual guidance [1] [2] [5] [6]
- Give yourself three wash days before judging a new technique — curly hair styling has a learning curve, and consistency is what creates results
- Experiment with accessories from Tutorial 7 to refresh any style on day two or three without starting over
The best curl day you’ve ever had isn’t behind you — it’s waiting in your next wash day. Start with one tutorial, master it, and build from there. Your curls will thank you. 🌀
References
[1] Watch – https://www.youtube.com/watch?v=ktNVstEVWbk
[2] Watch – https://www.youtube.com/watch?v=LFCrd6E6QaE
[3] Curly Hairstyles – https://eu.curlsmith.com/blogs/style-hub/curly-hairstyles
[4] Hairstyles For Curly Hair – https://www.southernliving.com/fashion-beauty/hairstyles/hairstyles-for-curly-hair
[5] Watch – https://www.youtube.com/watch?v=6gxDwY-tCOc
[6] Watch – https://www.youtube.com/watch?v=7wUGYXoIuYE
[7] Watch – https://www.youtube.com/watch?v=c39HLZTwg6M
[8] Watch – https://www.youtube.com/watch?v=9wCz7yOiiew
[9] Curly Hair Tutorials Tips Styling Care – https://travelingwithjessica.com/blog/curly-hair-tutorials-tips-styling-care
[10] Natural Curly Hairstyles – https://therighthairstyles.com/natural-curly-hairstyles/