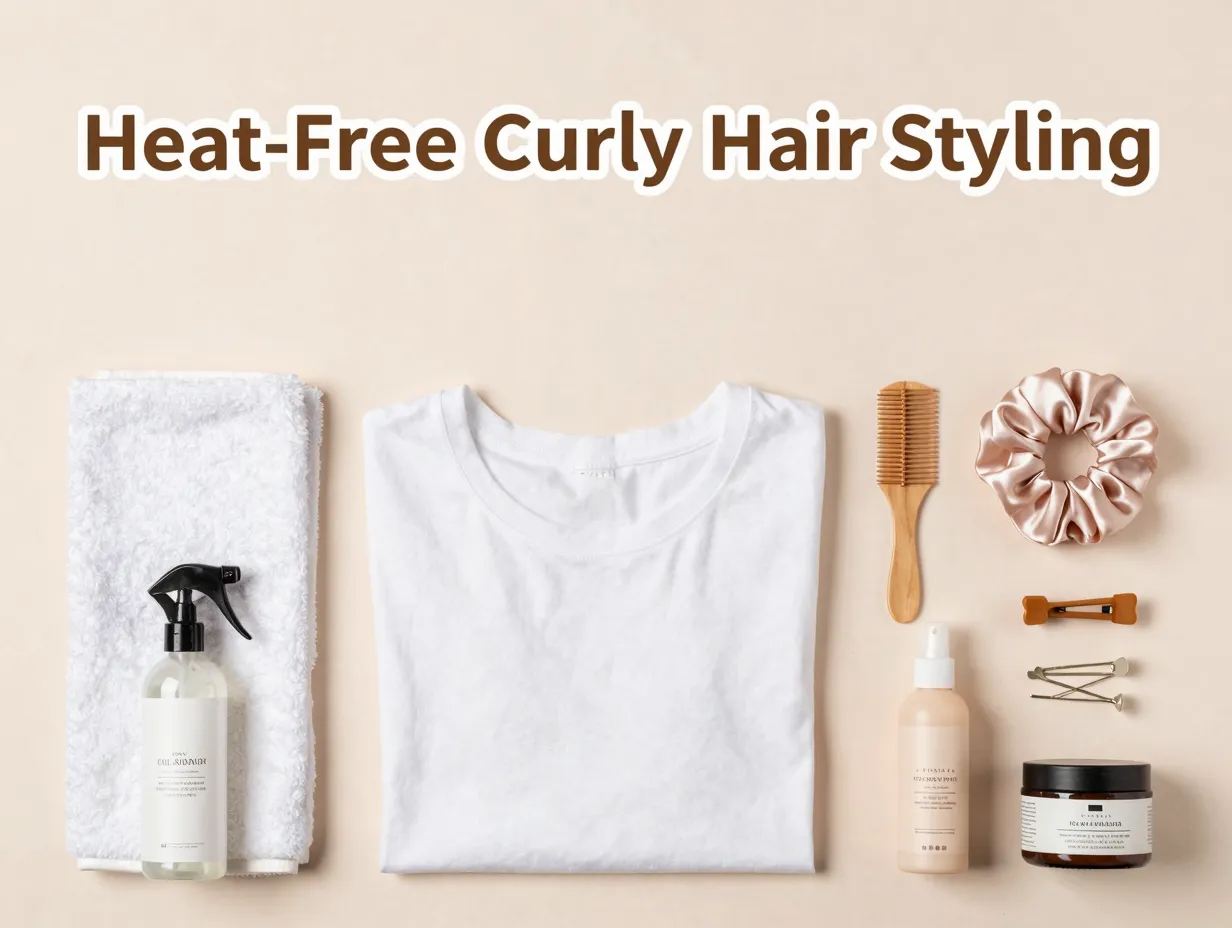
9 Ways to Style Curly Hair Naturally Without Heat or Damage
Over 65% of people worldwide have some degree of naturally wavy or curly hair — yet most mainstream styling advice still defaults to heat tools that slowly strip curls of their strength, moisture, and shape. If you’ve been reaching for a curling iron to style the curls you were literally born with, something has gone wrong.
The good news? The 9 Ways to Style Curly Hair Naturally Without Heat or Damage covered in this guide prove that your best curl day doesn’t require a single degree of heat. Whether you’re dealing with frizz, undefined ringlets, or overnight flatness, these techniques use your hair’s natural texture as the starting point — not something to fight against. Each method is backed by professional stylists and curl specialists, and together they form a complete, damage-free routine you can start using today in 2026.
Key Takeaways
- 🌀 Heat-free styling methods can define, elongate, and protect curls better than most heat tools when done correctly.
- 💧 Moisture is the foundation of every successful natural curl style — hydration before technique always wins.
- 🧣 Overnight protection with satin materials is one of the most underrated steps in a curly hair routine.
- ✋ Techniques like finger coiling and twist-outs work for a wide range of curl types, from loose waves to tight coils.
- 🔁 Consistency matters — results improve significantly after 2–4 weeks of following a heat-free routine.
Why Going Heat-Free Is the Smartest Move for Curly Hair in 2026
Curly hair has a unique structure. Each strand grows from an asymmetrical follicle, which causes it to curl as it exits the scalp. That same structure also makes curly hair more porous, more prone to dryness, and more vulnerable to heat damage than straight hair.
“Rough rubbing pushes hair cuticles upward and creates frizz” — Lee Stafford, hairstylist [3]
When heat is applied repeatedly — even at moderate temperatures — the hydrogen bonds inside the hair shaft break down. Over time, curls lose their elasticity, definition, and bounce. Switching to heat-free methods isn’t just a trend; it’s a scientifically sound decision for long-term curl health.
The 9 Ways to Style Curly Hair Naturally Without Heat or Damage outlined below range from simple towel techniques to overnight styling rituals. Some take under five minutes. Others require a bit of planning. All of them work.
The 9 Ways to Style Curly Hair Naturally Without Heat or Damage
1. The Plopping Method
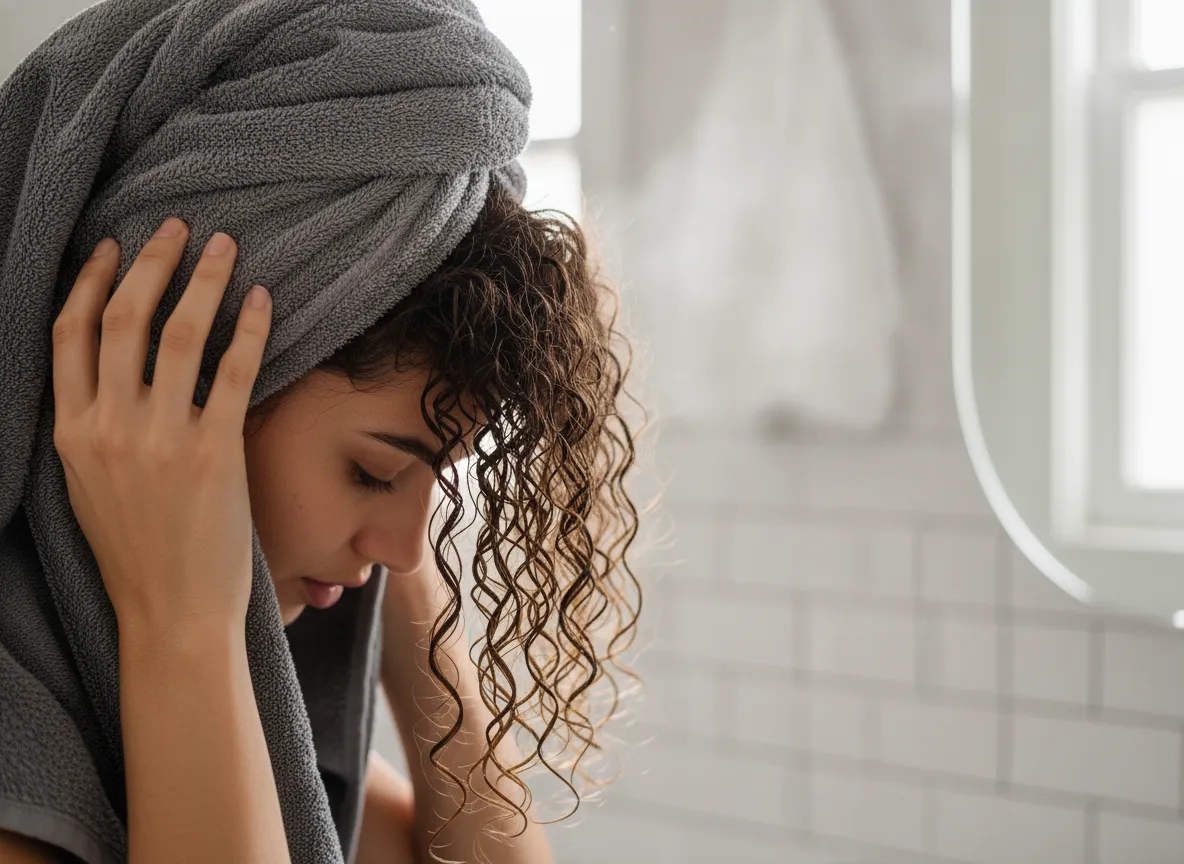
What it is: A curl-setting technique that uses a microfiber towel or cotton T-shirt to wrap damp hair and encourage definition while it dries.
How to do it:
- Apply your leave-in conditioner and styling cream to freshly washed, damp hair.
- Lay a microfiber towel or cotton T-shirt flat on a surface.
- Flip your head over and lower your curls onto the center of the towel.
- Wrap the sides of the towel up and around your head like a turban.
- Leave it on for 15–20 minutes, then release and allow hair to air dry. [2]
Experts from JVN — the brand founded by Jonathan Van Ness — emphasize that this gentle wrapping approach prevents the mechanical damage that traditional towel drying causes. [3] The result is noticeably reduced frizz and curls that hold their shape far longer.
Best for: All curl types, especially 2B–4C.
2. The Twist and Press Drying Technique
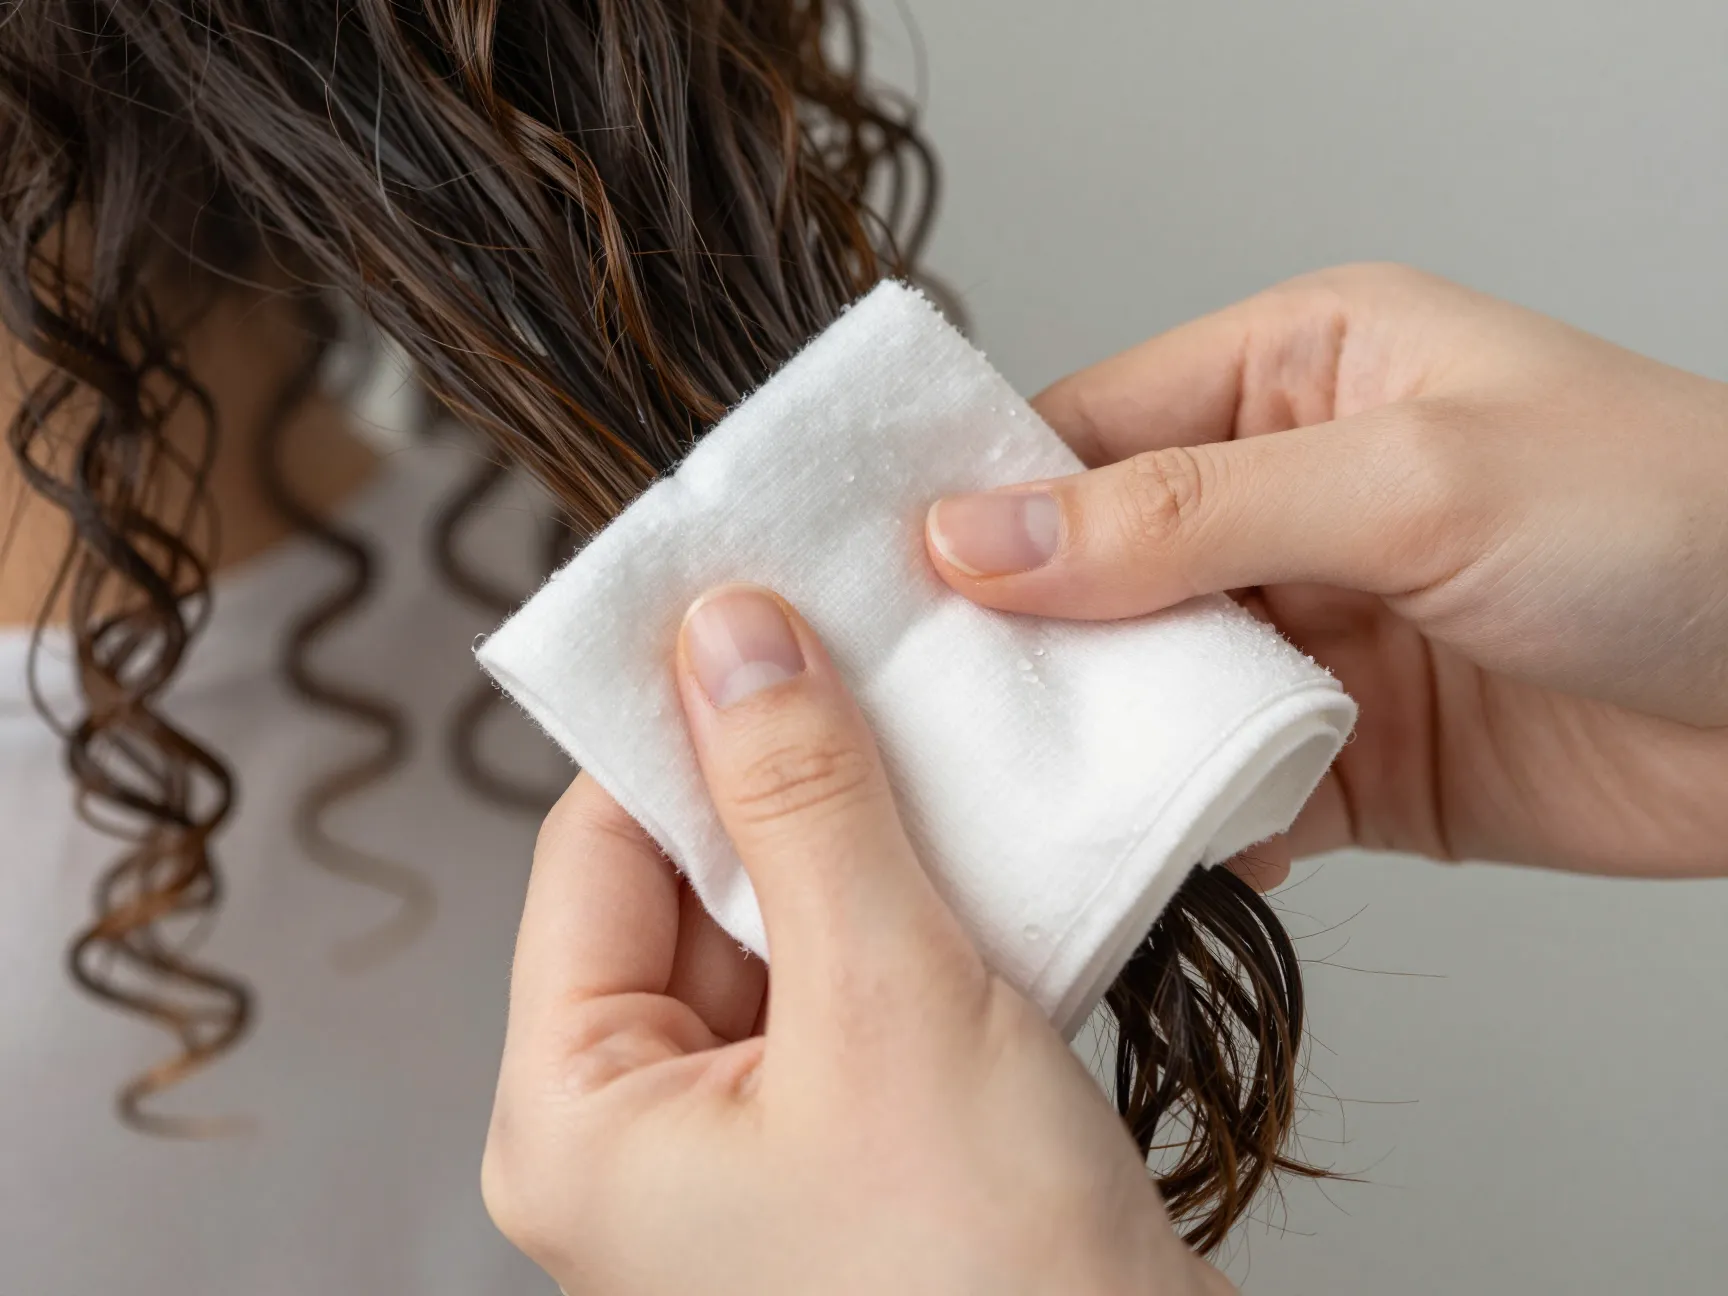
Most people dry their curly hair the wrong way. Vigorously rubbing hair with a standard cotton towel lifts the hair cuticle, which is the outer protective layer of each strand. Once that cuticle is roughed up, moisture escapes and frizz sets in immediately.
The fix: Use the press and twist method instead. [3]
- After washing, take sections of hair between a microfiber towel or cotton T-shirt.
- Gently press the fabric against the hair section.
- Give a light twist to squeeze out excess water without disrupting the curl pattern.
- Work through all sections methodically before moving to your next styling step.
This one swap alone can dramatically change how your curls look and feel — no products, no tools, just a smarter drying technique.
Pro tip: 🧴 Always follow up with a leave-in conditioner while hair is still damp for maximum moisture retention.
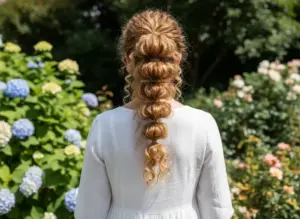
3. The Twist-Out Technique
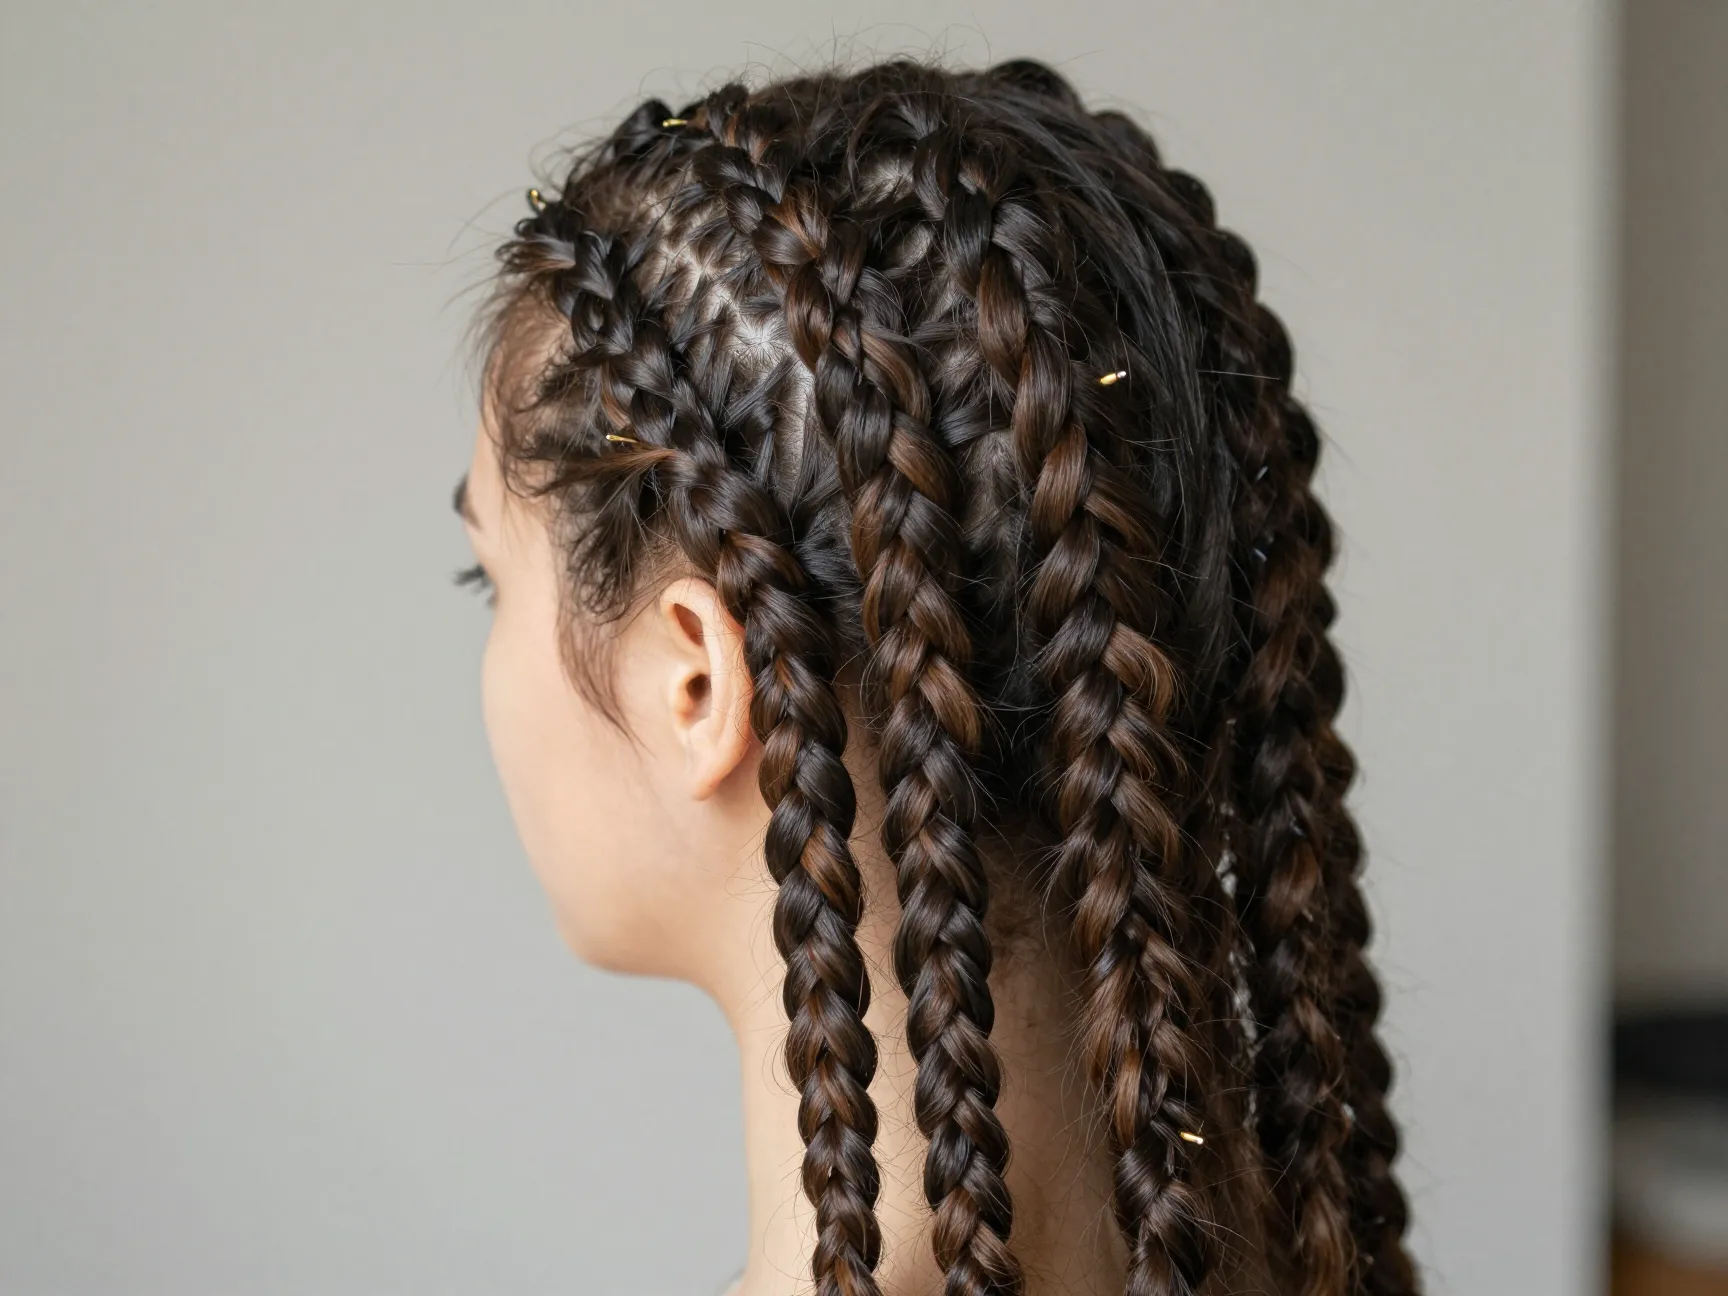
The twist-out is one of the most popular heat-free styling methods in the natural hair community — and for good reason. It creates bouncy, elongated curls with excellent definition that can last several days.
Step-by-step:
- Start with damp, freshly washed hair.
- Apply a curl-defining gel or mousse evenly through each section.
- Divide hair into sections (the smaller the section, the tighter the resulting curl).
- Twist each section away from your face, starting at the roots and working down to the ends.
- Secure the ends with a bobby pin.
- Allow hair to air dry completely before unraveling — this step is critical. [2]
Rushing the drying process is the most common mistake. If you unravel the twists while hair is still damp, the style will frizz quickly. Patience here pays off in a style that can last 3–5 days with proper overnight care.
Best for: 3A–4C curl types.
4. Finger Coiling for Defined Ringlets
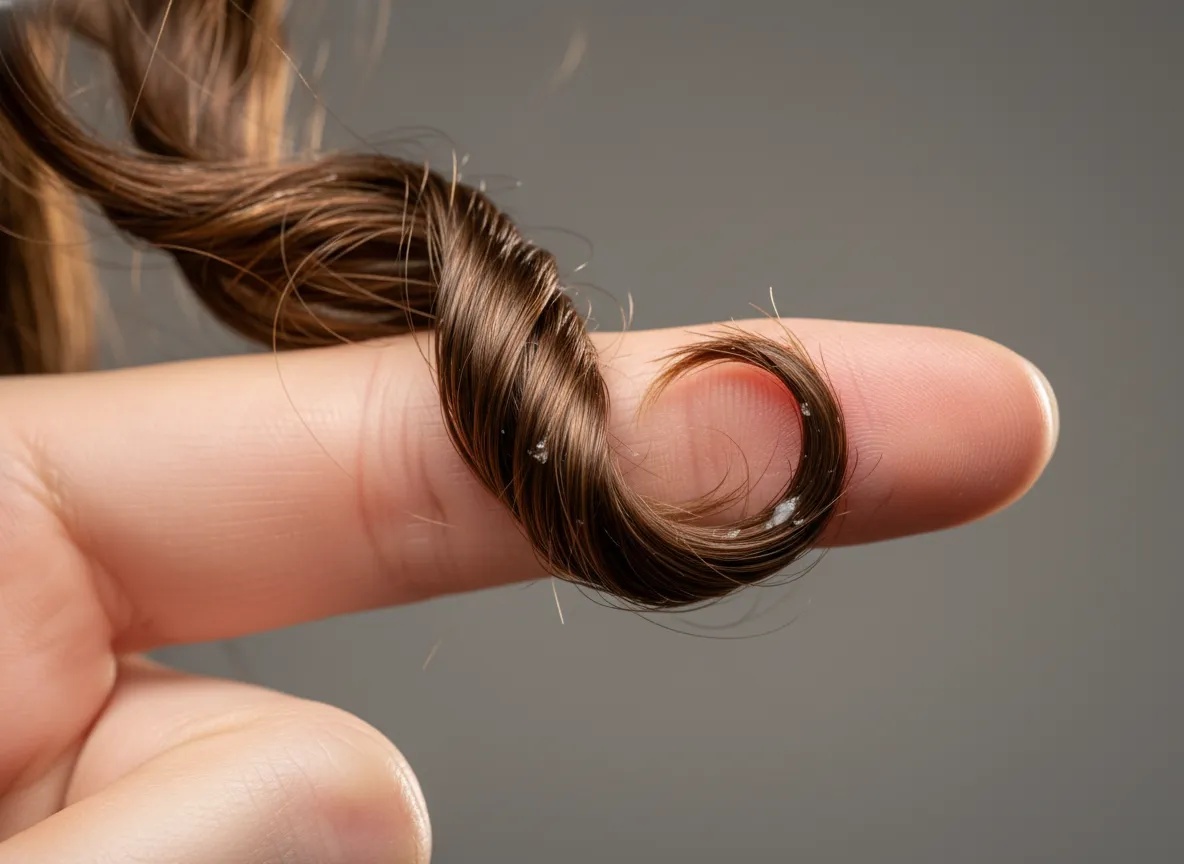
Finger coiling is a precision technique that works curl by curl, making it ideal for anyone who wants maximum definition and a polished, intentional look. [5]
How to finger coil:
- After applying your styling products to damp hair, identify individual curl clumps.
- Wrap each clump around one finger, twirling gently in the direction of your natural curl pattern.
- Allow the curl to slip naturally off your finger — don’t pull or force it.
- Repeat throughout the entire head.
- Air dry without touching.
The key difference between finger coiling and other methods is the level of individual curl control. Each ringlet is shaped by hand, which means you can correct problem areas, define straggly ends, and ensure uniformity across the whole style.
Time investment: 30–60 minutes depending on hair density.
Longevity: 3–7 days with proper care.
5. The Brush Stretching Method
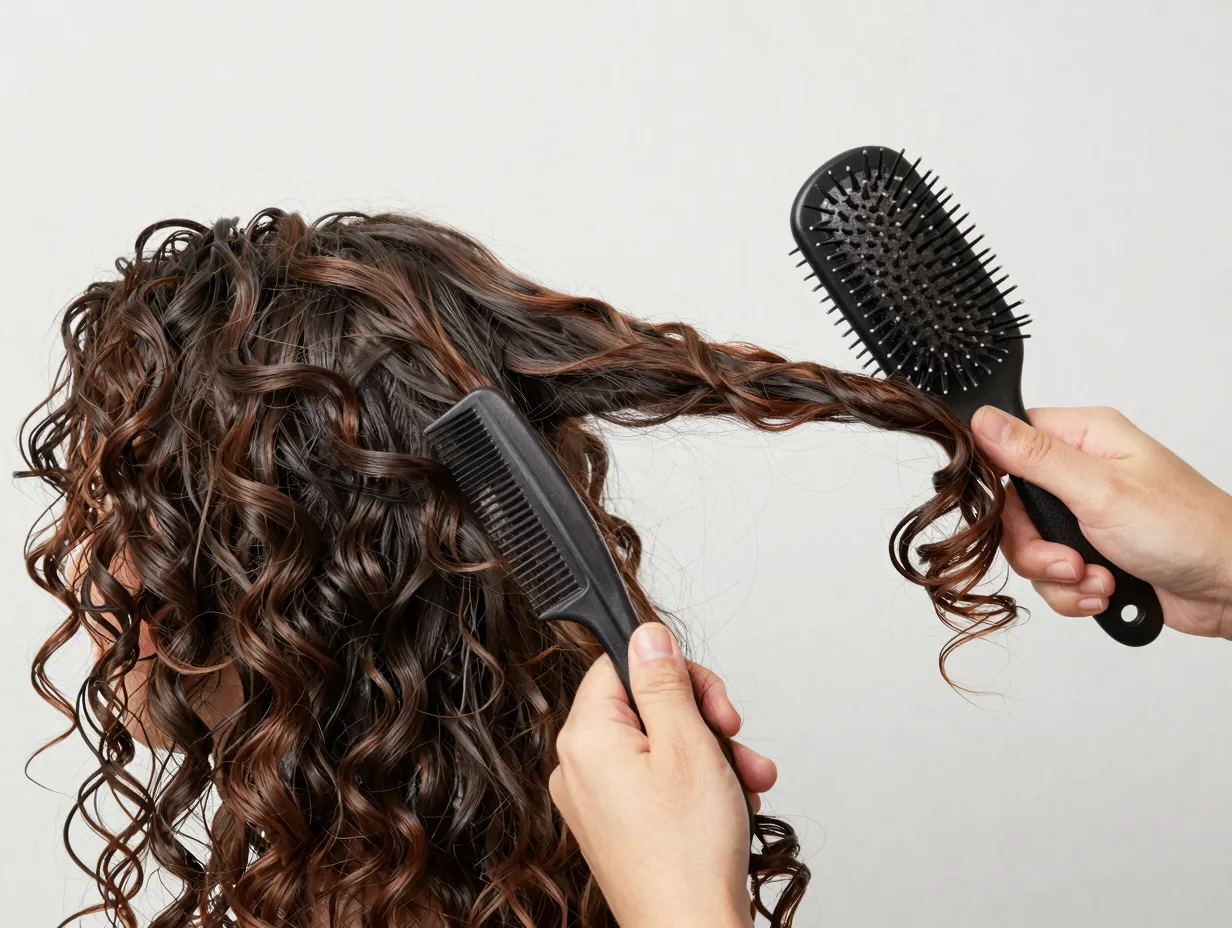
For curly-haired people who want length without heat, the brush stretching method is a game changer. [5]
How it works:
- On damp, product-applied hair, take a section and run a brush through the curl clump.
- Apply light pressure as you pull the brush through, stretching the hair along the bristles.
- Release at the ends — the curl will spring back, but in a more elongated, defined shape.
- Work section by section and allow to air dry.
This technique is especially useful for people with shrinkage-prone hair (common in 4A–4C curl types) who want to show more of their actual hair length without resorting to heat. The stretch encourages definition while maintaining the curl’s natural bounce.
Best for: 3C–4C curl types with significant shrinkage.
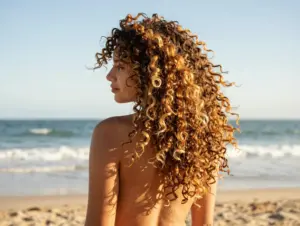
6. Salt Spray for Texture and Wave Revival
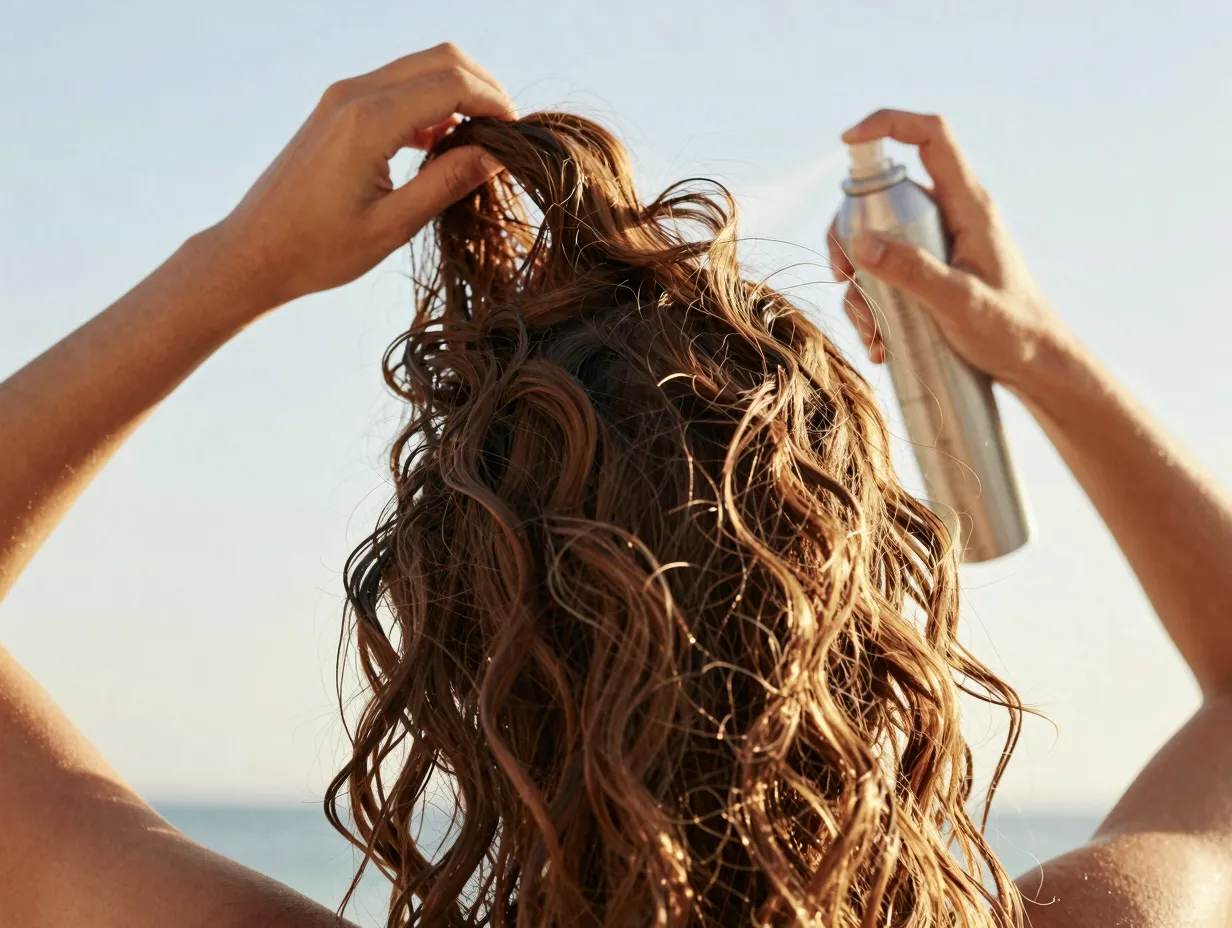
Salt spray isn’t just for beachy waves at the coast. For those with looser curl patterns (2A–3A), a quality salt spray can create texture, enhance natural wave definition, and revitalize curls between wash days. [3]
How to use it effectively:
- Spritz salt spray onto damp or dry hair.
- Scrunch upward from ends to roots with your hands.
- For extra definition, combine with a small amount of leave-in conditioner.
- Allow to air dry or diffuse on the lowest setting.
Between wash days, a water spray bottle mixed with leave-in conditioner can reactivate curls that have gone flat overnight. Simply mist, scrunch, and go. [3]
| Hair Type | Best Product Combo | Expected Result |
|---|---|---|
| 2A–2C (wavy) | Salt spray + light mousse | Beachy, textured waves |
| 3A–3B (loose curls) | Leave-in + salt spray | Defined, bouncy ringlets |
| 3C–4A (tight curls) | Leave-in + curl cream | Moisturized, elongated coils |
| 4B–4C (coily) | Butter + gel | Stretched, defined coils |
7. Deep Conditioning Treatments for Curl Health
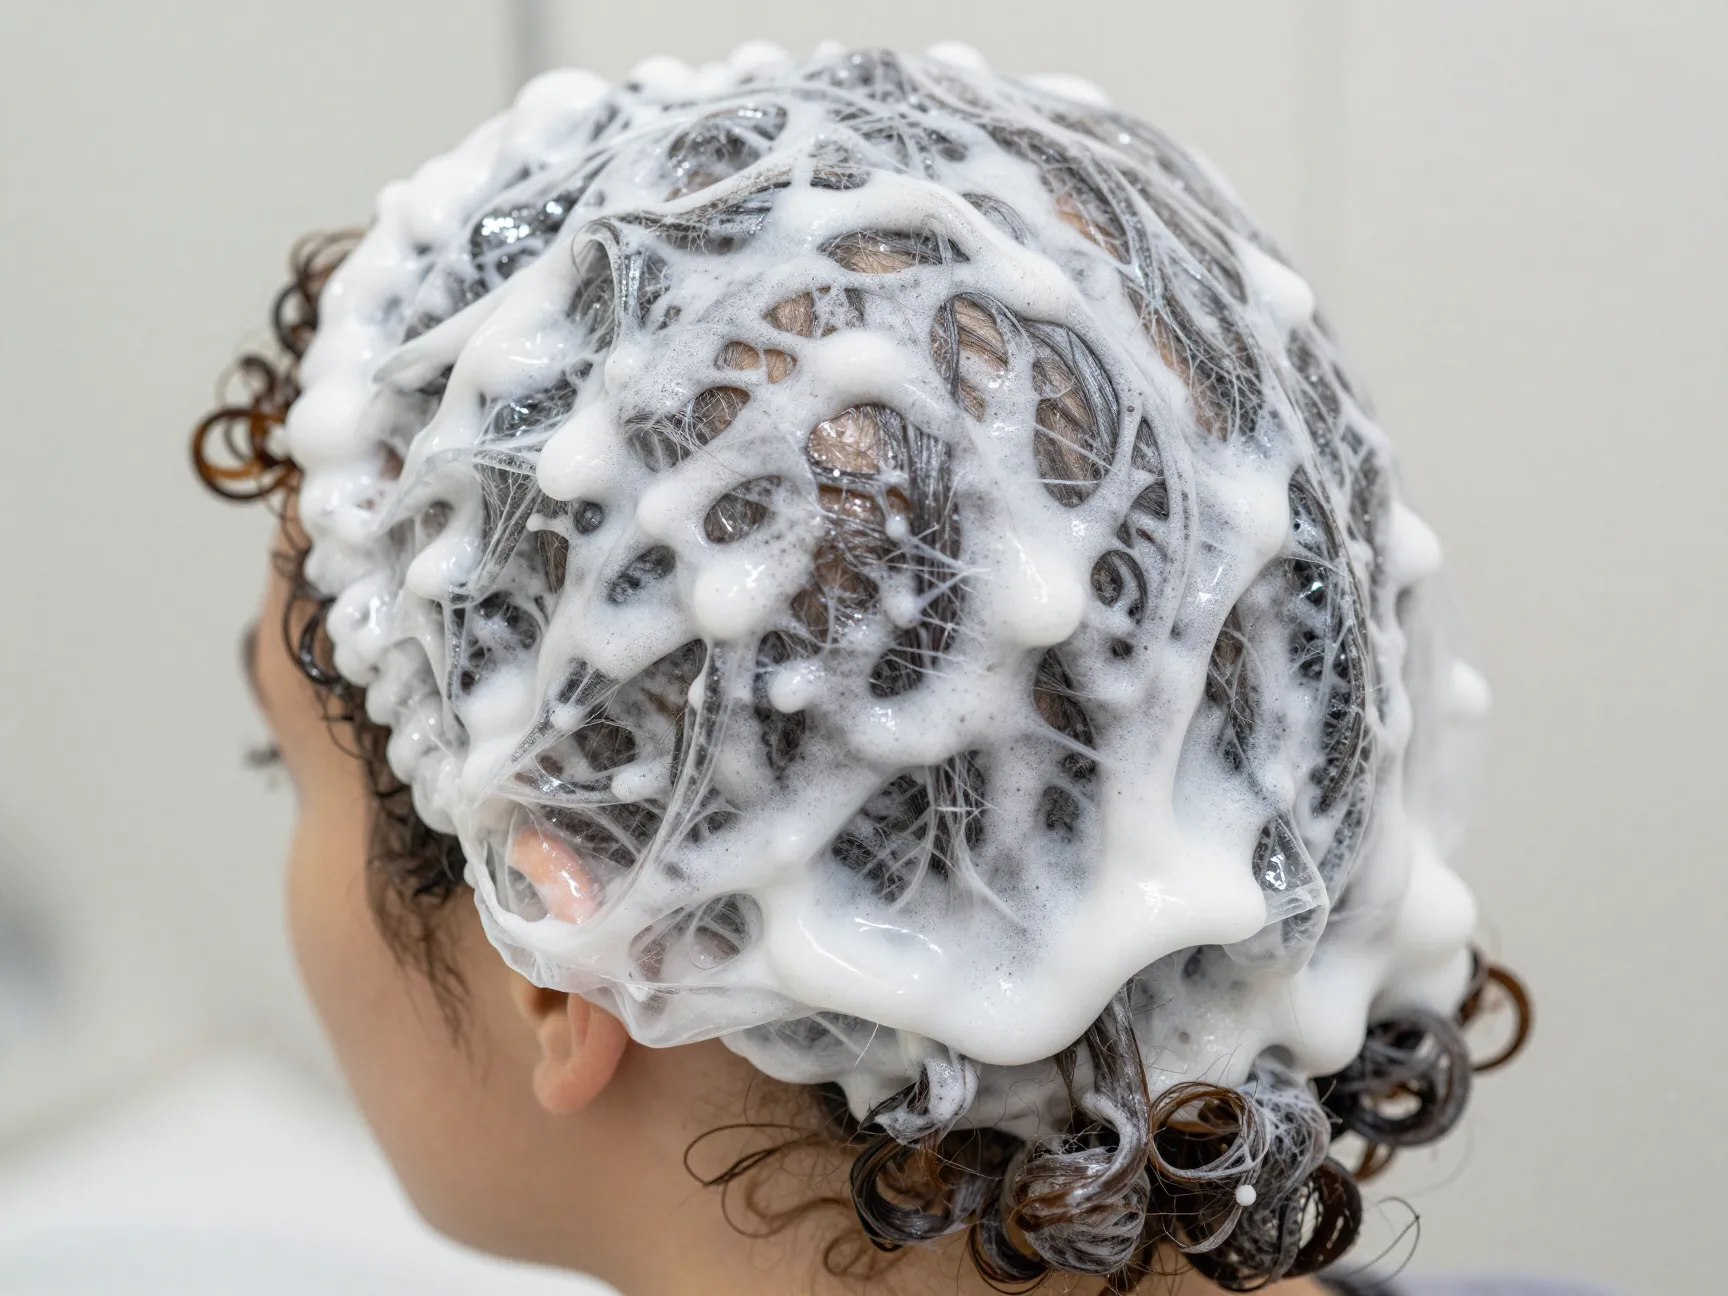
No styling technique works well on dehydrated, damaged hair. Deep conditioning is the foundation that makes every other method on this list more effective. [3]
Two types of masks to know:
- Protein-rich masks: Use weekly or twice monthly if your hair feels fluffy, has excessive flyaways, or breaks easily. Protein rebuilds the hair’s internal structure.
- Moisture-rich masks: Use for dehydrated hair that feels dry, stiff, or crunchy. These restore softness and encourage natural bounce.
How to apply:
- Shampoo hair first to remove buildup.
- Apply a generous amount of your chosen mask from roots to ends.
- Cover with a shower cap for 20–30 minutes.
- Rinse with cool water to seal the cuticle.
💡 Pull quote: “Well-conditioned curls respond better to every styling technique — think of deep conditioning as sharpening your tools before you use them.”
Rotate between protein and moisture masks based on how your hair feels each week. Over-proteining can make curls stiff and brittle, so balance is key.
8. Overnight Protection with Satin Materials
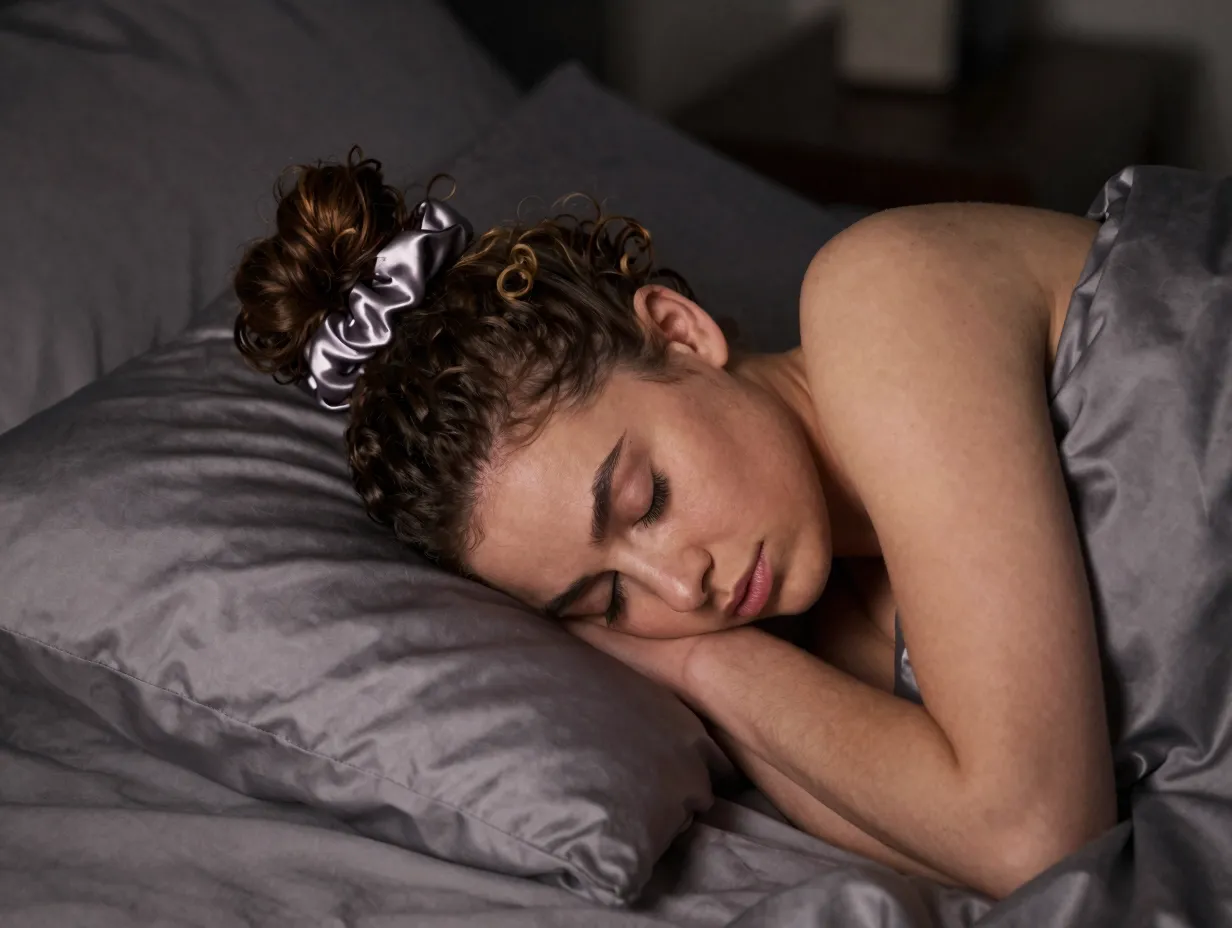
What you do while you sleep has a massive impact on how your curls look the next morning. Cotton pillowcases create friction that roughens the hair cuticle, causes breakage, and destroys curl definition overnight. [1]
The satin solution:
- Pineapple bun: Loosely gather all hair at the very top of your head and secure with a satin scrunchie. This keeps curls off the pillow and prevents compression.
- Satin bonnet: Covers all hair completely, eliminating friction entirely. Best for high-density or longer hair.
- Satin pillowcase: A great backup option if you find bonnets uncomfortable during sleep. [1]
Why satin over silk?
Satin is typically more affordable and equally effective at reducing friction. Silk is a natural fiber with additional moisture-wicking properties, but both are dramatically better than cotton for curly hair.
Morning refresh routine:
- Remove bonnet or scrunchie gently.
- Spritz with water or a curl refresher spray.
- Scrunch lightly and reshape any flat sections with fingers.
- Done in under 3 minutes. ✅
9. Pin Curling for Stray or Straight Sections
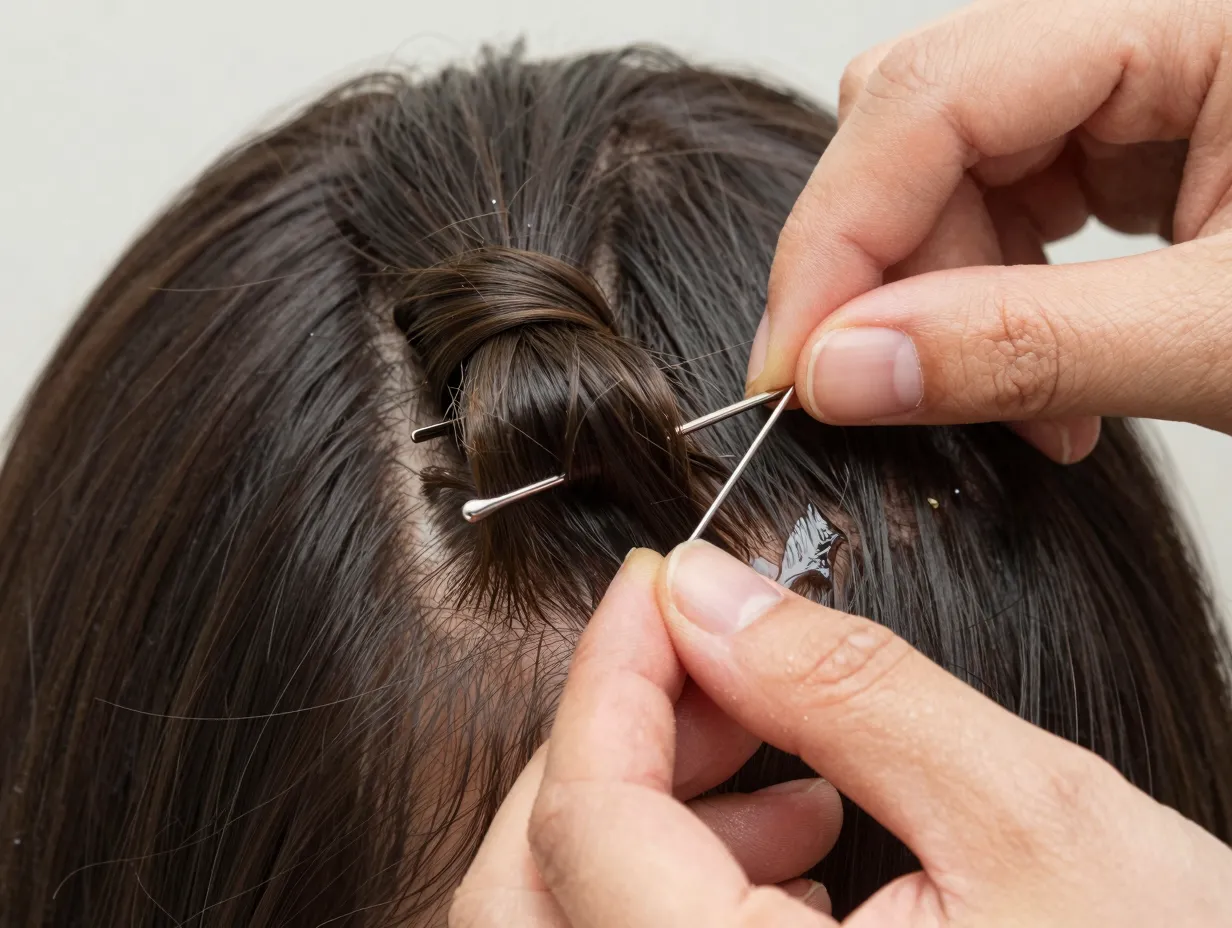
Even the most defined curl routine leaves a few stubborn straight sections — usually around the hairline or nape of the neck. Pin curling is the targeted solution. [1]
How to pin curl:
- Identify the straight or undefined strand.
- Apply a small amount of gel or curl cream to the section.
- Curl the strand around your finger in the direction of your natural curl pattern.
- Slide the curl off your finger and secure it flat against your head with a bobby pin or duckbill clip.
- Leave until completely dry, then release.
The result is a defined ringlet that blends seamlessly with the rest of your style. This technique is also useful for refreshing second or third-day hair without rewetting the entire head.
Best for: All curl types as a targeted touch-up tool.
Bonus Tips: Tools That Support Heat-Free Styling
Alongside the 9 Ways to Style Curly Hair Naturally Without Heat or Damage, having the right tools in your kit makes a significant difference.
Essential tools for heat-free curly hair styling:
- 🪮 Wide-tooth comb: Detangle hair without disrupting natural curl formation. Always detangle from ends to roots, never root to ends. [3]
- 🧣 Microfiber towel: Reduces friction dramatically compared to standard terry cloth towels.
- 📎 Bobby pins and duckbill clips: Essential for twist-outs, pin curls, and securing sections while drying.
- 💨 Diffuser attachment (low heat): If you need to speed up drying, a diffuser on the lowest heat setting cups curls and encourages definition without frizz. [2] This is the one exception to the heat-free rule — used sparingly, it causes minimal damage.
- 🧴 Spray bottle: For refreshing curls between wash days.
What to avoid:
- Fine-tooth combs or brushes on dry curly hair
- Standard cotton towels for drying
- High-heat blow dryers without a diffuser
- Tight elastic hair ties (use satin scrunchies instead)
Building Your Complete Heat-Free Curl Routine
The most effective approach combines several of these 9 Ways to Style Curly Hair Naturally Without Heat or Damage into a cohesive weekly routine. Here’s a simple framework:
Wash Day (1–2x per week):
- Detangle with a wide-tooth comb before washing.
- Shampoo and deep condition (alternate protein/moisture masks).
- Apply leave-in conditioner and styling product to damp hair.
- Use the plopping method for 15–20 minutes.
- Finger coil or twist-out for definition.
- Air dry completely.
Between Wash Days:
- Pineapple bun overnight with satin scrunchie.
- Morning refresh with water spray and leave-in.
- Use pin curling for any flat or undefined sections.
- Salt spray for extra texture if needed.
Weekly:
- Deep conditioning mask.
- Assess hair’s protein vs. moisture needs and adjust mask type accordingly.
Conclusion
Your curls don’t need heat to look their best — they need the right techniques, the right products, and a little consistency. The 9 Ways to Style Curly Hair Naturally Without Heat or Damage covered in this guide give you a complete toolkit: from the plopping method and twist-outs to overnight satin protection and targeted pin curling. Each technique respects your hair’s natural structure instead of fighting it.
Your actionable next steps for 2026:
- ✅ Start with the plopping method on your next wash day — it requires no extra products and delivers immediate results.
- ✅ Swap your cotton pillowcase for a satin one this week — this single change protects your curls every single night.
- ✅ Identify whether your hair needs protein or moisture and purchase the appropriate deep conditioning mask.
- ✅ Try one new technique from this list every two weeks until you’ve built a full routine that works for your specific curl type.
- ✅ Give your routine 4 weeks before judging results — healthy curls take time to respond to new methods.
The curls you were born with are worth protecting. Start heat-free, stay consistent, and watch your natural texture transform.
References
[1] Best Ways To Enhance Natural Curly Hair Without Heat Styling Tools – https://www.yanibest.com/blogs/news/best-ways-to-enhance-natural-curly-hair-without-heat-styling-tools
[2] Curls Naturally Style Curly Hair Without Heat – https://graziamagazine.com/us/articles/curls-naturally-style-curly-hair-without-heat/
[3] Ten Ways To Get Curly Hair Without Hair Straighteners Or Curling Tongs – https://www.elle.com/uk/beauty/hair/articles/a33387/ten-ways-to-get-curly-hair-without-hair-straighteners-or-curling-tongs/
[5] 9 Noheat Styling Techniques That Work – https://hairmayraki.com/mayraki-hair-remedies-blog/9-noheat-styling-techniques-that-work/