9 Easy Prom Hairstyles for Medium Hair You Can DIY in Minutes
Salon appointments for prom night can cost anywhere from $80 to $200 — and that’s before the dress, shoes, and corsage. Here’s the truth most stylists won’t tell you: medium hair is actually the easiest length to style at home, and you can achieve a genuinely stunning look with a few basic tools and 20 minutes of practice. This guide covers the 9 easy prom hairstyles for medium hair you can DIY in minutes, so you can walk into prom night looking polished, confident, and hundreds of dollars richer.
Whether your hair falls just past your shoulders or reaches your collarbone, medium-length hair hits a sweet spot — long enough for updos, short enough to stay manageable. Let’s get into it.
Key Takeaways
- 🎀 Medium hair is ideal for DIY styling — it’s versatile enough for updos, half-up styles, and loose looks.
- ⏱️ Most of these styles take 10–25 minutes with minimal tools.
- 💡 Prep work is everything — the right products and a little heat protection go a long way.
- 📌 Bobby pins and a good texturizing spray are your two most essential tools.
- 💰 DIY prom hair can save you $80–$200 compared to a professional salon appointment.
Why Medium Hair Is Perfect for DIY Prom Styles
Before diving into the 9 easy prom hairstyles for medium hair you can DIY in minutes, it helps to understand why this hair length is such a great canvas to work with.
Medium hair — typically defined as hair that falls between the chin and the shoulders or just below — offers a balance that shorter and longer hair simply can’t match. It holds curls well, cooperates with braids, and doesn’t weigh down updos the way very long hair can. [1]
💬 “Medium-length hair is arguably the most versatile length for special occasion styling — it’s manageable enough to control but long enough to create texture, volume, and structure.” — Cliphair Hair Blog [1]
What You’ll Need Before You Start
Here’s a quick toolkit checklist to prep before attempting any of these styles:
| Tool / Product | Why You Need It |
|---|---|
| Curling wand or flat iron | Creates waves, curls, and smooth sections |
| Bobby pins (assorted sizes) | Secures updos and half-up styles |
| Texturizing or volumizing spray | Adds grip and body to fine hair |
| Hair ties (clear or matching) | Holds ponytails and braids neatly |
| Light-hold hairspray | Sets the style without crunch |
| Shine serum or hair oil | Adds polish and tames flyaways |
| Fine-tooth tail comb | Helps with sectioning and teasing |
Having these on hand before prom night means no last-minute scrambles. [4]
The 9 Easy Prom Hairstyles for Medium Hair You Can DIY in Minutes
1. The Half-Up Twisted Bun
Difficulty: ⭐☆☆☆☆ | Time: 10 minutes
This is the ultimate beginner-friendly prom style. Take the top half of your hair, twist it loosely, and wrap it into a soft bun at the crown. Secure with bobby pins and pull out a few face-framing pieces for a romantic, effortless look. [1]
Pro tips:
- Spritz texturizing spray before twisting for better hold
- Don’t over-tighten — the messier, the more intentional it looks
- Add a pearl or rhinestone clip over the bun for instant glam ✨
This style works beautifully on straight, wavy, and naturally textured hair. It pairs well with a strapless or off-the-shoulder dress because it shows off the neckline.
2. Soft Romantic Waves
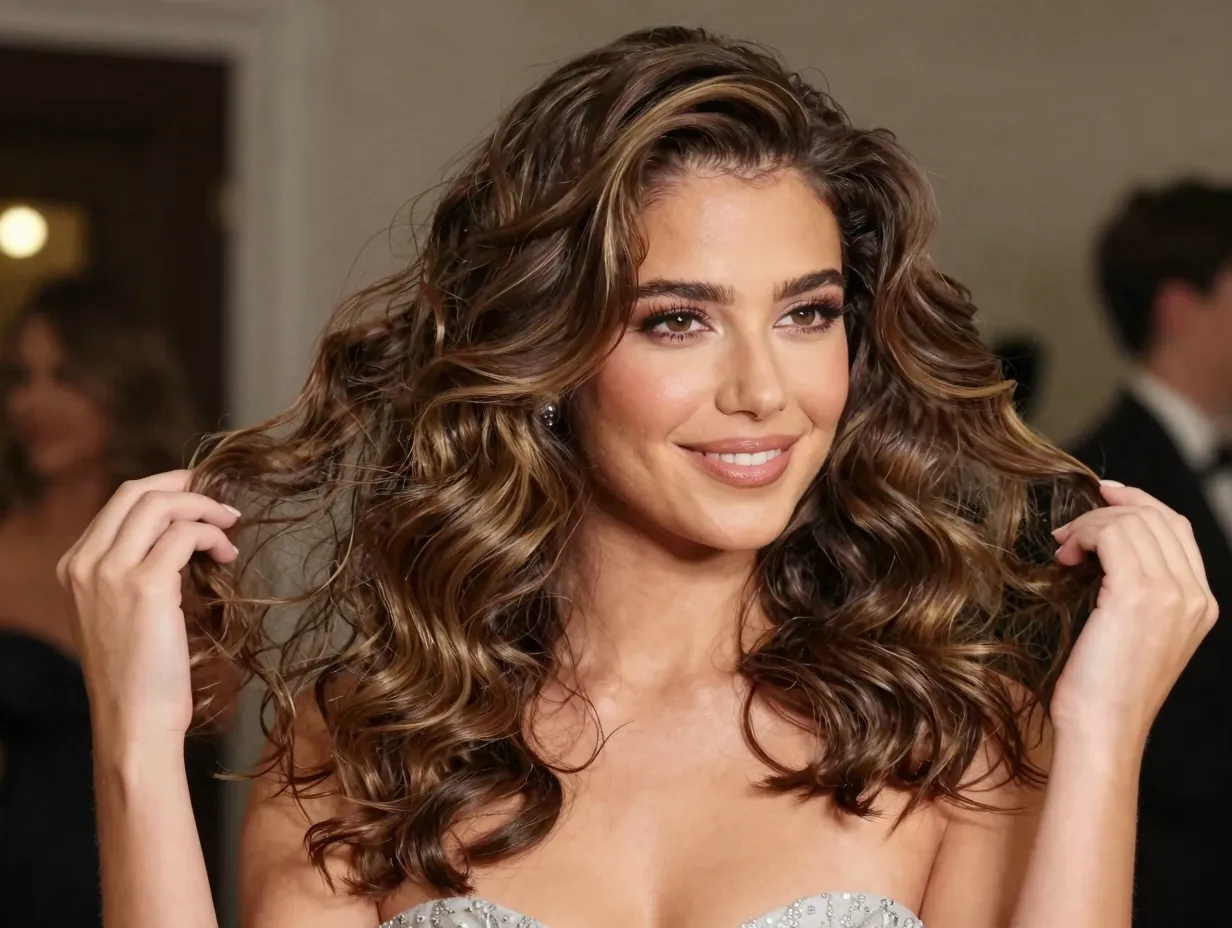
Difficulty: ⭐☆☆☆☆ | Time: 15 minutes
Loose, beachy waves are a timeless prom look that never goes out of style. Use a 1-inch curling wand, wrap sections away from your face, and alternate the direction of each curl for a natural finish. Once all sections are done, run your fingers through to break up the curls and finish with a light-hold hairspray. [2]
Key steps:
- Apply heat protectant before curling — always
- Curl in sections no wider than 1 inch
- Alternate curl direction for a lived-in look
- Finish with a shine serum on the ends
💬 Waves work on every face shape and complement almost any prom dress style — from ballgowns to sleek jumpsuits.
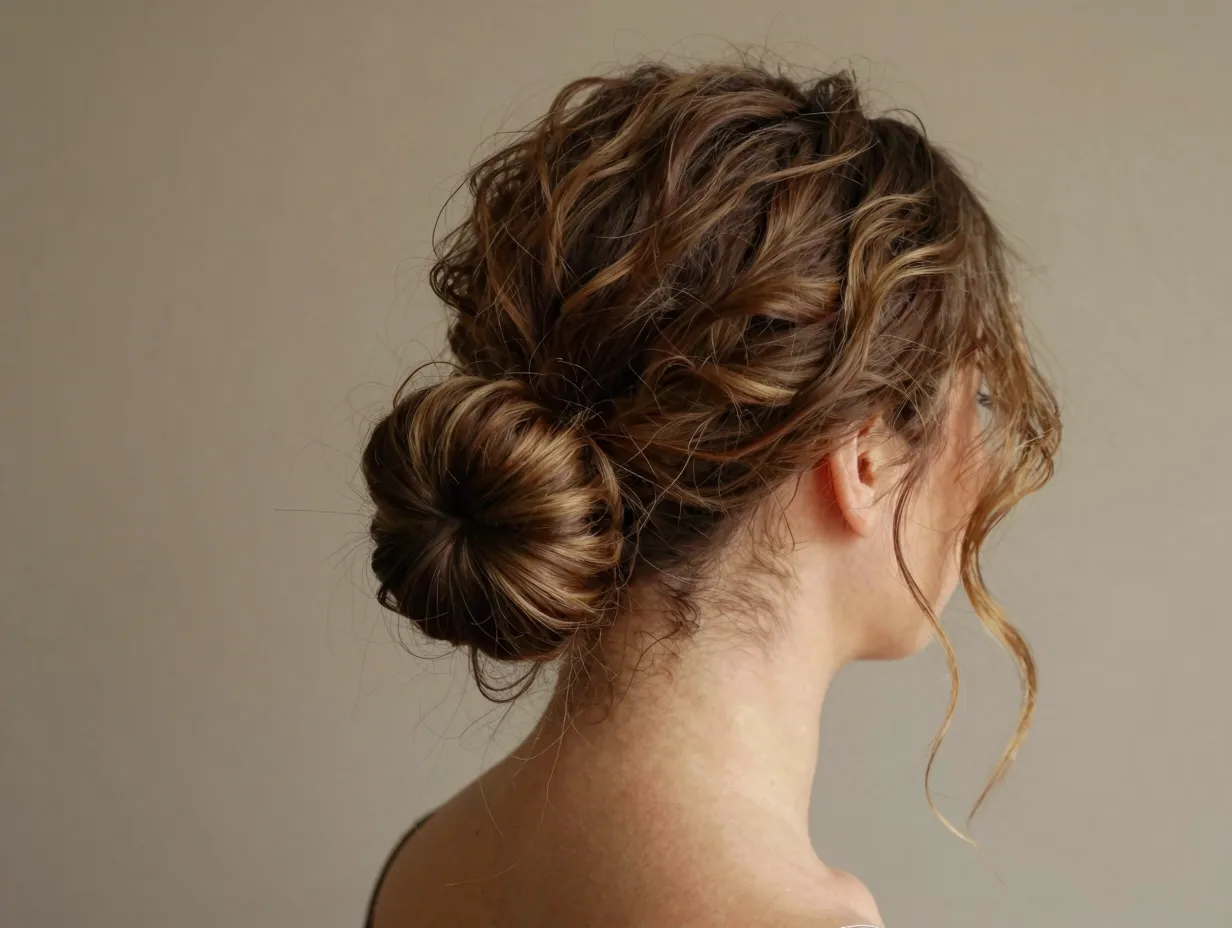
3. The Low Braided Bun
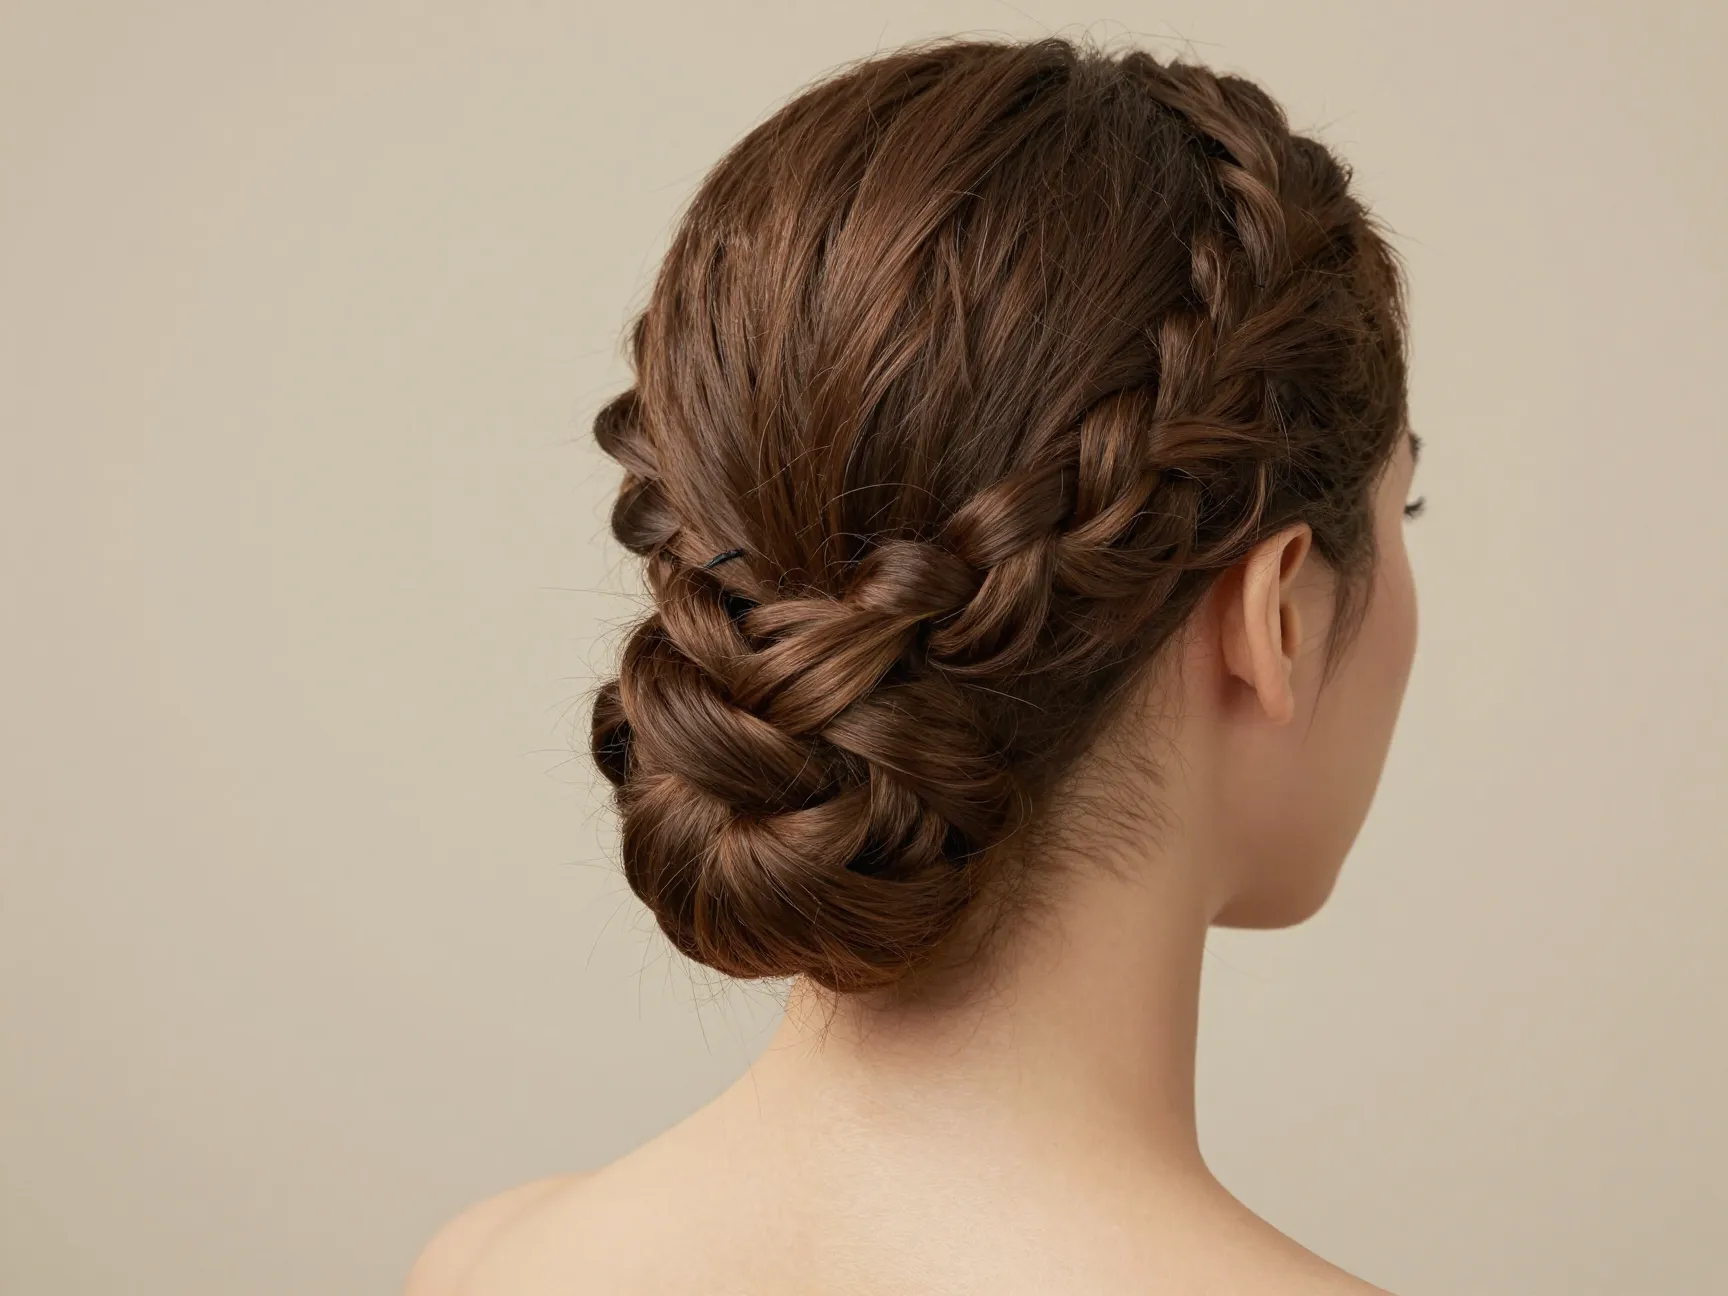
Difficulty: ⭐⭐☆☆☆ | Time: 20 minutes
A low braided bun is the definition of elegant simplicity. Braid your hair into a classic three-strand braid at the nape of your neck, then coil it into a bun and pin it in place. Gently tug the sides of the braid to widen it and give it a fuller, more textured appearance. [3]
This style is especially flattering for oval and heart-shaped faces. It keeps hair off the neck (great for warm venues) and looks stunning from every angle — including photos.
Variations to try:
- Add a ribbon or satin scrunchie for a fashion-forward touch
- Try a fishtail braid instead of a classic braid for more texture
- Leave two small face-framing tendrils loose at the front
4. The Sleek Low Ponytail
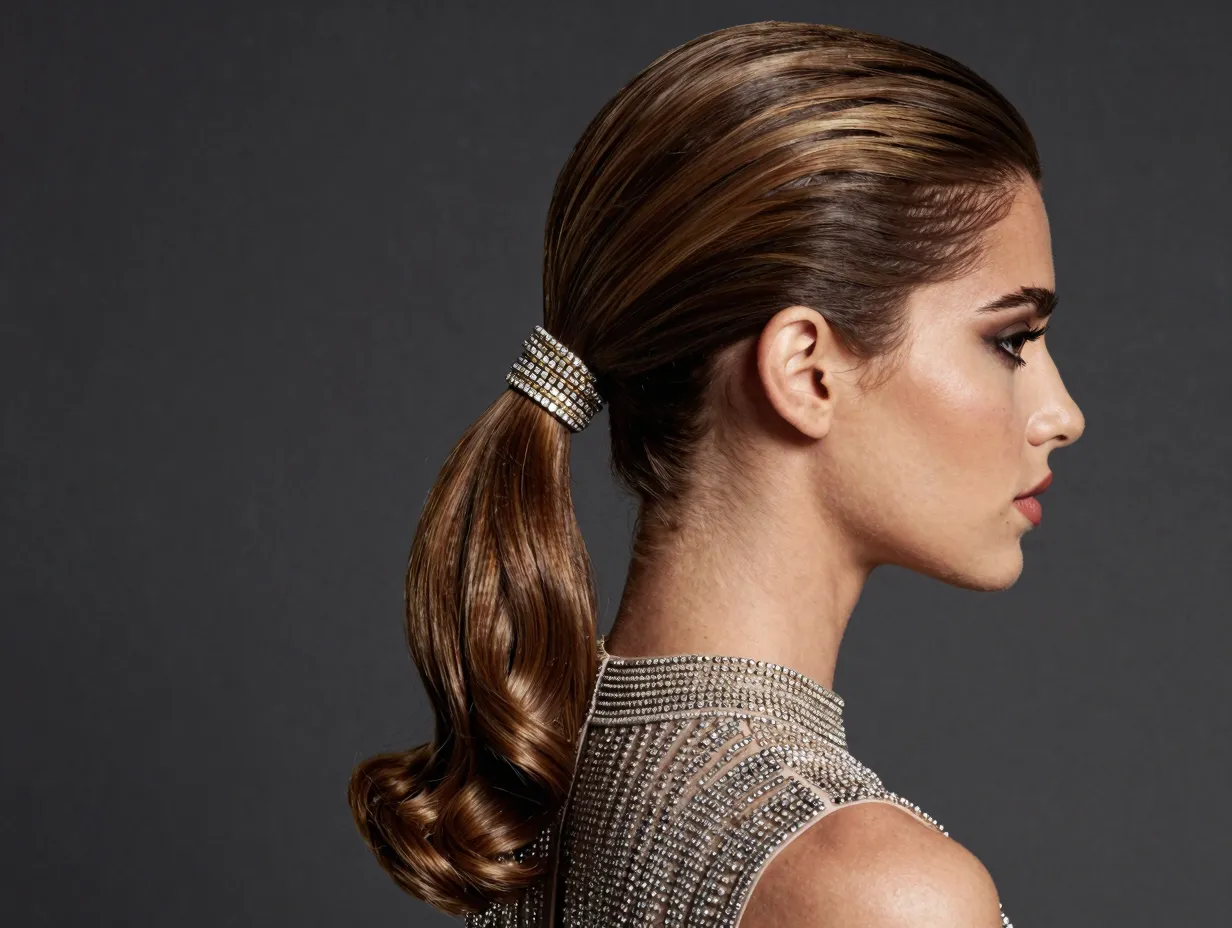
Difficulty: ⭐☆☆☆☆ | Time: 8 minutes
Don’t underestimate a polished ponytail. A sleek, low pony secured at the nape of the neck looks incredibly sophisticated when done right. The secret is in the prep: use a fine-tooth comb to smooth every section before tying, apply a small amount of edge control or pomade to the hairline, and wrap a small section of hair around the elastic to hide it. [4]
Elevate it:
- Curl the ponytail itself for a mix of sleek and textured
- Use a jeweled hair cuff around the base
- Add a half-braid detail on one side before pulling it back
This look is especially powerful with a high-neck or embellished dress, letting the hair serve as a clean frame. [2]
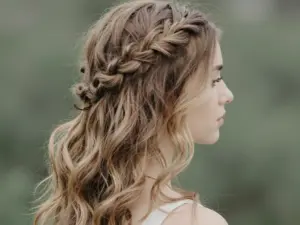
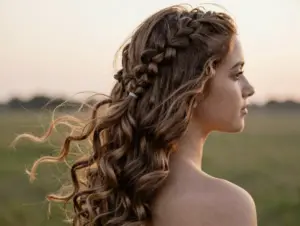
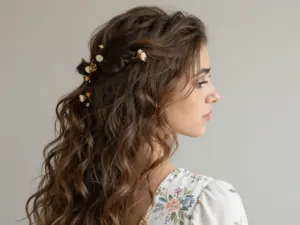
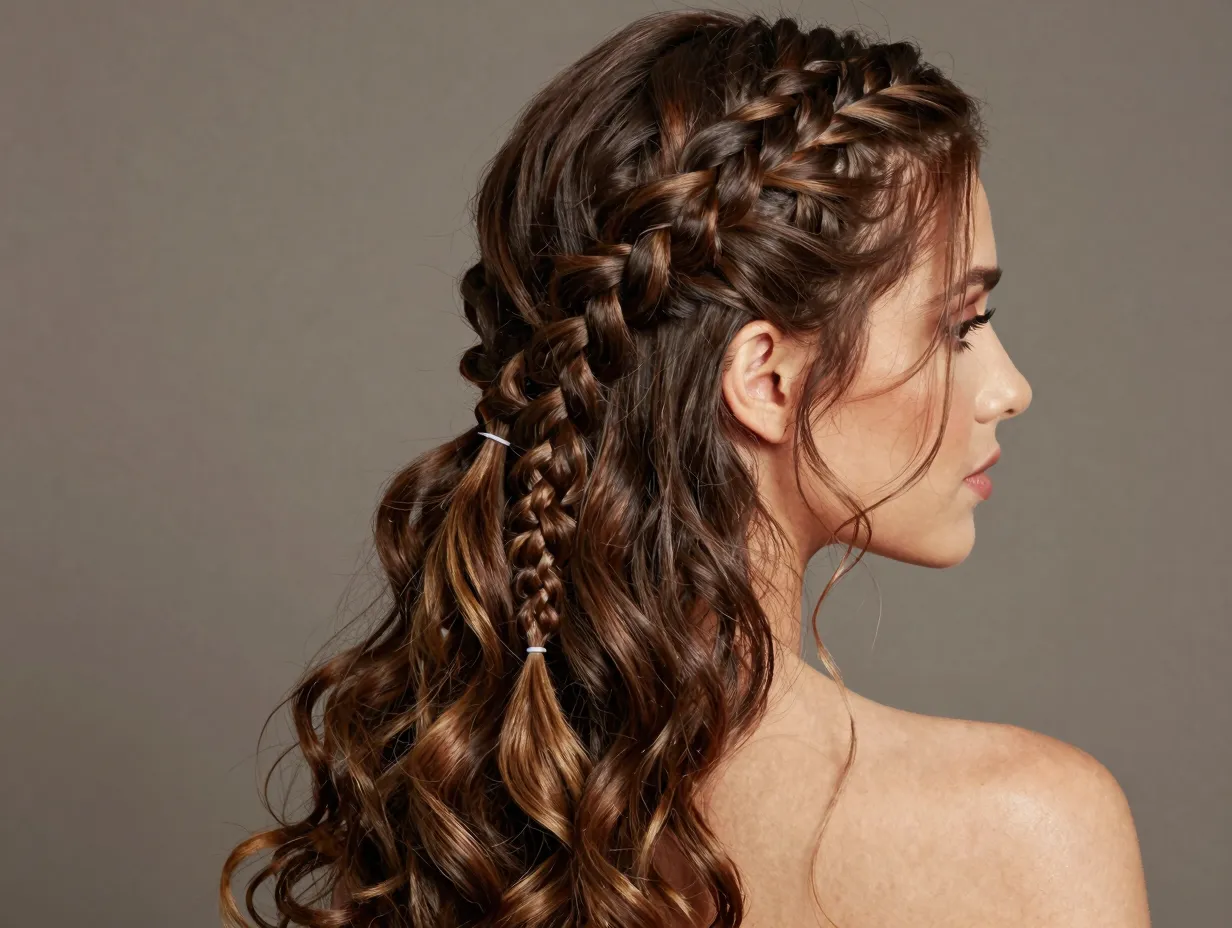
5. The Braided Half-Up Crown
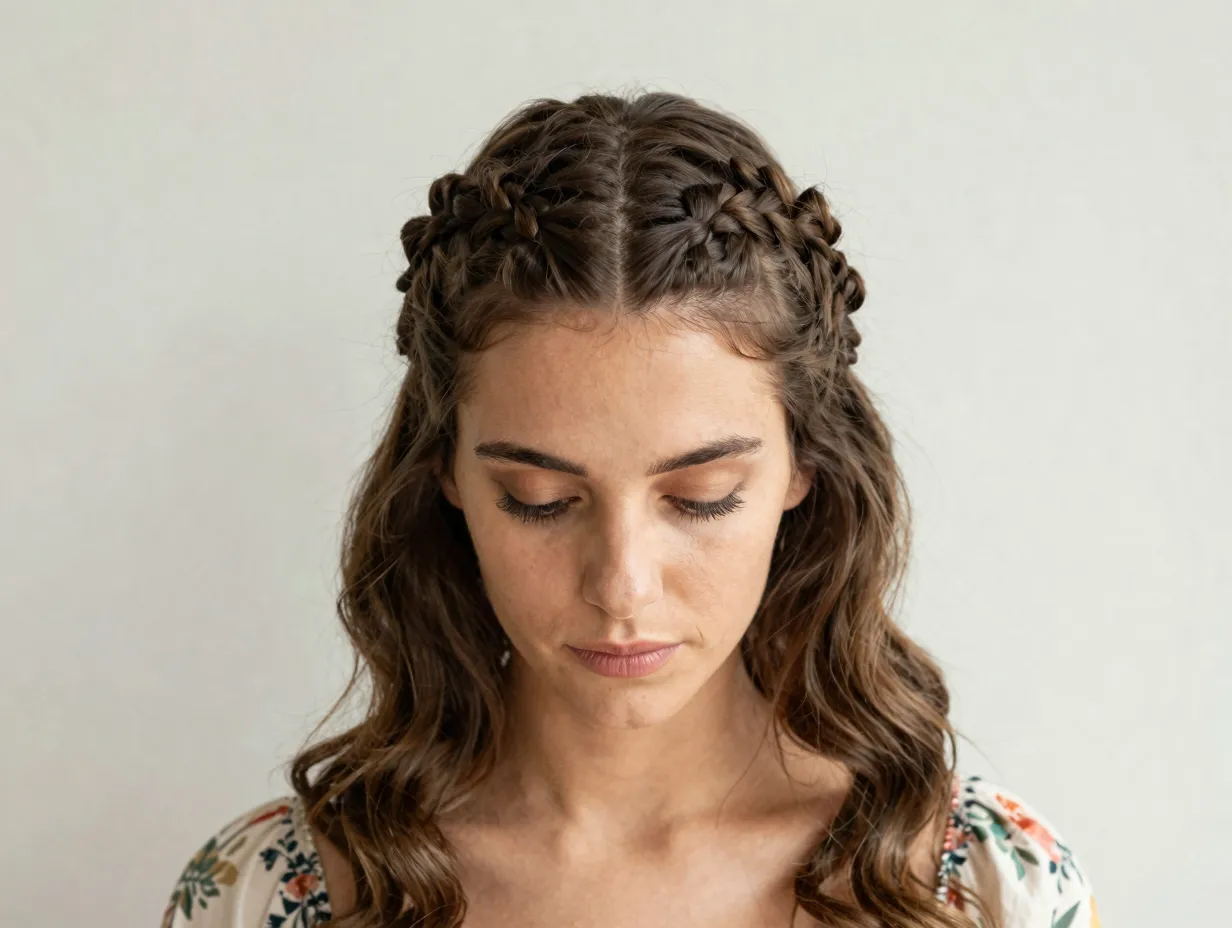
Difficulty: ⭐⭐⭐☆☆ | Time: 20–25 minutes
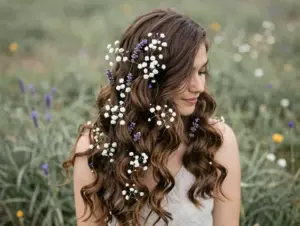
This style looks complex but is genuinely achievable at home with a little patience. Take two sections from either side of your head, braid each one, bring them across the top of your head like a crown, and pin them in place. Leave the rest of your hair down in waves or curls. [1]
Step-by-step:
- Part hair down the middle
- Take a 1-inch section from just behind the ear on each side
- Braid each section (Dutch braid for more dimension)
- Pull braids across the top of the head and pin securely
- Curl or wave the remaining hair
💬 The braided crown works especially well on medium hair because the length is just right — long enough to braid, but not so long the braid becomes unwieldy.
6. The Twisted Side Updo

Difficulty: ⭐⭐☆☆☆ | Time: 15 minutes
This is a great option if you want something that looks like a formal updo without the complexity of a full chignon. Take sections from both sides of your head, twist them toward the back, and pin them together at the nape of your neck. Continue adding sections and twisting until all your hair is gathered. Tuck the ends under and pin. [3]
Why it works for medium hair:
- Medium hair is the perfect length for this — enough to gather, not so much it collapses
- Works on both straight and naturally wavy hair
- Can be done in under 15 minutes once you’ve practiced once
Accessorize with a jeweled pin or a small floral clip for a prom-worthy finish. 🌸
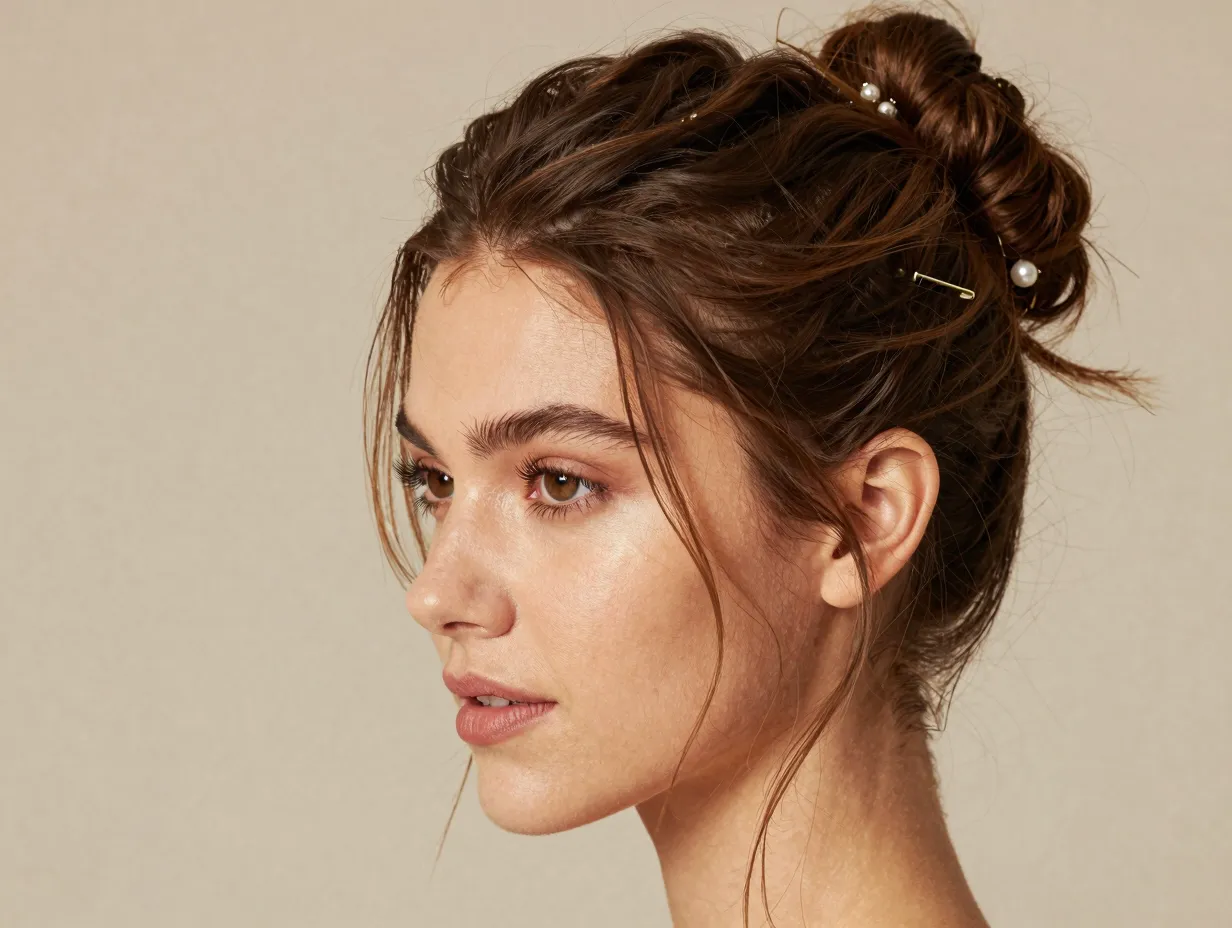
7. The Messy Chignon
Difficulty: ⭐⭐☆☆☆ | Time: 15 minutes
The messy chignon is the hairstyle equivalent of “effortlessly chic.” Gather your hair into a low ponytail, twist it loosely, fold it upward, and pin the resulting loop in place. Pull out a few strands at the front and around the bun to soften the look. [4]
Chignon success tips:
- Don’t brush your hair too smooth before styling — some texture helps
- Use a claw clip temporarily to hold while you pin
- Hairspray the finished look lightly, not heavily
This style is particularly flattering on round and square face shapes because the low placement elongates the neck and draws the eye downward. [2]
8. The Waterfall Braid
Difficulty: ⭐⭐⭐☆☆ | Time: 20 minutes
The waterfall braid is one of those styles that looks genuinely impressive but is more approachable than it seems. It’s a variation of a French braid where you drop a section of hair at each stitch instead of carrying it through, creating a cascading “waterfall” effect. [9]
Basic technique:
- Start at one side of the head, just behind the ear
- Begin a standard three-strand braid
- At each new stitch, drop the bottom strand and replace it with a new section from above
- Continue across the head and secure with a clear elastic
- Leave the rest of the hair in loose waves
💬 Practice this one twice before prom night — it clicks quickly once your hands understand the motion.
This braid looks absolutely stunning in photos and works beautifully on medium hair because the dropped sections fall at a flattering length. [9]
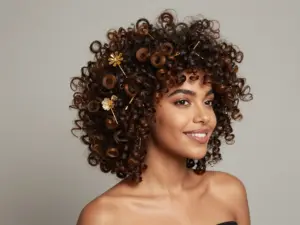
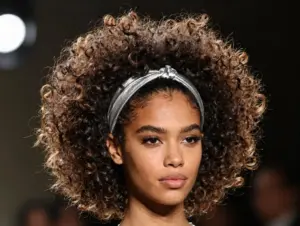
9. The Voluminous Blowout

Difficulty: ⭐☆☆☆☆ | Time: 20 minutes
Sometimes the most glamorous look is simply great hair, worn down. A voluminous blowout — smooth roots, bouncy ends, and full body — is a completely valid prom hairstyle that photographs beautifully and works with any dress style. [2]
How to get salon-quality volume at home:
- Apply a volumizing mousse to damp hair
- Blow-dry with a round brush, lifting at the roots
- Use the cool shot button at the end to set each section
- Finish with a light-hold hairspray and a shine serum on the ends
Elevate the blowout:
- Add a simple headband or embellished clip
- Create a subtle side part for asymmetry
- Curl just the ends for a polished finish
This is the style to choose if you want to feel like yourself — just the most glamorous version of yourself. ✨
Quick Comparison: All 9 Styles at a Glance
| # | Style | Difficulty | Time | Best For |
|---|---|---|---|---|
| 1 | Half-Up Twisted Bun | ⭐ | 10 min | Beginners, strapless dresses |
| 2 | Soft Romantic Waves | ⭐ | 15 min | All face shapes, all dress styles |
| 3 | Low Braided Bun | ⭐⭐ | 20 min | Oval/heart faces, warm venues |
| 4 | Sleek Low Ponytail | ⭐ | 8 min | High-neck dresses, minimalist looks |
| 5 | Braided Half-Up Crown | ⭐⭐⭐ | 25 min | Boho, floral dresses |
| 6 | Twisted Side Updo | ⭐⭐ | 15 min | Formal looks, embellished dresses |
| 7 | Messy Chignon | ⭐⭐ | 15 min | Round/square faces, classic looks |
| 8 | Waterfall Braid | ⭐⭐⭐ | 20 min | Romantic, photo-ready looks |
| 9 | Voluminous Blowout | ⭐ | 20 min | All styles, natural hair lovers |
Pro Tips for Making Any DIY Prom Style Last All Night
Even the most beautiful style can fall flat by the end of the night if it’s not properly set. Here are the habits that separate a hairstyle that lasts until midnight from one that droops by 9 PM:
Before styling:
- Wash hair the day before, not the morning of — day-old hair holds styles better
- Apply heat protectant every single time you use hot tools
- Use a primer or texturizing spray before braiding or twisting [4]
During styling:
- Section hair cleanly — messy sections create messy results
- Pin in an X pattern (two pins crossing) for stronger hold
- Don’t rush — give each curl or section time to cool before moving on
After styling:
- Finish with a medium-hold hairspray (not maximum hold, which can look stiff)
- Carry 4–6 bobby pins in your clutch for touch-ups
- A small travel-size dry shampoo can refresh roots mid-evening [4]
💬 “The difference between a style that lasts and one that doesn’t often comes down to prep — the right products applied before styling do more work than anything applied after.” [4]
How to Match Your Hairstyle to Your Prom Dress
Choosing the right hairstyle isn’t just about what looks good in isolation — it’s about what looks good with your specific dress. Here’s a simple guide:
| Dress Style | Best Hairstyle Matches |
|---|---|
| Strapless or off-shoulder | Half-up bun, low chignon, braided updo |
| High-neck or halter | Sleek low ponytail, blowout, waves |
| Backless | Low styles that show the back; avoid full updos |
| Ballgown | Braided crown, romantic waves, chignon |
| Jumpsuit or pantsuit | Sleek pony, blowout, twisted updo |
| Floral or boho | Waterfall braid, half-up crown, loose waves |
The general rule: show off what the dress is doing. If your dress has a stunning back, wear your hair up. If it has an elaborate neckline, keep hair down or swept to one side. [3]
Conclusion: Your Prom Hair Is Entirely in Your Hands
The 9 easy prom hairstyles for medium hair you can DIY in minutes covered in this guide prove that you don’t need a salon appointment — or a professional stylist — to show up to prom looking stunning. Medium hair is genuinely one of the most versatile lengths to work with, and with the right tools, a little practice, and the prep tips outlined here, you can achieve any of these styles at home.
Here are your actionable next steps:
- Choose your top two styles from the list above and practice them at least once before prom night.
- Gather your tools — bobby pins, heat protectant, texturizing spray, and a curling wand cover most of these looks.
- Do a full trial run the weekend before prom, complete with your dress and accessories, so you know exactly what the finished look will look like.
- Prep your hair the day before by washing and air-drying to give your hair the texture it needs.
- Pack a small touch-up kit in your clutch: 4–6 bobby pins, mini hairspray, and a hair tie.
Prom is one of those nights you’ll remember for years. Your hair should be the last thing you stress about — and with these styles in your toolkit, it absolutely will be. 🎉
References
[1] 10 Cute Prom Hairstyles For Medium Length Hair – https://www.cliphair.com/blogs/hair-blog/10-cute-prom-hairstyles-for-medium-length-hair
[2] Cute Prom Hairstyles – https://www.garnierusa.com/tips-how-tos/cute-prom-hairstyles
[3] Prom Hairstyle Ideas – https://www.couturecandy.com/blogs/fashion/prom-hairstyle-ideas
[4] Prom Hairstyles – https://www.verbproducts.com/blogs/verb-word/prom-hairstyles
[9] 5 Amazing Diy Prom Hairstyles – https://www.zotosprofessional.com/blogs/blog/5-amazing-diy-prom-hairstyles/