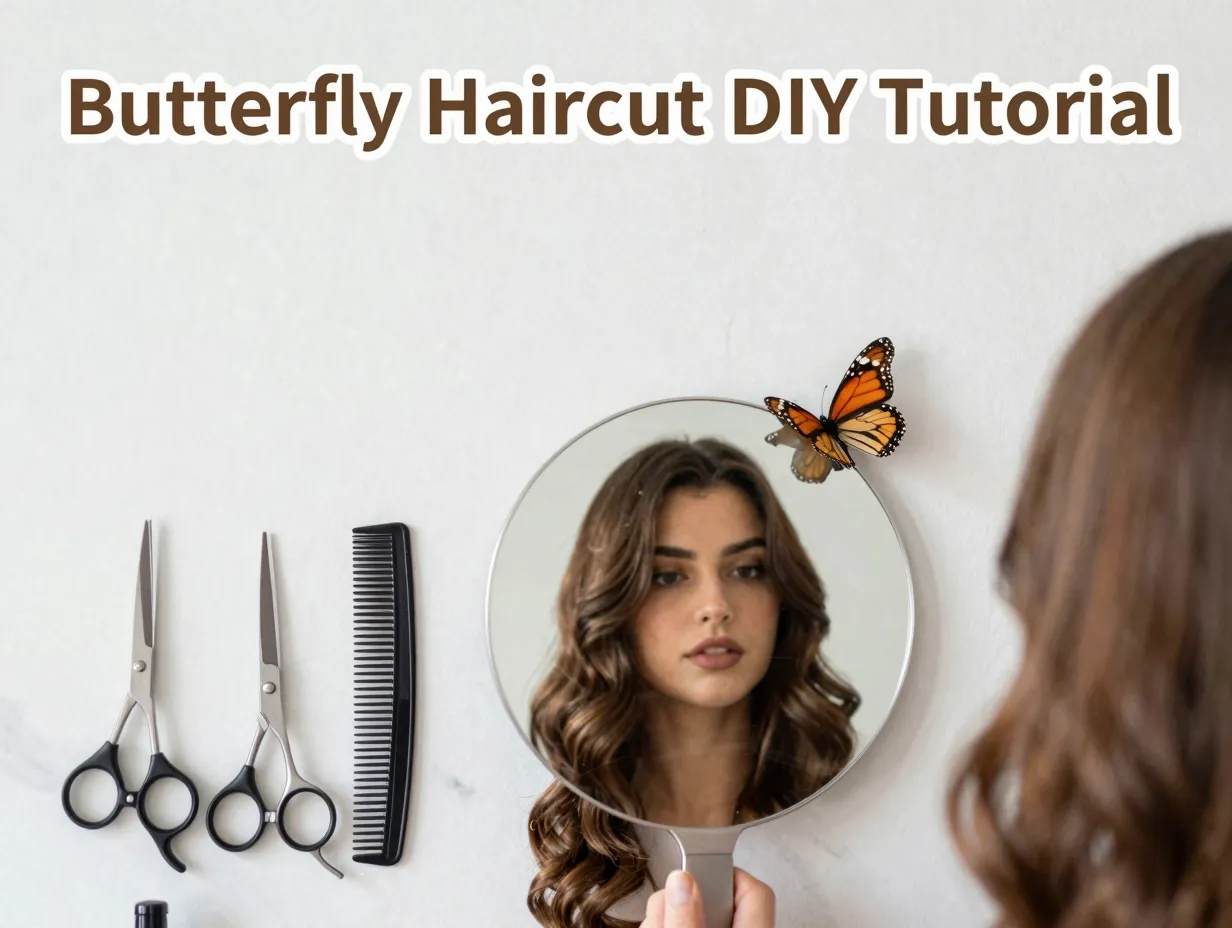
9-Step Butterfly Haircut Long Hair Tutorial for a DIY Salon Finish
Salon prices for a layered cut have jumped more than 30% since 2020 — yet the butterfly haircut, one of 2026’s most-requested styles, is surprisingly achievable at home when you follow a structured, step-by-step method. This 9-Step Butterfly Haircut Long Hair Tutorial for a DIY Salon Finish breaks down every technique professional stylists use, from precise sectioning to razor-point finishing, so you can recreate that voluminous, face-framing look without booking an appointment.
Whether your hair falls to your shoulder blades or your waist, this guide gives you the roadmap to nail the butterfly cut — a modern take on the 1970s shag that creates the illusion of “wings” framing your face through strategic layering [1][5].
Key Takeaways 🦋
- The butterfly haircut works on most long hair textures, from straight to wavy to lightly curly.
- Sectioning is the most critical step — rushing it causes uneven layers.
- You only need 3–4 basic tools to achieve a professional result at home.
- The cut relies on two core techniques: a horseshoe section for the crown and face-framing layers for the “wings.”
- Styling with a round brush or diffuser after cutting completes the salon finish.
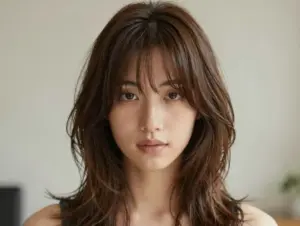
What Exactly Is the Butterfly Haircut?
Before grabbing your scissors, it helps to understand what makes this cut unique. The butterfly haircut is defined by heavily layered, voluminous crown layers that taper into longer lengths underneath, creating a silhouette that — when styled — resembles butterfly wings spreading from the face [3].
Think of it as a modern evolution of the 70s shag. It combines:
| Feature | Description |
|---|---|
| Crown layers | Short, voluminous layers at the top for lift |
| Face-framing pieces | Longer, angled sections that frame the cheekbones |
| Curtain bangs | Optional, but common in the classic butterfly look |
| Textured ends | Point-cut or razor-cut for movement |
| Long underlayers | Kept longer to create the “wing” contrast |
💬 “The butterfly cut isn’t just a haircut — it’s a structural technique. Get the architecture right, and the style almost does itself.”
Tools You’ll Need Before Starting
Attempting this cut without the right tools is the fastest way to end up with a choppy, uneven result. Here’s your essential kit:
- ✂️ Sharp haircutting shears (not kitchen scissors — this is non-negotiable)
- 🪮 Fine-tooth rat-tail comb for clean partings
- 📎 At least 6 sectioning clips
- 💧 Spray bottle filled with water
- 🪞 Two mirrors (one handheld, one wall-mounted)
- 📏 Measuring guide or your fingers for consistent length checks
- 🌬️ Blow dryer and round brush for the finishing step
Pro tip: Invest in professional-grade shears if you plan to maintain this cut regularly. Dull blades cause split ends and blunt, unflattering lines [2].
The Complete 9-Step Butterfly Haircut Long Hair Tutorial for a DIY Salon Finish
Let’s get into the actual process. Follow these steps in order — skipping ahead is the most common DIY mistake.
1. Start With Clean, Damp Hair
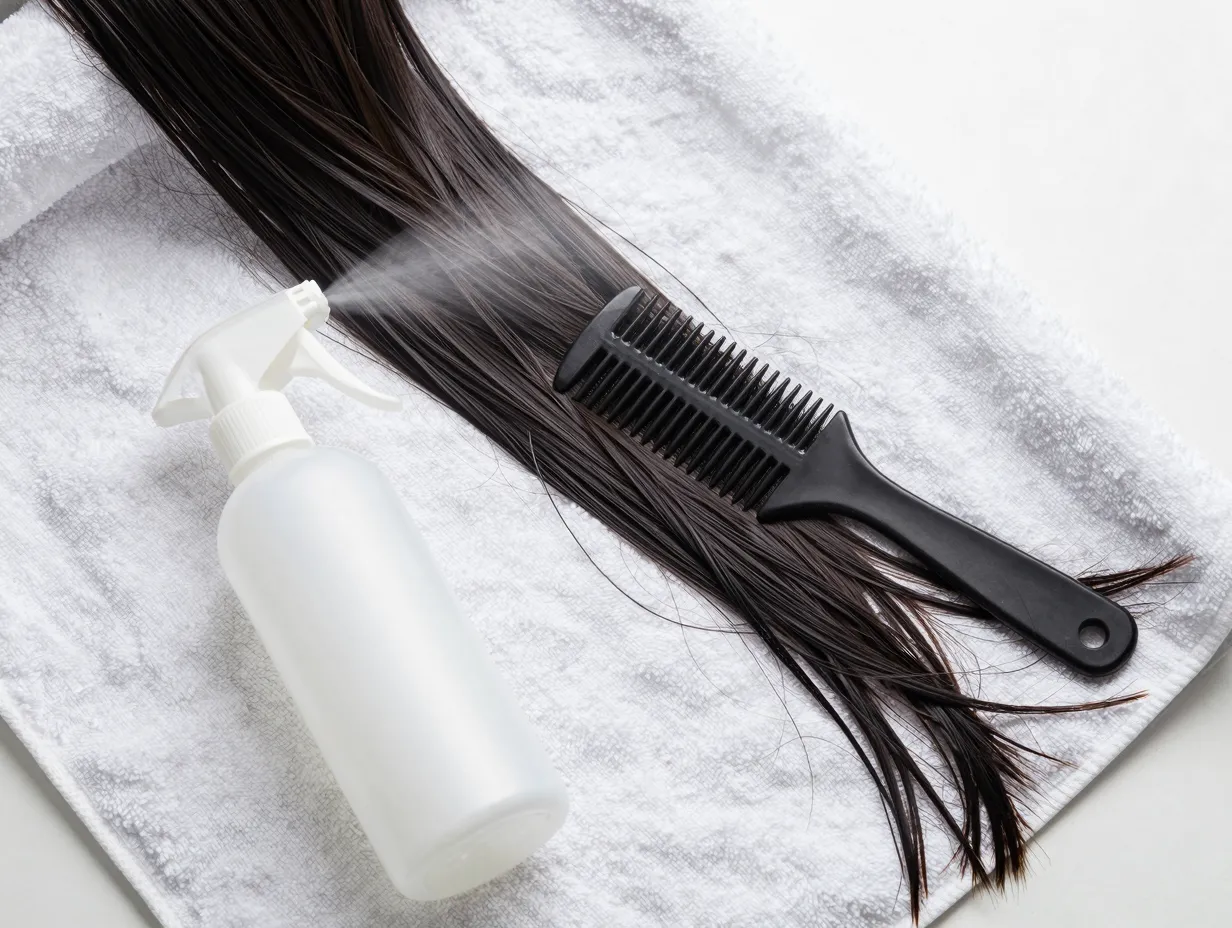
Wash your hair with your regular shampoo and conditioner, then towel-dry until it’s damp but not dripping. Damp hair is easier to cut evenly because it shows the true length without the distortion of shrinkage (especially important for wavy or curly hair) [2].
Avoid: Cutting completely dry hair unless you are very experienced. Dry cutting is a professional technique that requires a trained eye to judge how much the hair will spring up after cutting.
Detangle thoroughly from ends to roots using a wide-tooth comb. Any knots left in the hair will cause the scissors to snag and create uneven cuts.
2. Establish Your Baseline Length
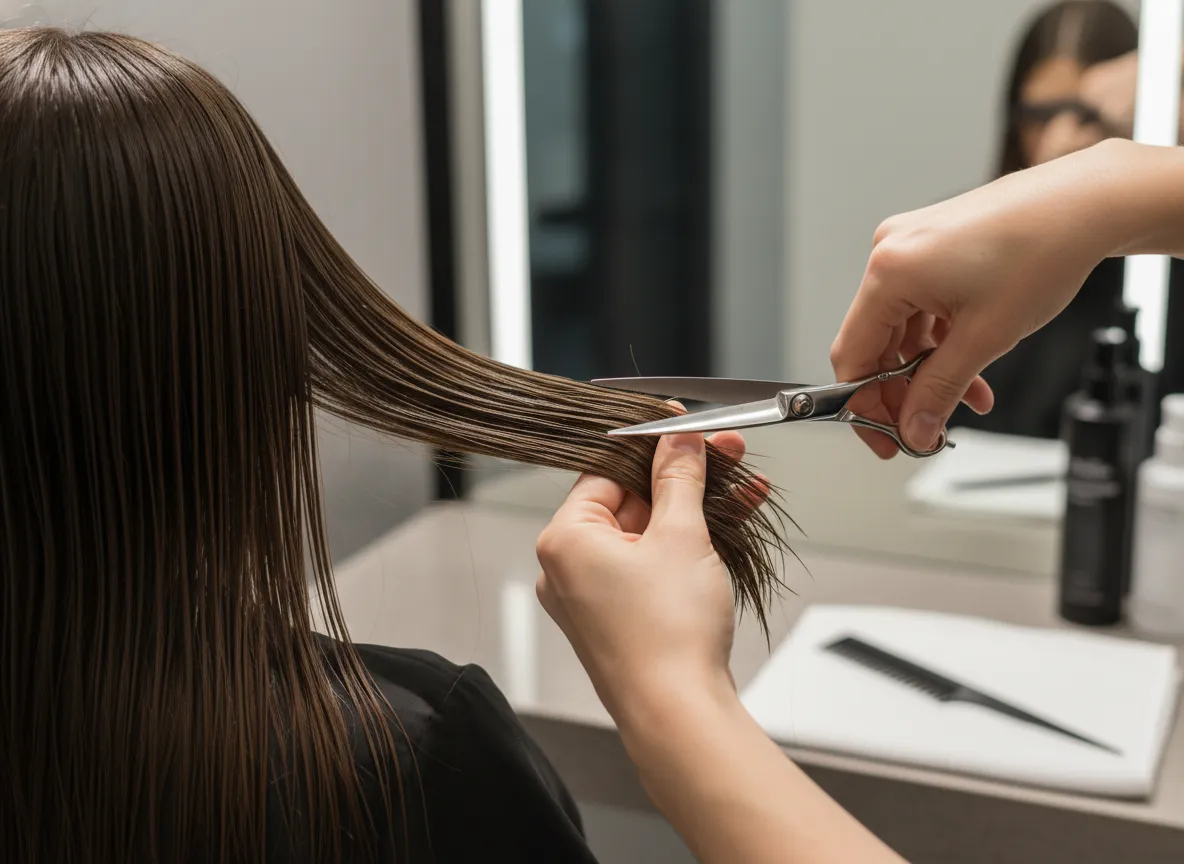
Before any layering begins, you need a clean, even baseline. Comb all your hair straight down and trim the ends to your desired final length — whether that’s mid-back, waist, or anywhere in between [1].
Hold sections of hair between your index and middle fingers, pulling straight down, and trim in a straight line across. Work from the center back outward to both sides to keep the baseline even.
🔑 Key point: This baseline is your anchor. Every layer you add above it will be measured against this length, so take your time here.
3. Create the Horseshoe Section
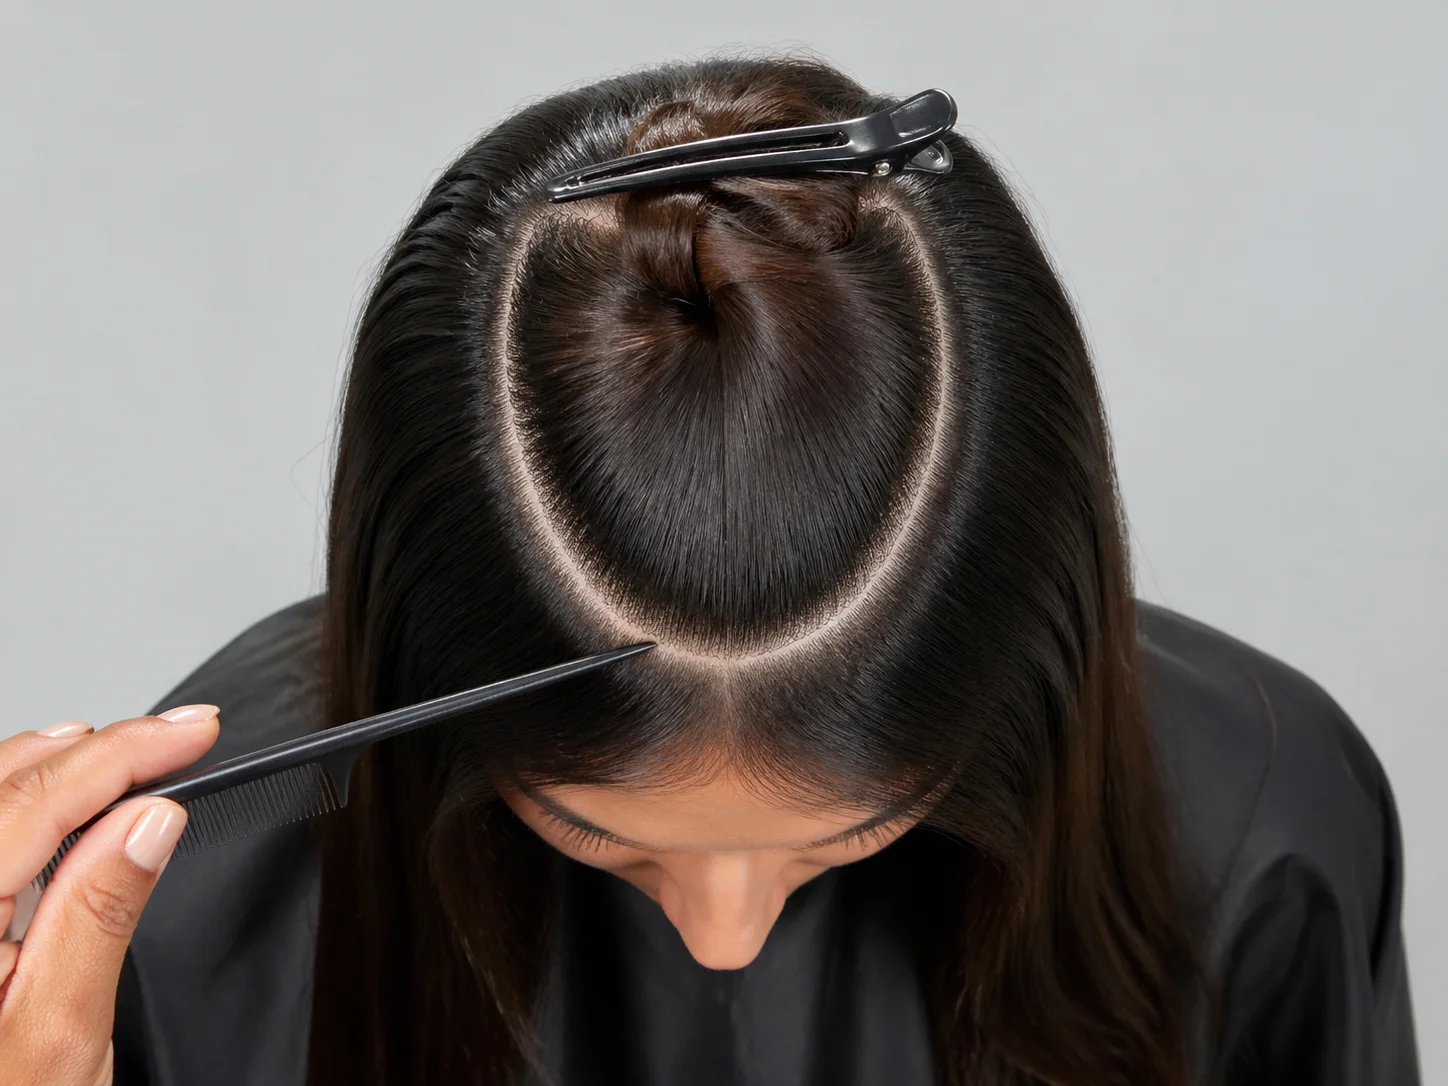
This is the most important structural step in the entire butterfly haircut process. The horseshoe section isolates the crown hair that will become your voluminous top layers [3][4].
How to create it:
- Place your comb at the outer corner of one eyebrow.
- Draw a curved line over the top of your head to the outer corner of the opposite eyebrow.
- Clip this top section up and out of the way.
- The remaining hair (everything outside the horseshoe) stays down for now.
The horseshoe section should feel like a loose oval or “U” shape sitting on top of your head. If it’s too small, your crown layers will look sparse. If it’s too large, you’ll lose the contrast that creates the butterfly effect.
4. Section Out the Face-Framing Pieces
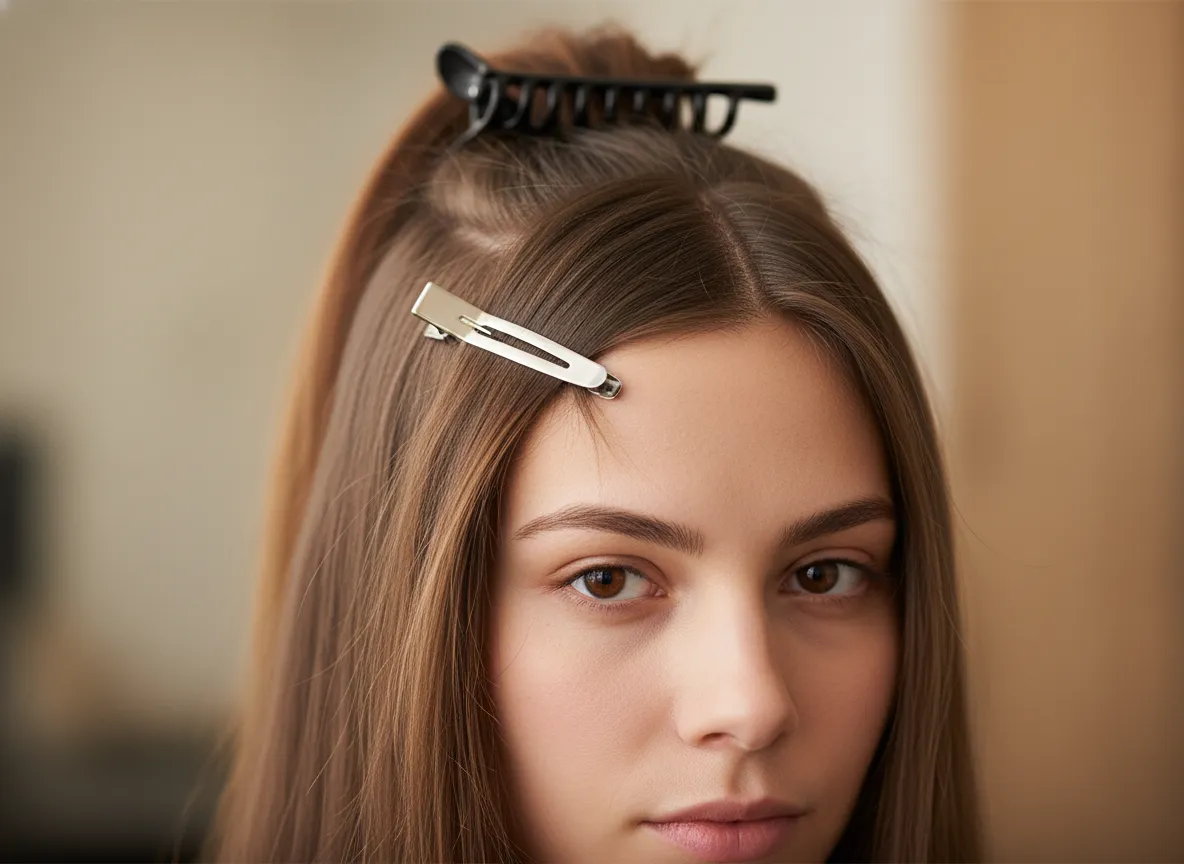
With the horseshoe section still clipped up, take a triangular section from each side of your front hairline — roughly from your temple to the center of your part [1][5].
These triangular sections will become your face-framing “wings.” Clip them separately from the rest of the hair so you can work on them individually in a later step.
Why this matters: The face-framing layers are what give the butterfly cut its signature look. They need to be cut at a specific angle to fall forward and frame the cheekbones — not just blend into the sides like a standard layer.
5. Cut the Crown Layers
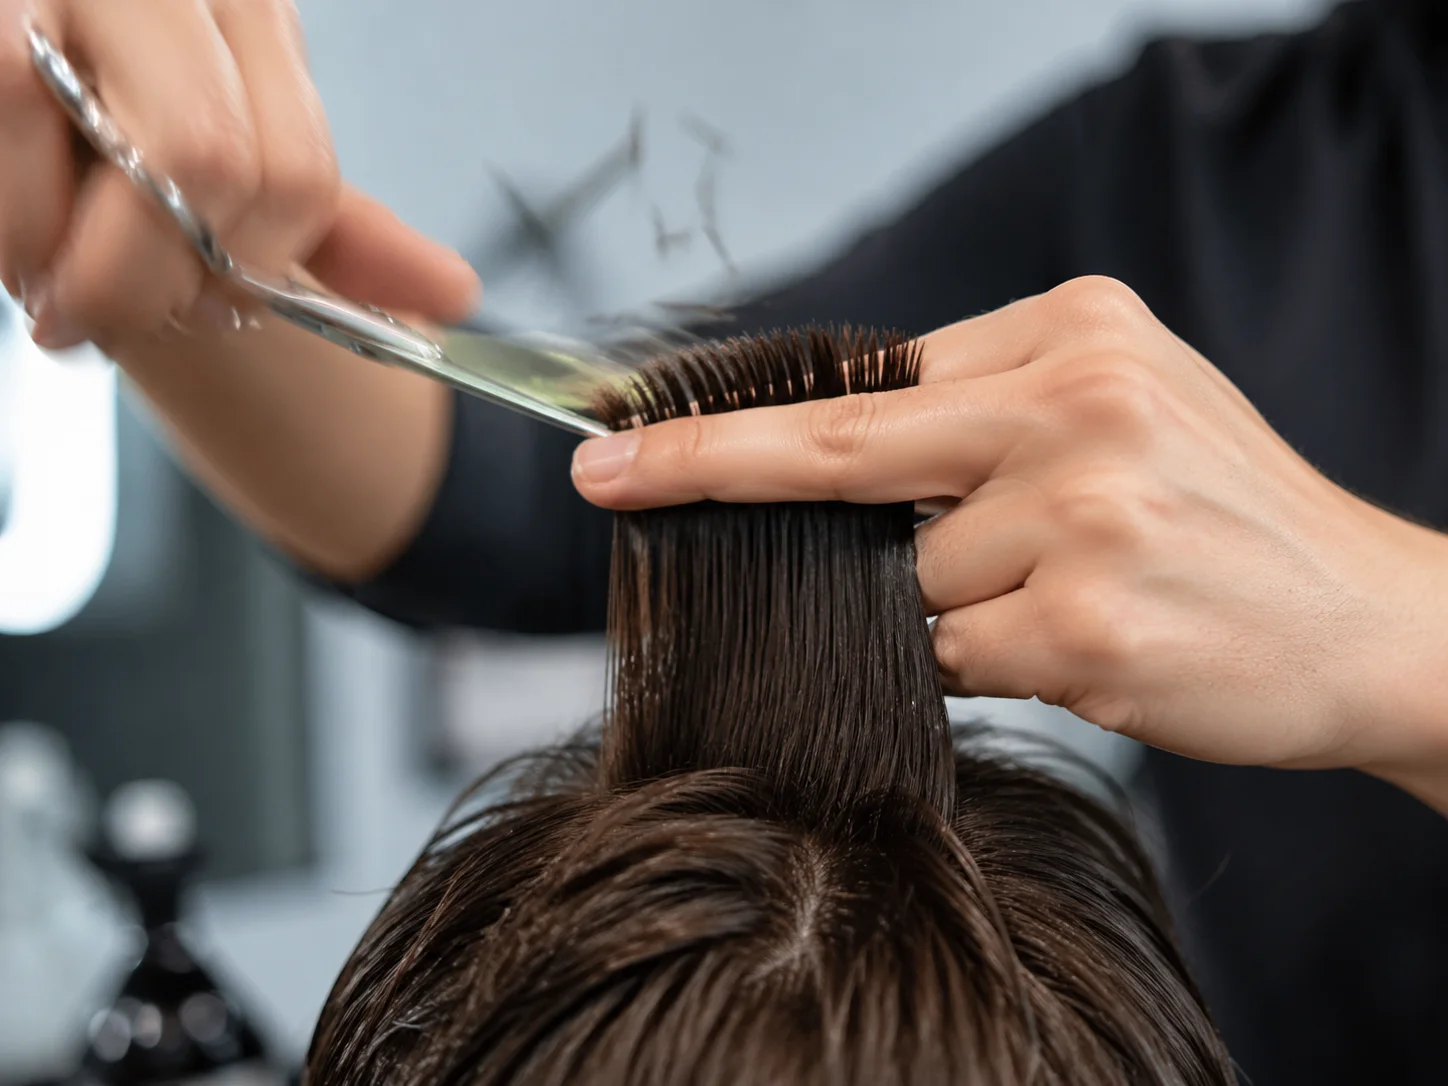
Now release the horseshoe section and comb it straight up toward the ceiling. Hold the hair directly above the crown of your head, pulling it to a 90-degree angle from the scalp [3][4].
Decide how short you want your shortest crown layer. A good starting point for beginners is leaving at least 4–5 inches of length even at the shortest point — this gives you room to blend and prevents the layers from looking too choppy.
Cutting technique:
- Hold the section firmly between your fingers.
- Cut straight across at your chosen length.
- Release the hair and check how it falls.
- Repeat in small subsections, working from front to back within the horseshoe.
Point-cutting (angling the scissors upward and snipping into the ends rather than cutting straight across) adds texture and softness to the crown layers [2].
💬 “Point-cutting is the difference between a blunt, heavy layer and a soft, blended one. Even beginners can master it with a little practice.”
6. Blend the Crown Into the Underlayers

This step prevents the harsh “shelf” effect that makes DIY layered cuts look amateur. You need to connect the short crown layers to the longer underlayers with a smooth transition [1][4].
How to blend:
- Take a small section that includes both crown hair and the hair just below the horseshoe line.
- Hold it at a 45-degree angle (halfway between straight up and straight out).
- Trim lightly — you’re removing just a small amount to soften the transition.
- Work around the entire perimeter of the horseshoe section.
Check your work frequently by releasing the hair and running your fingers through it. You should feel a gradual transition, not a sudden step.
7. Cut the Face-Framing Layers
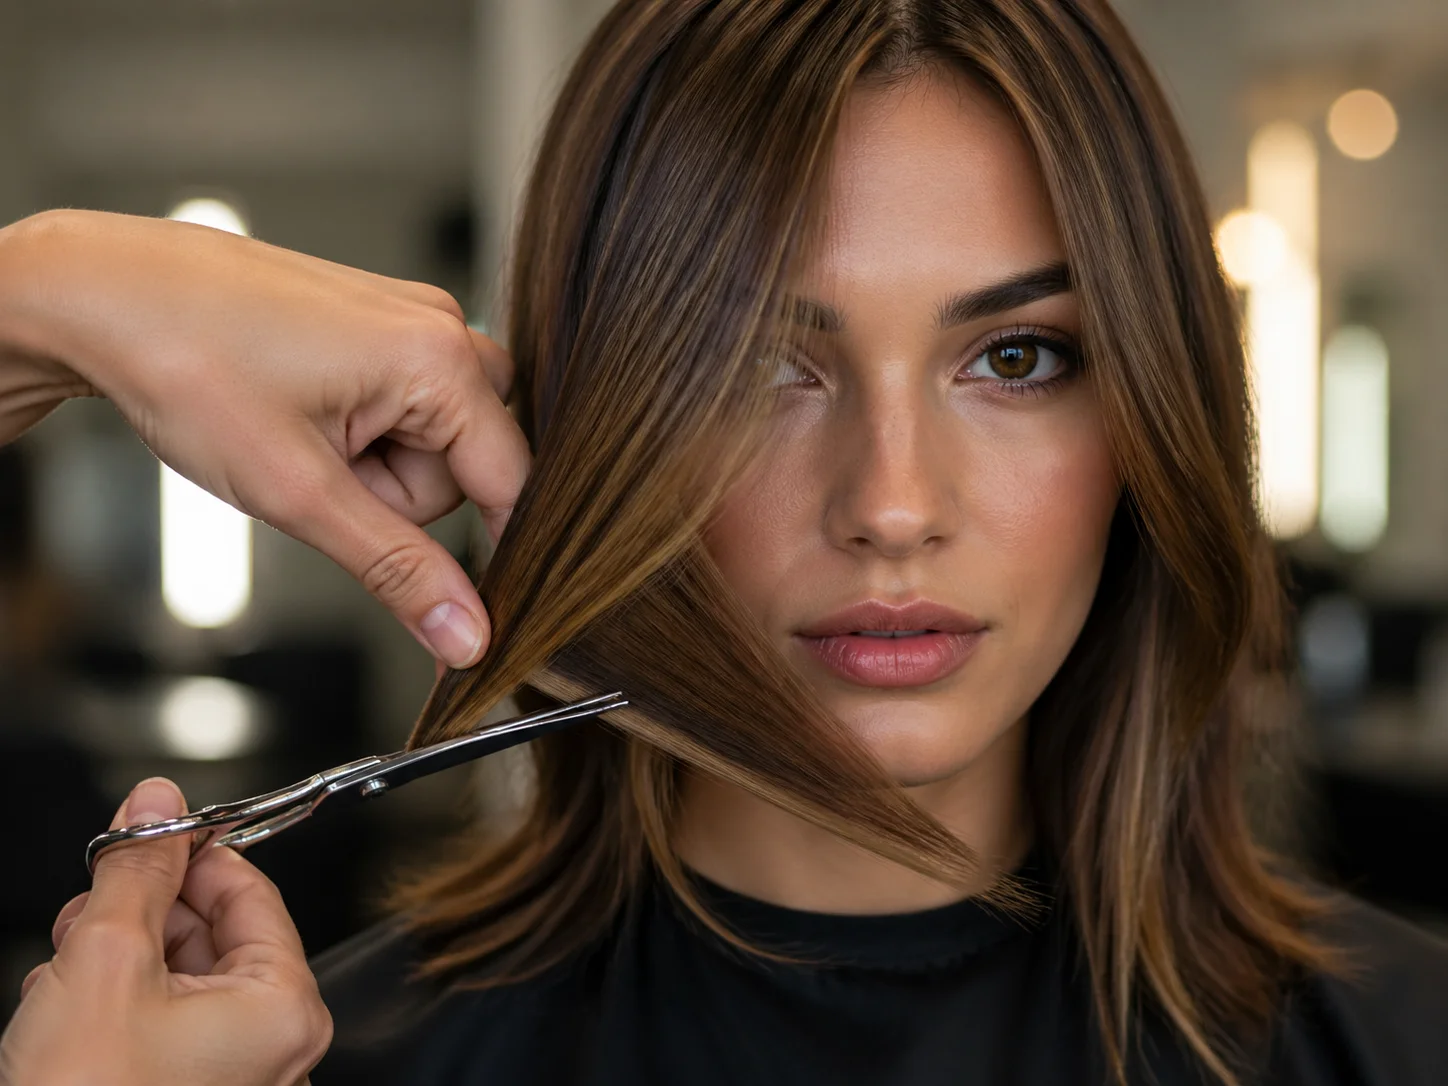
Release one of your triangular face-framing sections. Comb it forward toward your face and hold it at a downward diagonal angle, pointing toward your chin [5][1].
The cutting angle here is crucial:
| Desired Result | Cutting Angle |
|---|---|
| Soft, subtle framing | 30–45 degrees from vertical |
| Bold, dramatic wings | 60–75 degrees from vertical |
| Curtain bang effect | Cut to cheekbone or jaw level |
Cut along the angle you’ve chosen, then repeat on the opposite side. Always compare both sides by pulling them forward simultaneously and checking that they match in length and angle.
For a more textured, 70s-inspired result, use point-cutting along the entire length of the face-framing pieces rather than a straight cut [5].
8. Refine and Check for Balance
This step is where you catch and correct any unevenness before it’s too late. Put down your scissors and do a full visual check [2][3]:
- Stand in front of your mirror and part your hair as you normally would.
- Check that the crown layers look even from side to side.
- Pull the face-framing pieces forward and compare lengths.
- Run your fingers through the layers to feel for any “steps” or abrupt changes.
Common issues and fixes:
- One side longer than the other: Trim the longer side in tiny increments until they match.
- Layers too blunt: Add more point-cutting to soften the edges.
- Crown layers too short: Unfortunately, you can’t add length back — but you can blend more aggressively to minimize the contrast.
- Layers not blending: Take a fine-tooth comb and backcomb lightly at the transition zones, then trim any stray longer hairs.
9. Style for the Full Butterfly Effect
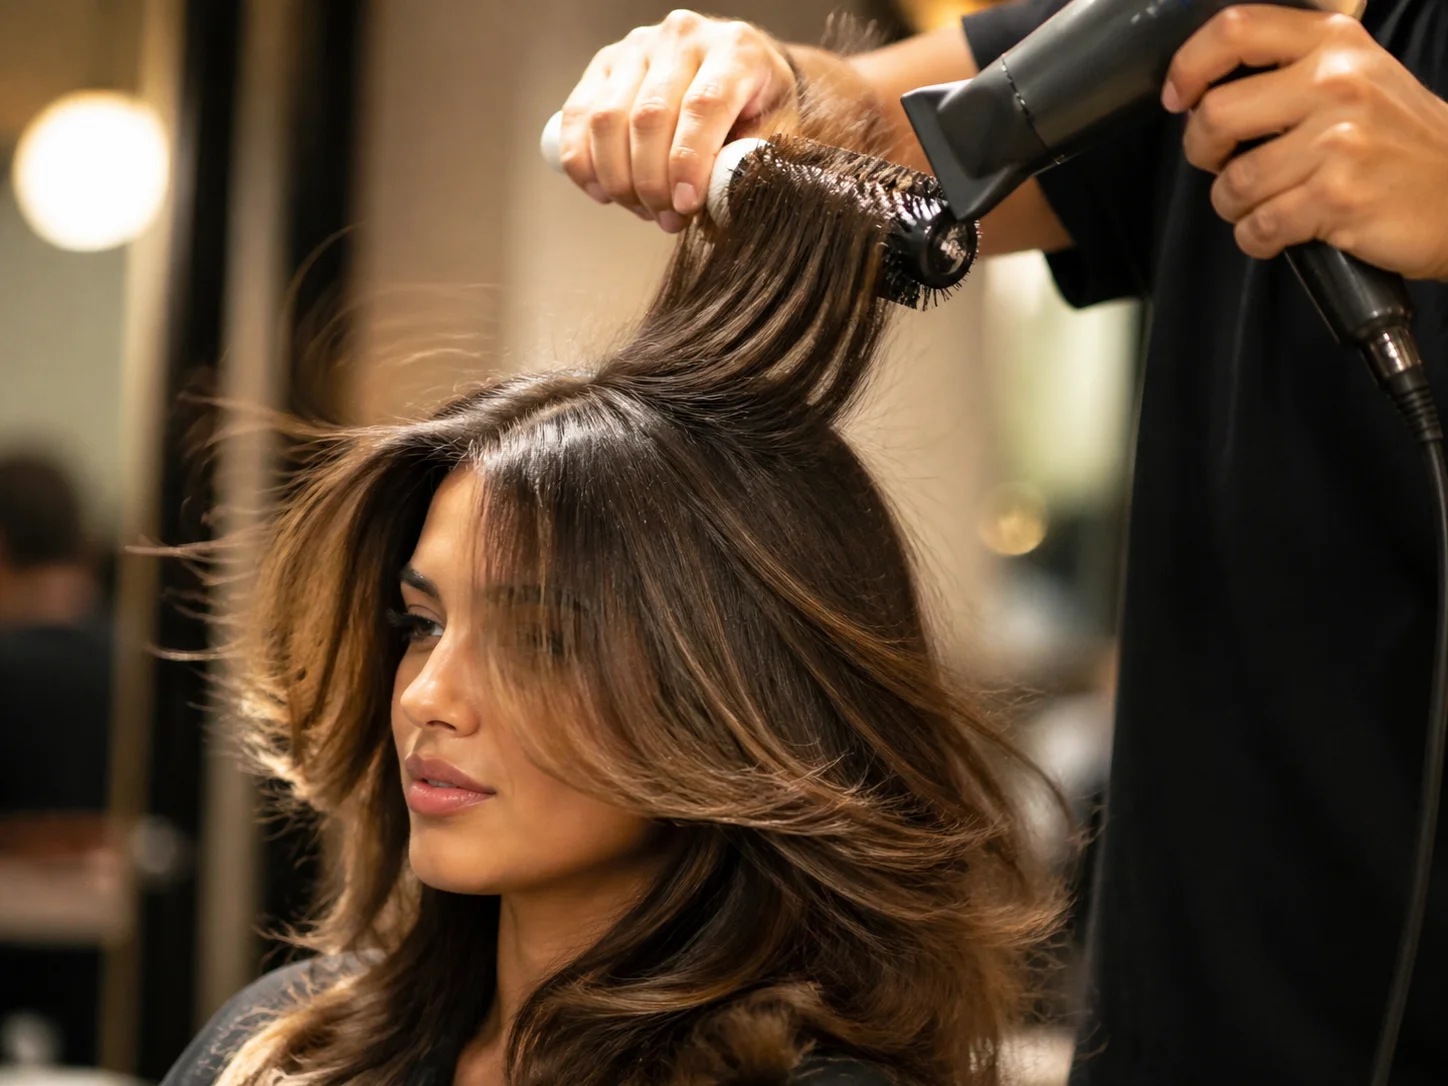
The cut alone won’t give you the full butterfly finish — styling is what activates the layers and creates that signature winged volume [2][4].
For straight to wavy hair:
- Apply a volumizing mousse or spray to damp hair.
- Blow-dry the crown layers upward and forward using a round brush.
- Flip the face-framing pieces outward as you dry them.
- Finish with a light-hold hairspray to set the shape.
For wavy to curly hair:
- Apply a curl-enhancing cream or gel to damp hair.
- Diffuse on low heat, scrunching upward to encourage curl formation in the layers.
- Let the face-framing pieces air-dry slightly before diffusing to preserve their natural movement.
🦋 The butterfly effect is most visible when the crown has lift and the face-framing pieces fall forward — so always style with that contrast in mind.
Maintaining Your Butterfly Haircut Long Hair Style
A great cut deserves great upkeep. Here’s how to keep your butterfly haircut looking fresh between trims:
Maintenance schedule:
- Every 6–8 weeks: Trim the ends and refresh the crown layers.
- Every 3–4 months: Do a full re-cut following all 9 steps.
- Between cuts: Use a texturizing spray to revive the layers on second or third-day hair.
Products that help:
- 🧴 Lightweight volumizing mousse for the crown
- 💨 Heat protectant spray before blow-drying
- ✨ Shine serum for the ends (avoid the roots)
- 🌊 Sea salt spray for effortless texture on wavy hair
Common Mistakes to Avoid in This DIY Tutorial
Even with a clear guide, a few pitfalls catch beginners off guard. Here’s what to watch for:
- Cutting too much at once. Always start conservative — you can always take more off, but you can’t put it back.
- Skipping the horseshoe section. Without this structural foundation, the butterfly cut becomes a generic layered cut with no defined shape [3].
- Using dull scissors. Dull blades push the hair rather than cut it, causing split ends and jagged lines.
- Not checking both sides simultaneously. The face-framing pieces must be compared together, not separately, to catch length differences.
- Rushing the blending step. Blending is what separates a professional-looking result from a choppy DIY disaster [4].
- Skipping the styling step. The butterfly shape only fully emerges with intentional styling — don’t judge the cut on wet, unstyled hair.
Who Is the Butterfly Haircut Best For?
The butterfly cut is one of the most versatile long-hair styles of 2026, but it does suit some hair types better than others.
| Hair Type | Suitability | Notes |
|---|---|---|
| Straight | ⭐⭐⭐⭐⭐ | Layers show beautifully; easy to style |
| Wavy | ⭐⭐⭐⭐⭐ | Natural texture enhances the wing effect |
| Curly | ⭐⭐⭐ | Works well but requires more blending |
| Fine/thin | ⭐⭐⭐⭐ | Layers add volume; avoid cutting too short |
| Thick/coarse | ⭐⭐⭐⭐ | May need thinning shears for the crown |
Face shapes: The butterfly cut is particularly flattering for oval, heart, and square face shapes because the face-framing layers draw attention to the cheekbones and soften strong jaw lines [1][5].
Frequently Asked Questions
How long does this tutorial take?
Allow 45–90 minutes for your first attempt. As you get familiar with the steps, you can complete it in 30–45 minutes.
Can I do this on hair shorter than shoulder length?
The butterfly cut works best on hair that is at least bra-strap length. Shorter hair doesn’t have enough length contrast to create the wing effect.
Do I need curtain bangs for the butterfly cut?
No — curtain bangs are optional. The butterfly effect comes from the crown layers and face-framing pieces, not from bangs [4].
What if my layers don’t blend perfectly?
Minor blending imperfections are normal for a first attempt. A small amount of texturizing spray and a round brush can hide most issues. If the unevenness is significant, visit a stylist for a refinement trim.
Conclusion: Your DIY Salon Finish Starts Here
The 9-Step Butterfly Haircut Long Hair Tutorial for a DIY Salon Finish proves that one of 2026’s most sought-after styles doesn’t require a salon appointment — just the right tools, a clear process, and a little patience.
Here’s your action plan to get started:
- Gather your tools before you do anything else — sharp shears are the single most important investment.
- Watch at least one video reference alongside this guide to visualize the horseshoe section and face-framing angles [1][3].
- Follow the steps in order — especially the sectioning and blending steps, which beginners most often skip.
- Style intentionally after cutting to see the true butterfly effect.
- Schedule a maintenance trim in 6–8 weeks to keep the layers looking fresh.
The butterfly haircut rewards those who take their time. Go slow, check your work at every stage, and don’t be afraid to make small adjustments. Your at-home salon finish is closer than you think. 🦋
References
[1] Watch – https://www.youtube.com/watch?v=Fgi-AILh6Es
[2] Watch – https://www.youtube.com/watch?v=CDwFBKUiSu0
[3] Watch – https://www.youtube.com/watch?v=gPzav7zxttw
[4] Watch – https://www.youtube.com/watch?v=UbPwDAtR_qY
[5] Watch – https://www.youtube.com/watch?v=gAbbXp7mcoc