9 Sleek Back Ponytail Techniques for 4C Natural Hair Mastery
Only 12% of women with 4C natural hair report feeling confident styling their own sleek ponytails at home — yet the sleek ponytail remains one of the most requested protective styles in salons worldwide. That gap between desire and confidence is exactly what this guide closes. Whether you’re chasing a polished high pony for a job interview or a smooth low ponytail for date night, mastering 9 Sleek Back Ponytail Techniques for 4C Natural Hair Mastery will transform your styling routine from frustrating to effortless.
4C hair — defined by its tight, zig-zag curl pattern and low porosity — is often misunderstood as “difficult to style.” The truth? It simply requires the right sequence of steps, the right products, and a little patience. In this guide, I’ll walk you through nine proven techniques, from professional sectioning methods to budget-friendly hacks, so you can achieve that glass-smooth finish every single time.
Key Takeaways 🗝️
- Sectioning is non-negotiable — working in 5–10 sections is the single biggest factor separating a frizzy attempt from a sleek result.
- Gel is your best friend — generous, layered gel application controls flyaways and lays edges flat on 4C textures.
- Heat prep matters — blowing out 4C hair before styling dramatically reduces effort and improves smoothness.
- You don’t need to spend a lot — a sleek high ponytail is achievable on a $20 budget with the right product choices.
- Edge-laying is a finishing step AND a starting step — done before and after ponytail creation for a truly polished look.
Why 4C Hair Needs a Different Approach
Before diving into the 9 Sleek Back Ponytail Techniques for 4C Natural Hair Mastery, it’s worth understanding why standard ponytail tutorials often fail 4C naturals. Most mainstream guides are written for looser curl patterns (2A–3C), where hair lies flatter and holds tension more easily. 4C hair has a much tighter coil, which means:
| Challenge | Why It Happens | Solution |
|---|---|---|
| Frizz and flyaways | High surface area of coils | Generous gel + edge brush |
| Uneven tension | Shrinkage varies across head | Sectioning method |
| Breakage at hairline | Over-manipulation | Protective wrapping |
| Short appearance | Extreme shrinkage | Blowout or stretching |
| Product buildup | Low porosity | Clarifying wash before styling |
Understanding these challenges means every technique below is designed specifically for 4C texture — not adapted from a looser-curl tutorial.
The 9 Sleek Back Ponytail Techniques for 4C Natural Hair Mastery
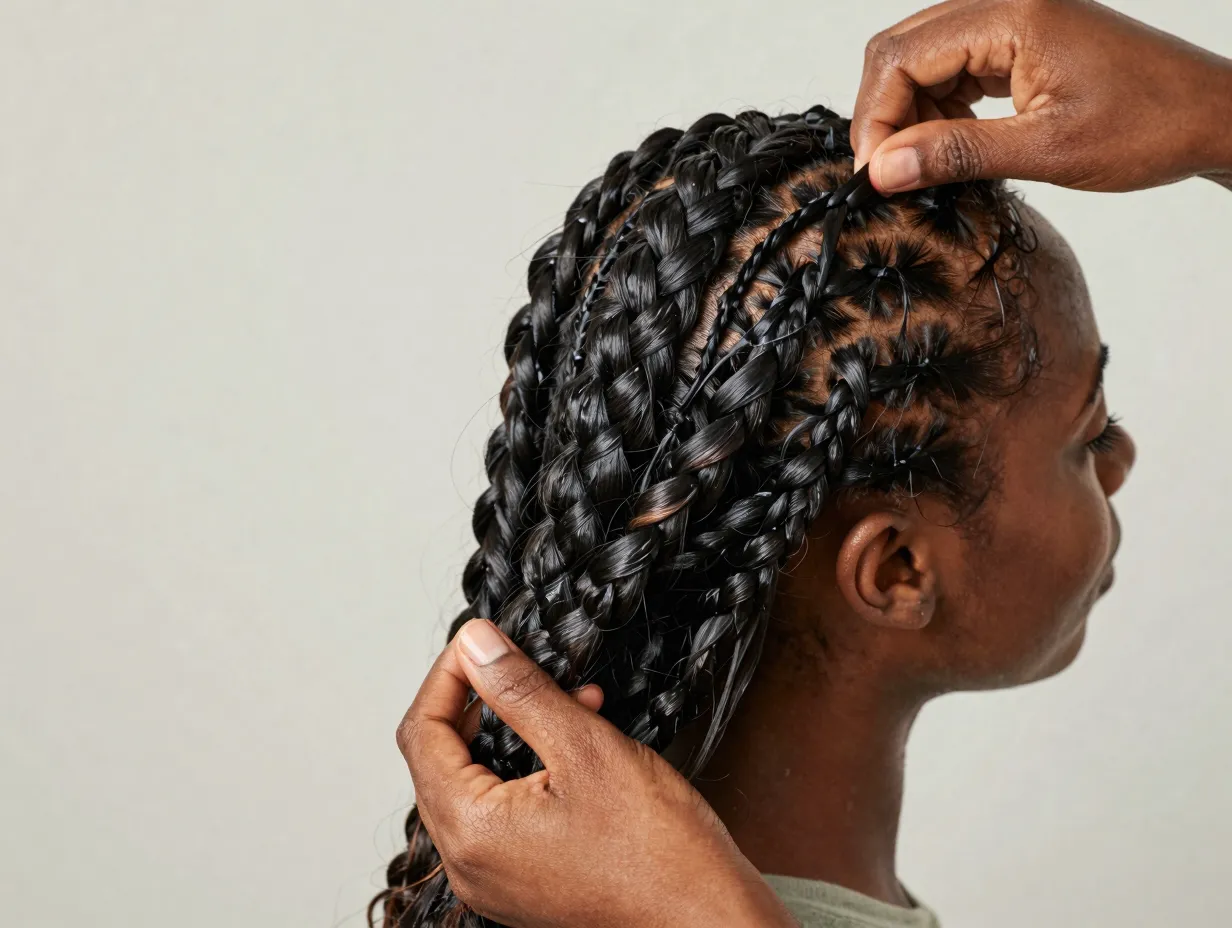
1. The Sectioning Foundation Method
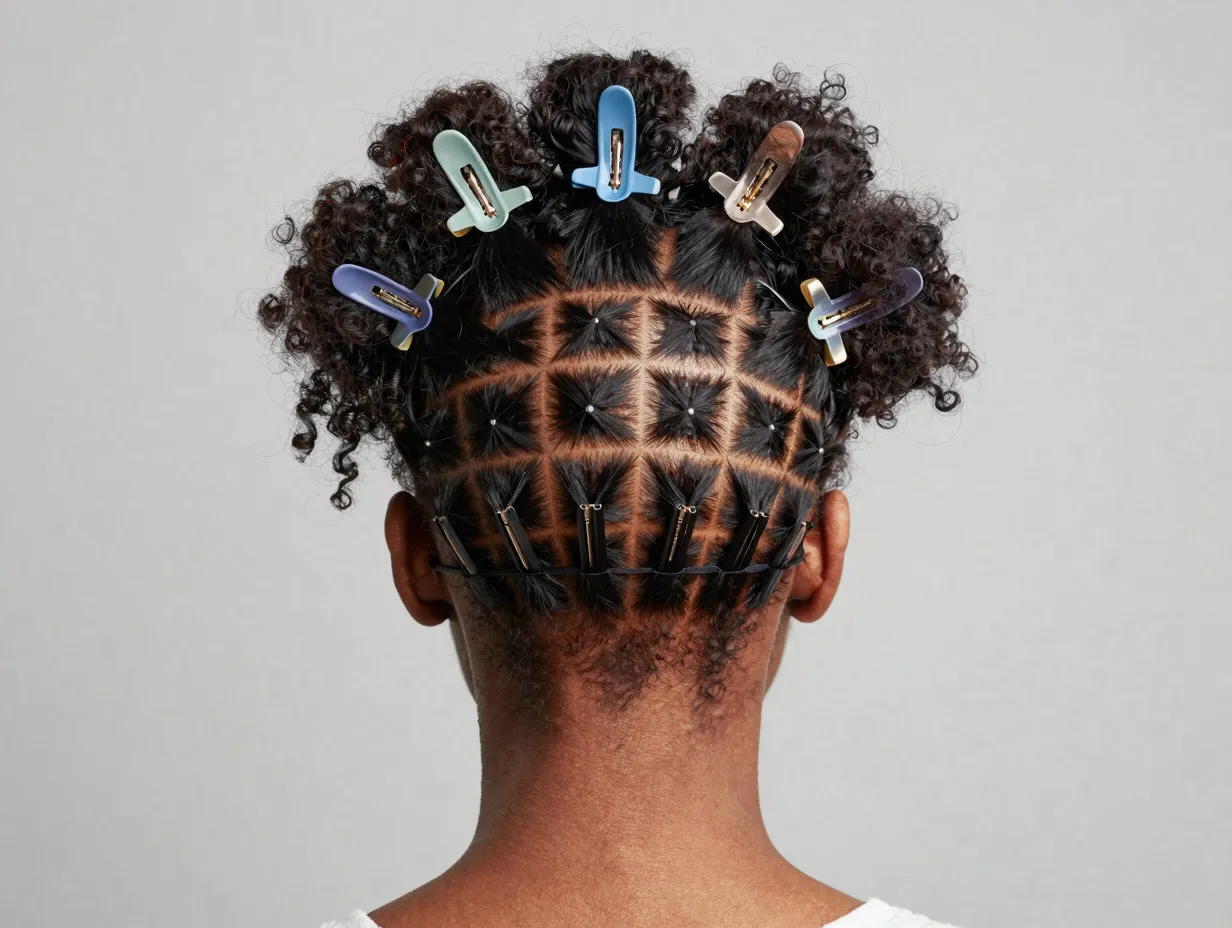
The most underrated technique in any sleek ponytail tutorial is proper sectioning — and it’s where every successful style begins. Rather than attempting to smooth all of your hair at once, divide your hair into 5 to 10 smaller sections before applying any product or tension [2][5].
How to do it:
- Start at the nape and work upward toward the crown.
- Clip each section away as you go.
- Work one section at a time, applying product and smoothing before moving to the next.
This method ensures even tension distribution across your entire head, which is critical for 4C hair that can shrink at different rates in different zones. Creators who use this approach consistently report reduced styling time and a noticeably smoother finish [5]. Think of it as building a sleek ponytail the way a contractor builds a house — one section at a time, never all at once.
💡 Pro Tip: Use butterfly clips rather than rubber bands to section. They hold without leaving dents in freshly smoothed hair.
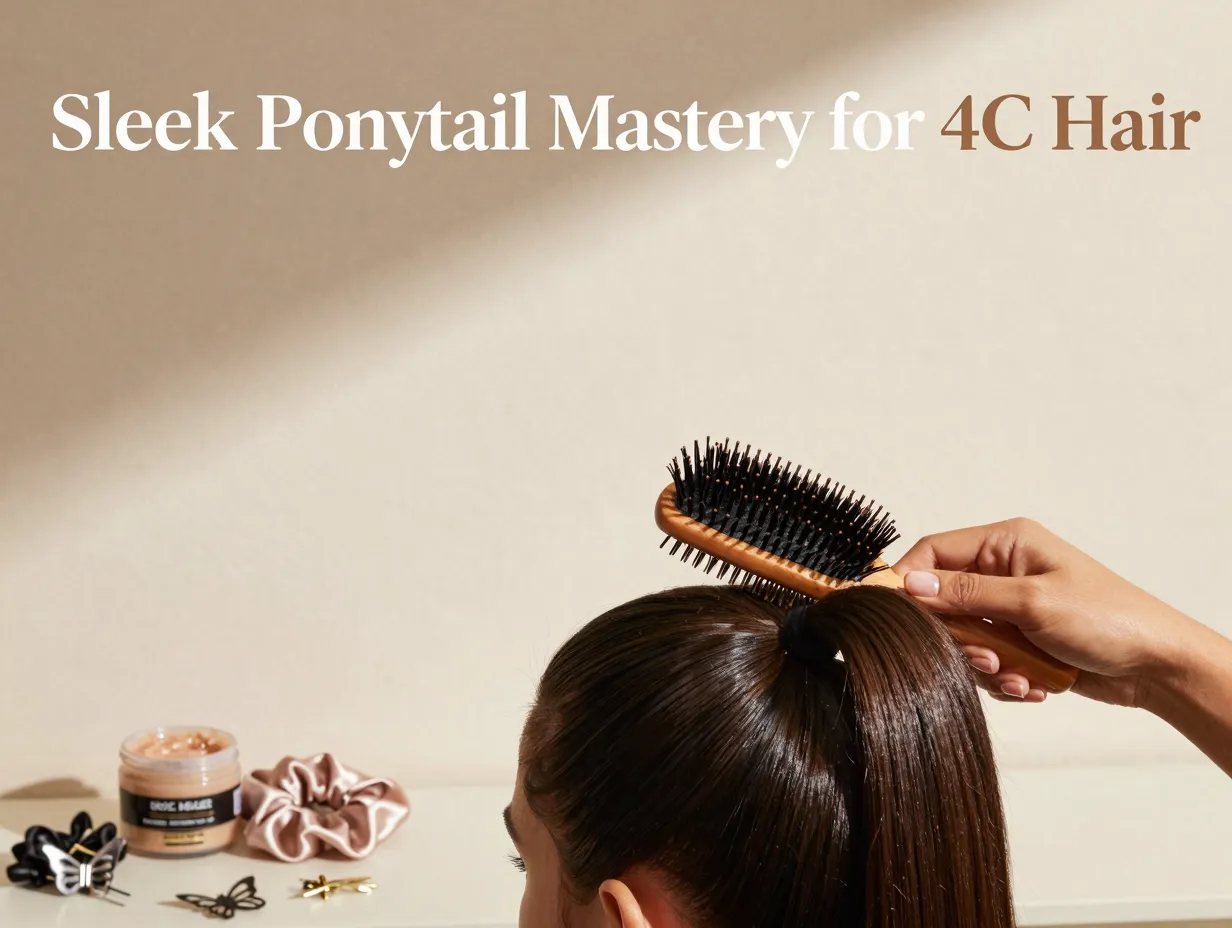
2. The Generous Gel Application Technique
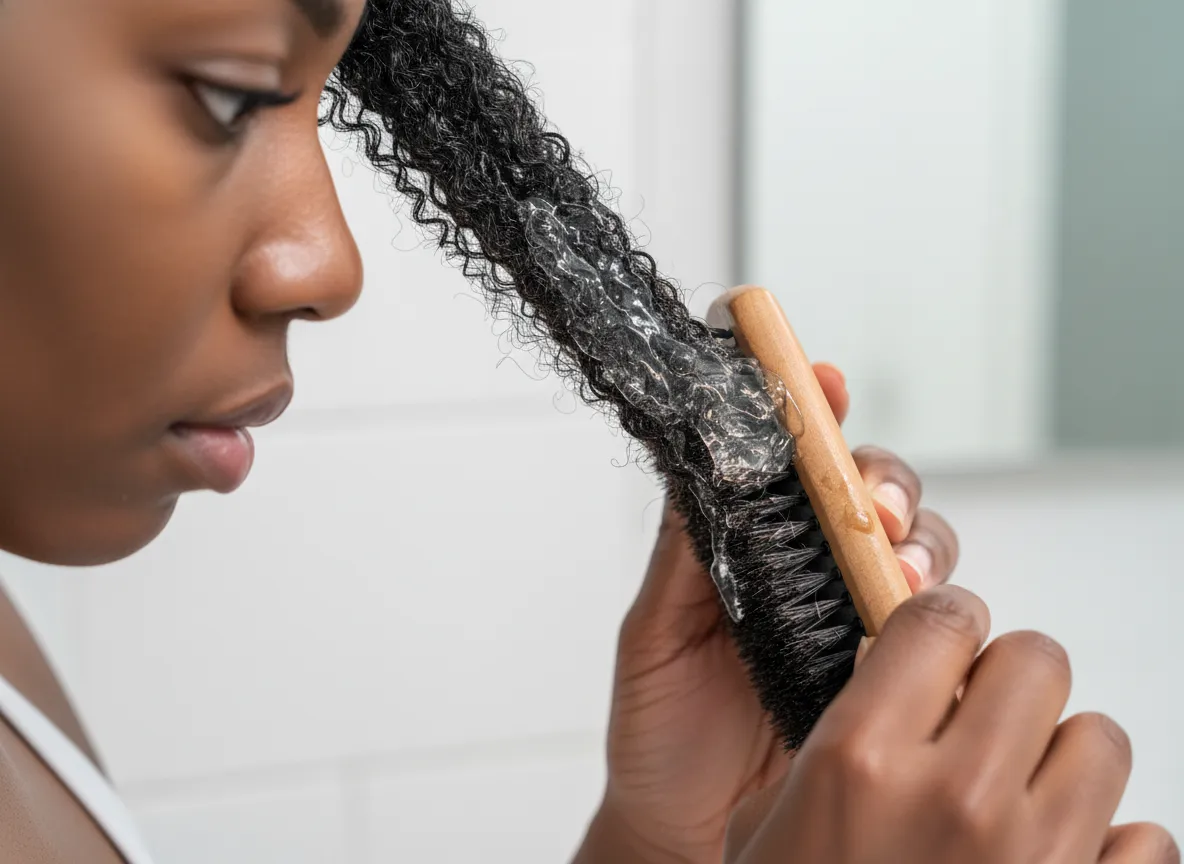
If there is one product category that separates a sleek ponytail from a frizzy attempt on 4C hair, it is gel — and the key word is generous [1][10]. Many naturals under-apply gel out of fear of buildup or crunchiness, but professional stylists consistently recommend applying “quite a bit” to achieve the glass-smooth finish.
Best practices for gel application on 4C hair:
- Apply gel to each section before smoothing, not after.
- Layer gel in two passes: one pass for moisture, one pass for hold.
- Use a boar bristle brush or a medium-density styling brush to distribute gel evenly.
- Products like Style Factor Edge Booster are frequently recommended for their strong hold on coily textures [10].
Gel Application Cheat Sheet:
| Hair Density | Gel Amount per Section | Brush Type |
|---|---|---|
| Fine/Low | Dime-sized | Soft boar bristle |
| Medium | Nickel-sized | Medium density |
| Thick/High | Quarter-sized | Firm paddle brush |
Don’t be afraid of the gel. On 4C hair, more is almost always better when it comes to achieving that sleek, editorial finish.
3. The Blowout Preparation Technique
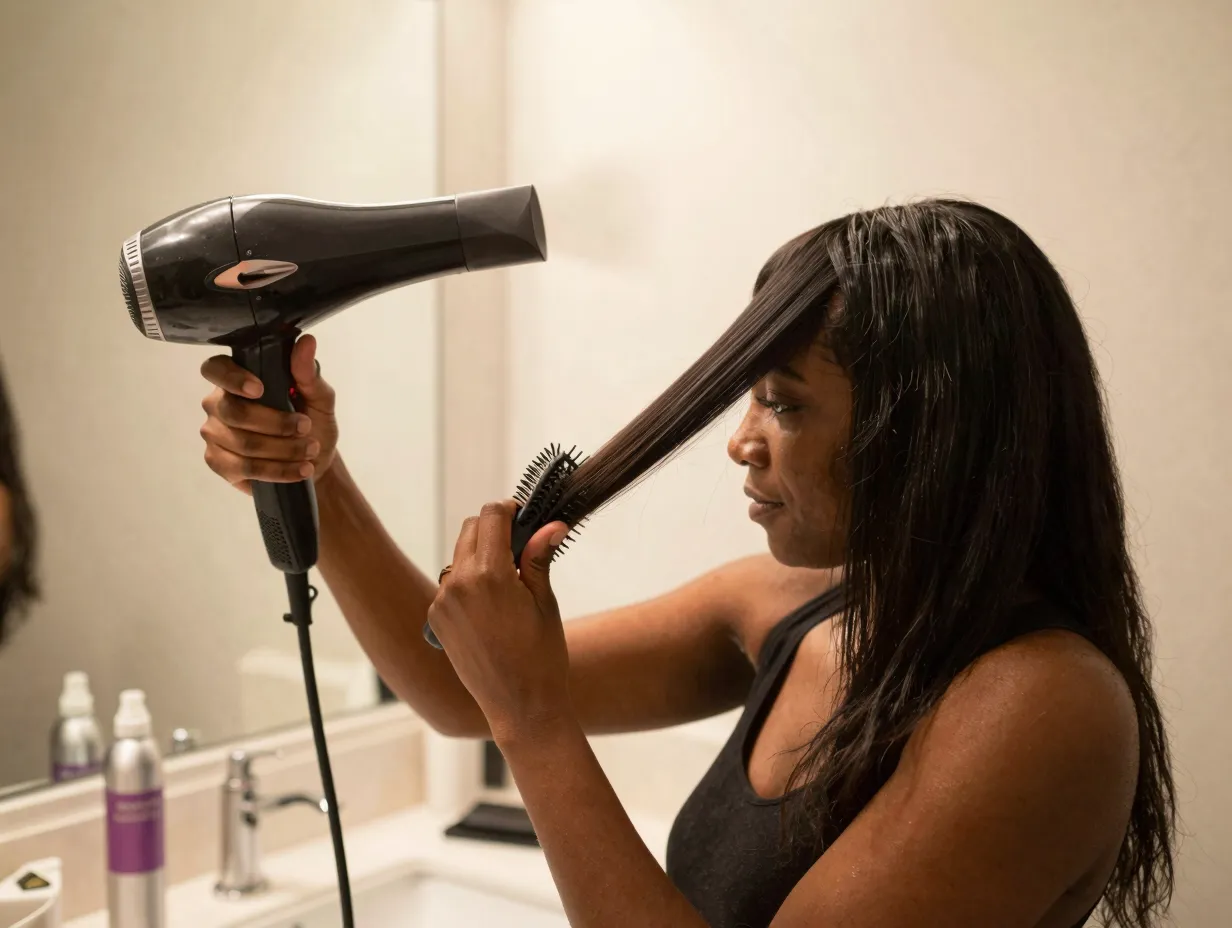
One of the most consistent pieces of advice from experienced 4C stylists is this: blow out your hair before attempting a sleek ponytail [3]. 4C hair in its natural state has extreme shrinkage — sometimes up to 75% of its actual length — which makes smoothing nearly impossible without some form of stretching.
A proper blowout:
- Reduces shrinkage so the ponytail appears longer and fuller.
- Loosens the curl pattern just enough to allow smooth brushing.
- Makes gel application more even and effective.
One creator documented spending 35 minutes on thorough brushing and edge-laying preparation alone before creating the ponytail — a reminder that great results require real time investment [3].
Blowout Safety Tips for 4C Hair:
- Always use a heat protectant spray before applying any heat.
- Use a tension method (stretching hair taut as you blow dry) for maximum smoothness.
- Keep the dryer on medium heat — high heat can cause long-term damage to 4C strands.
- Work in sections (notice a theme here? 😄).
If heat is not your preference, jump ahead to Technique 6 for a no-heat alternative.
4. The Edge-Laying First Technique
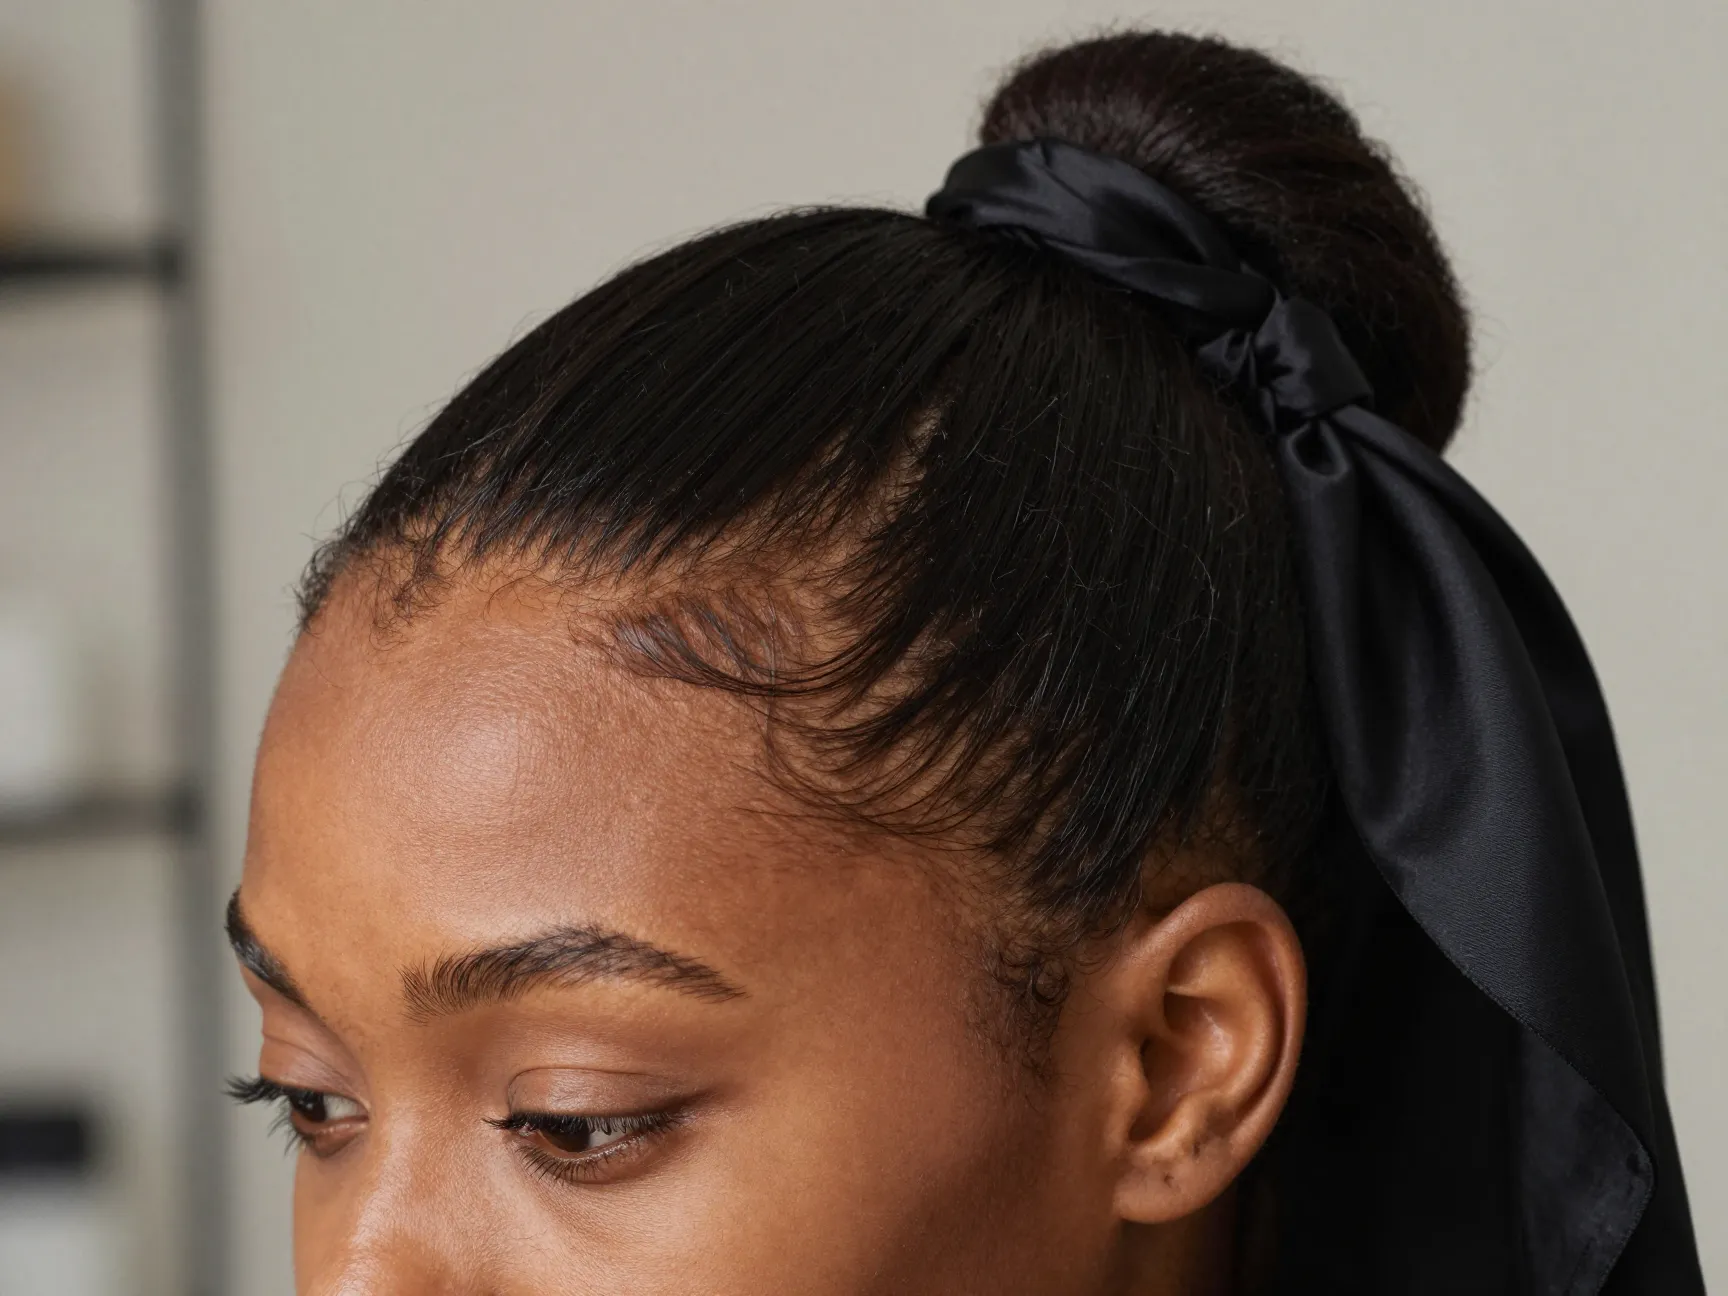
Most people think of edge-laying as the final flourish on a completed ponytail. Experienced 4C stylists know it is actually a critical preliminary step [3]. Laying your edges flat before pulling your hair back sets the frame for the entire style and prevents the hairline from being pulled into an unnatural position.
Step-by-step edge-laying before the ponytail:
- Apply a small amount of edge control or strong-hold gel to the hairline.
- Use a soft-bristle edge brush in short, firm strokes — always brushing toward the direction of the ponytail.
- Cover with a satin scarf for 5–10 minutes to allow the edges to set.
- Remove the scarf and proceed with the rest of the ponytail.
- Touch up edges again after the ponytail is secured.
This two-step edge process (before and after) is what gives that polished, professional finish you see in editorial photos and on red carpets.
🎯 Key Insight: “Your edges are the frame of your face. Get the frame right first, and everything else falls into place.”
5. The Base Wrapping Technique
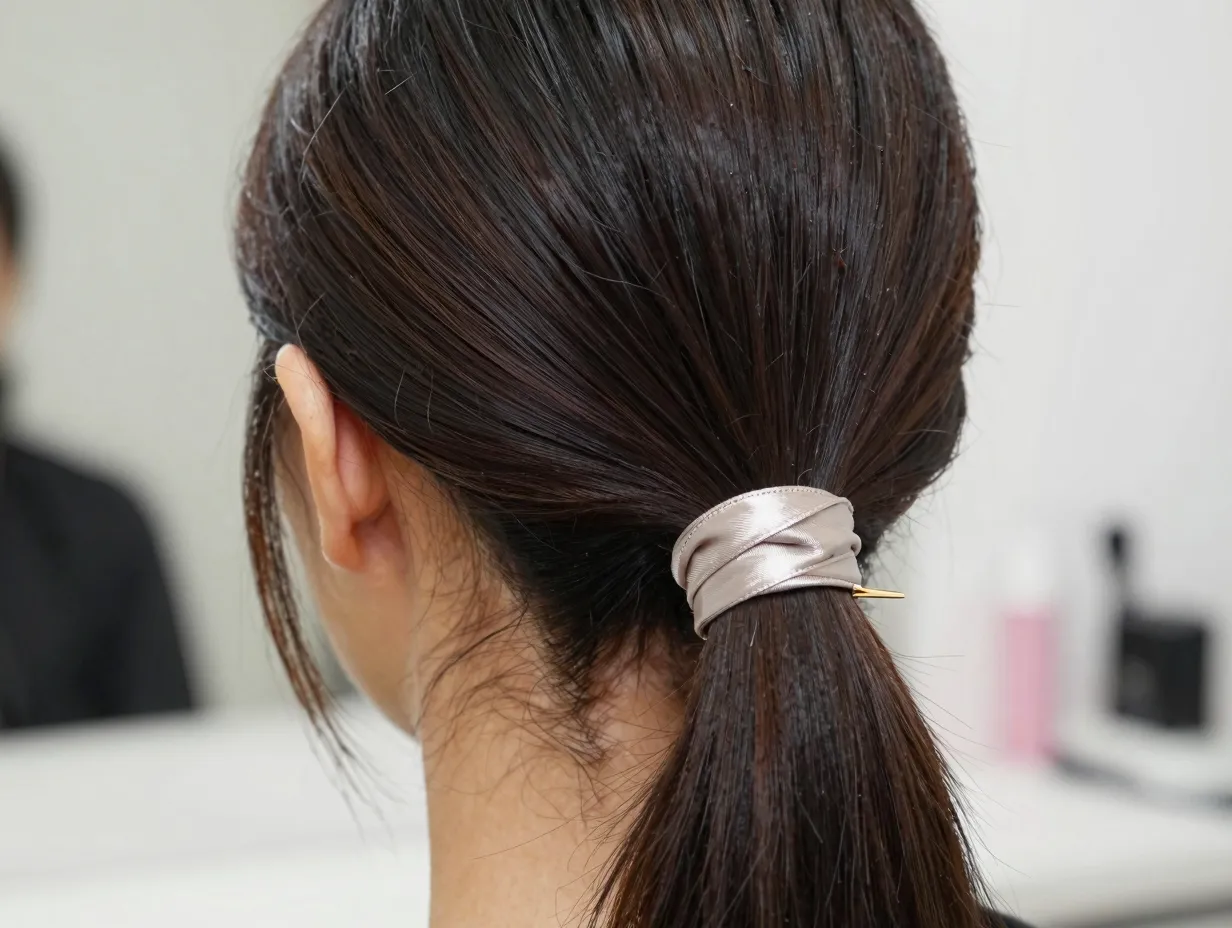
Once your ponytail is secured, the attachment point — whether it’s a hair tie, a clip-in extension, or a drawstring ponytail — needs to be concealed for a truly seamless look. The base wrapping technique is the professional solution [4].
How to wrap the base:
- Take a small section of hair from the back of the ponytail.
- Comb it smooth and apply a light hold product (ISO Plus or beeswax work well) [4].
- Wrap the section tightly around the ponytail base, covering the hair tie completely.
- Secure the end with a bobby pin, tucking it underneath so it’s invisible.
- Mist lightly with a shine spray for a polished finish.
This technique elevates any ponytail from “good” to “salon-quality” in under two minutes. It also protects the hair tie from direct contact with your strands, reducing breakage over time.
6. The No-Heat Sleekness Technique
Not everyone wants to use heat on their 4C hair — and that’s a completely valid choice. The no-heat sleek ponytail is achievable with the right product strategy and a little extra patience [2].
The no-heat method works like this:
- After washing and conditioning, apply a generous amount of a thick leave-in conditioner to soaking wet hair.
- Divide into sections (yes, again! 😄).
- Apply a strong-hold gel to each section and smooth with a wide-tooth comb, then a fine-tooth comb.
- Braid or twist each section and allow to air dry completely before unraveling.
- Once dry, smooth each section with a boar bristle brush and additional gel before pulling into the ponytail.
This method uses strategic combing and layered product application to reduce frizz without heat [2]. The result may not be quite as pin-straight as a blowout method, but it is significantly healthier for the hair long-term and still achieves an impressive level of sleekness.
| Method | Heat Used | Time Required | Sleekness Level |
|---|---|---|---|
| Blowout + Gel | Yes | 45–60 min | ⭐⭐⭐⭐⭐ |
| No-Heat + Gel | No | 2–3 hours (includes dry time) | ⭐⭐⭐⭐ |
| Wet Set + Scarf | No | Overnight | ⭐⭐⭐⭐ |
7. The Braided Base Method for Weave Ponytails
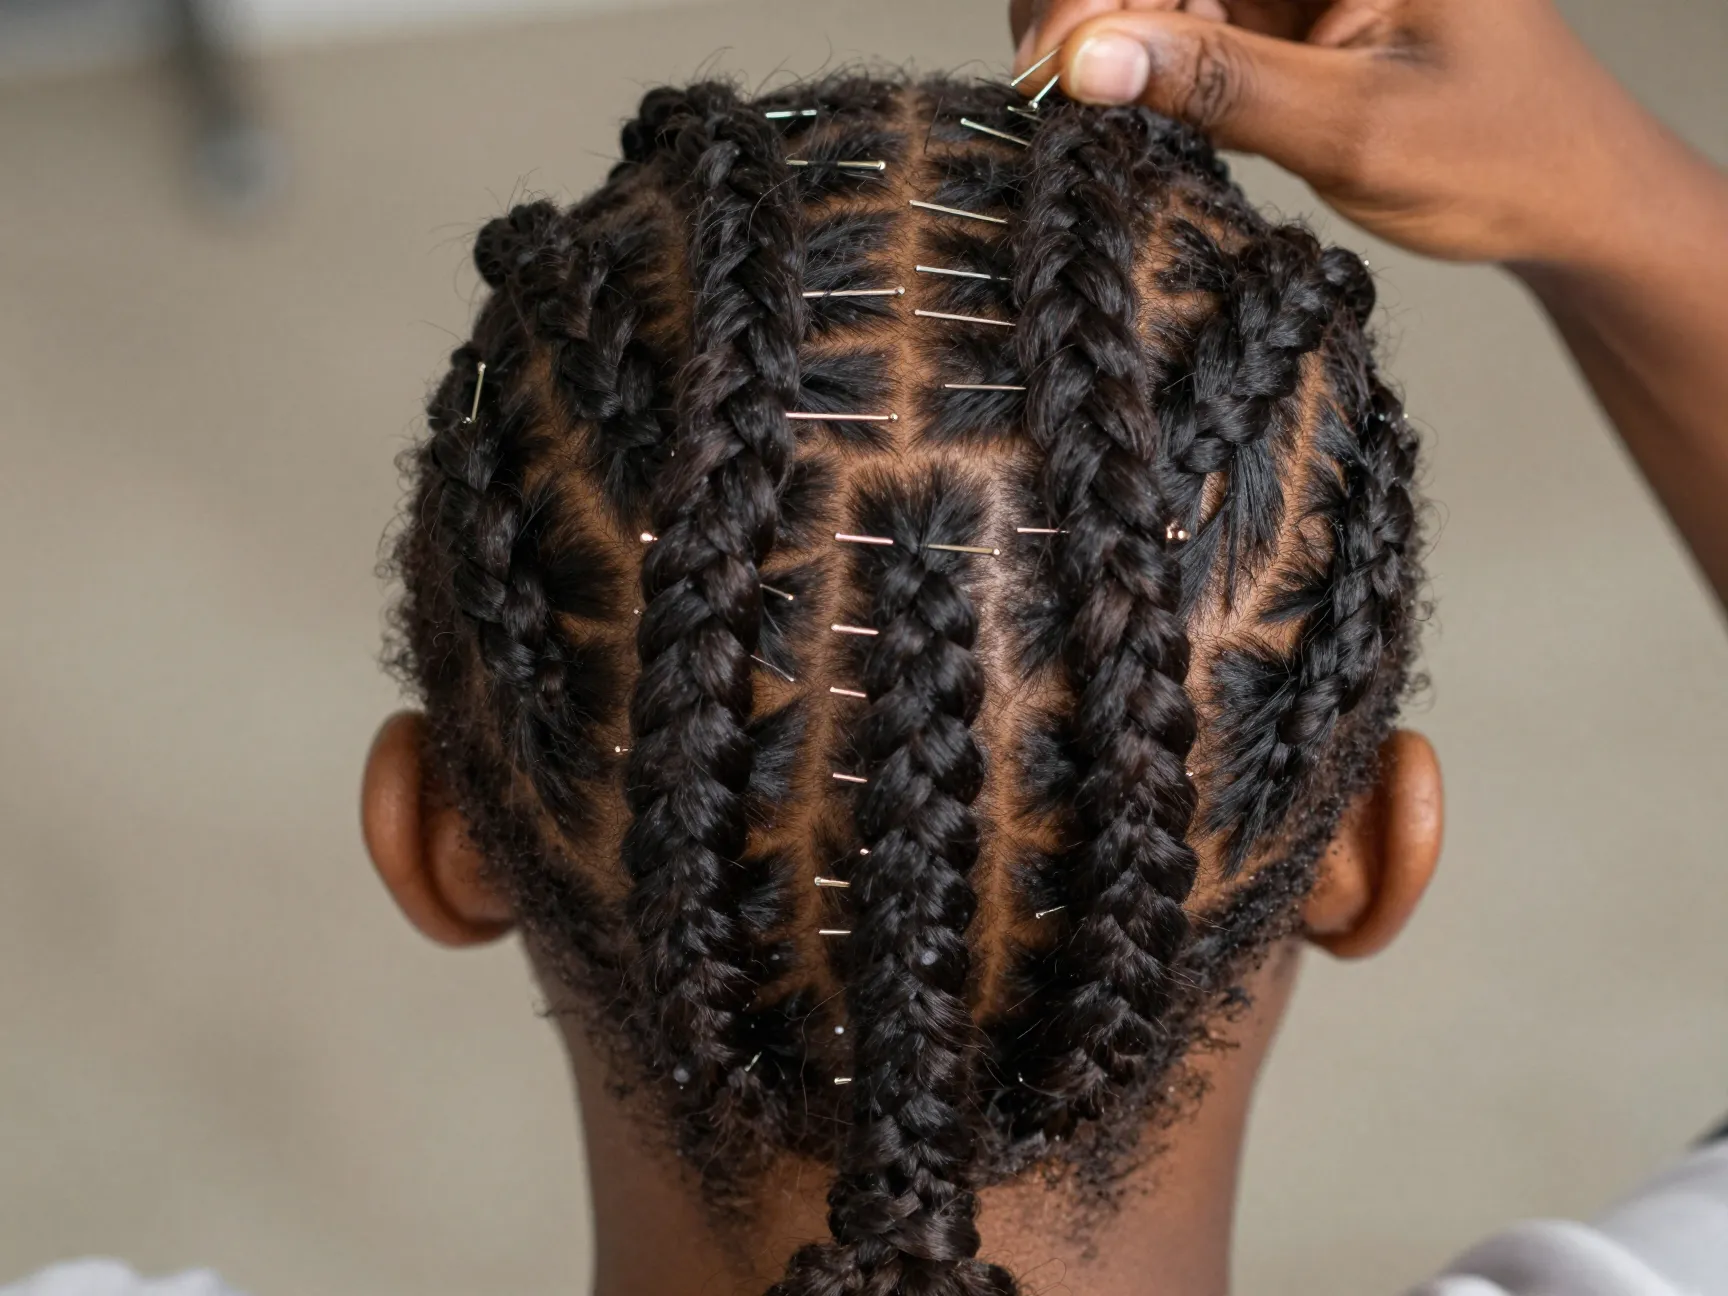
If you’re adding a weave or extension ponytail to your natural hair, the braided base method provides the most secure and scalp-friendly foundation [3]. Rather than pulling all of your natural hair into a single ponytail and clipping an extension on top, this technique creates a structured base.
How to create a braided base:
- Section your natural hair into 4–6 parts across the crown and back.
- Braid each section into a flat, tight braid running toward the center of the head.
- Pin each braid at the center point using multiple bobby pins for security [3].
- Attach the weave ponytail over the pinned braids.
- Wrap the base (see Technique 5) to conceal all attachment points.
This method distributes the weight of the extension across multiple anchor points rather than one, which significantly reduces tension on the scalp and hairline. It also keeps the natural hair protected underneath the style, making it a great option for a protective style that lasts 1–2 weeks.
⚠️ Important: Never leave any ponytail style — natural or extension — in for more than two weeks without moisturizing the scalp and checking for tension-related soreness.
8. The Budget-Friendly $20 Technique
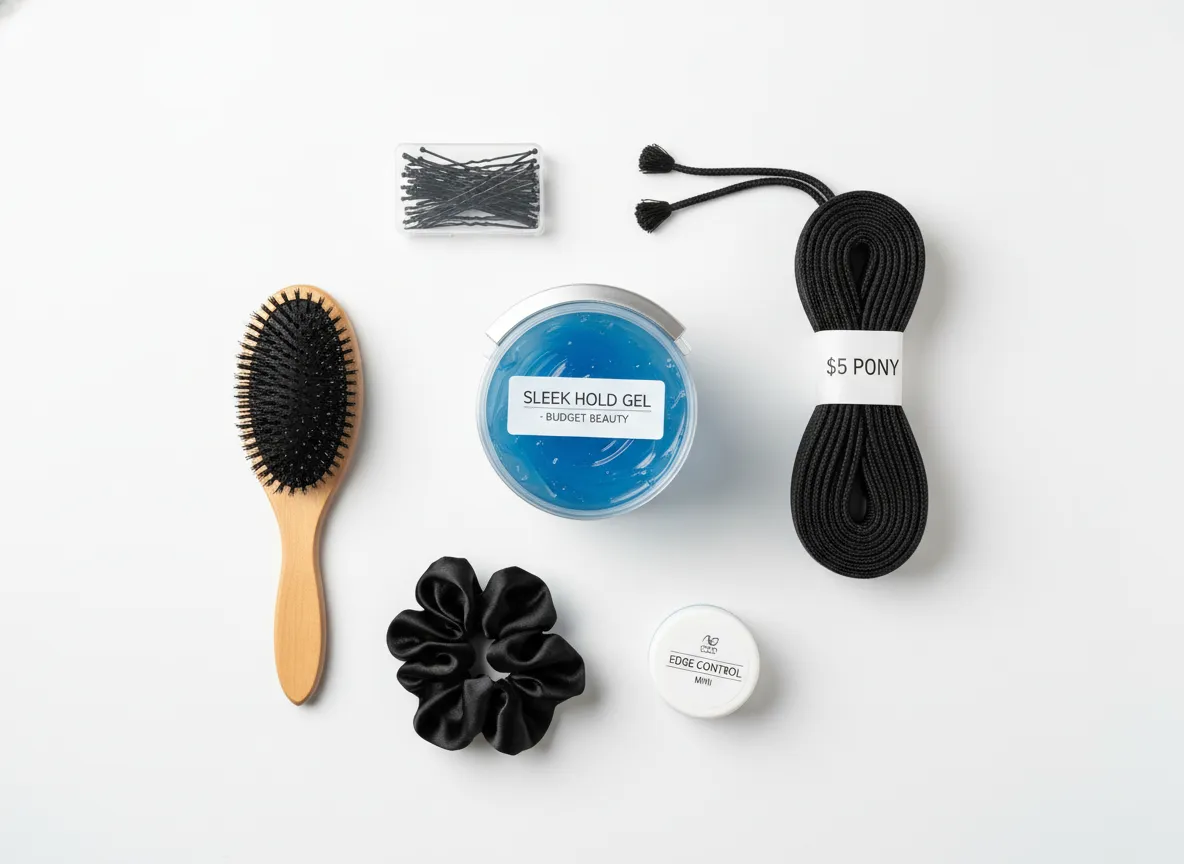
Sleek ponytails do not require a $200 salon visit or an expensive product collection. A documented $20 budget tutorial proves that the right product selection matters far more than how much you spend [8].
What you need for a $20 sleek ponytail:
- ✅ Strong-hold gel (drugstore brands work perfectly)
- ✅ A boar bristle brush (available at beauty supply stores for under $5)
- ✅ Bobby pins (a pack costs under $2)
- ✅ A satin hair tie or scrunchie (prevents breakage)
- ✅ Edge control (small tub, drugstore brand)
- ✅ Optional: a $5–$8 drawstring ponytail from a beauty supply store
Budget-Friendly Product Swaps:
| Premium Product | Budget Alternative | Price Difference |
|---|---|---|
| Eco Styler Olive Oil Gel | Generic strong-hold gel | Save $3–$5 |
| Denman brush | Basic paddle brush | Save $10–$15 |
| Luxury edge control | Got2B Glued | Save $8–$12 |
The key insight from budget tutorials is this: technique always outperforms product price. A $3 gel applied correctly will outperform a $30 gel applied carelessly every single time [8].
9. The Finishing and Longevity Technique
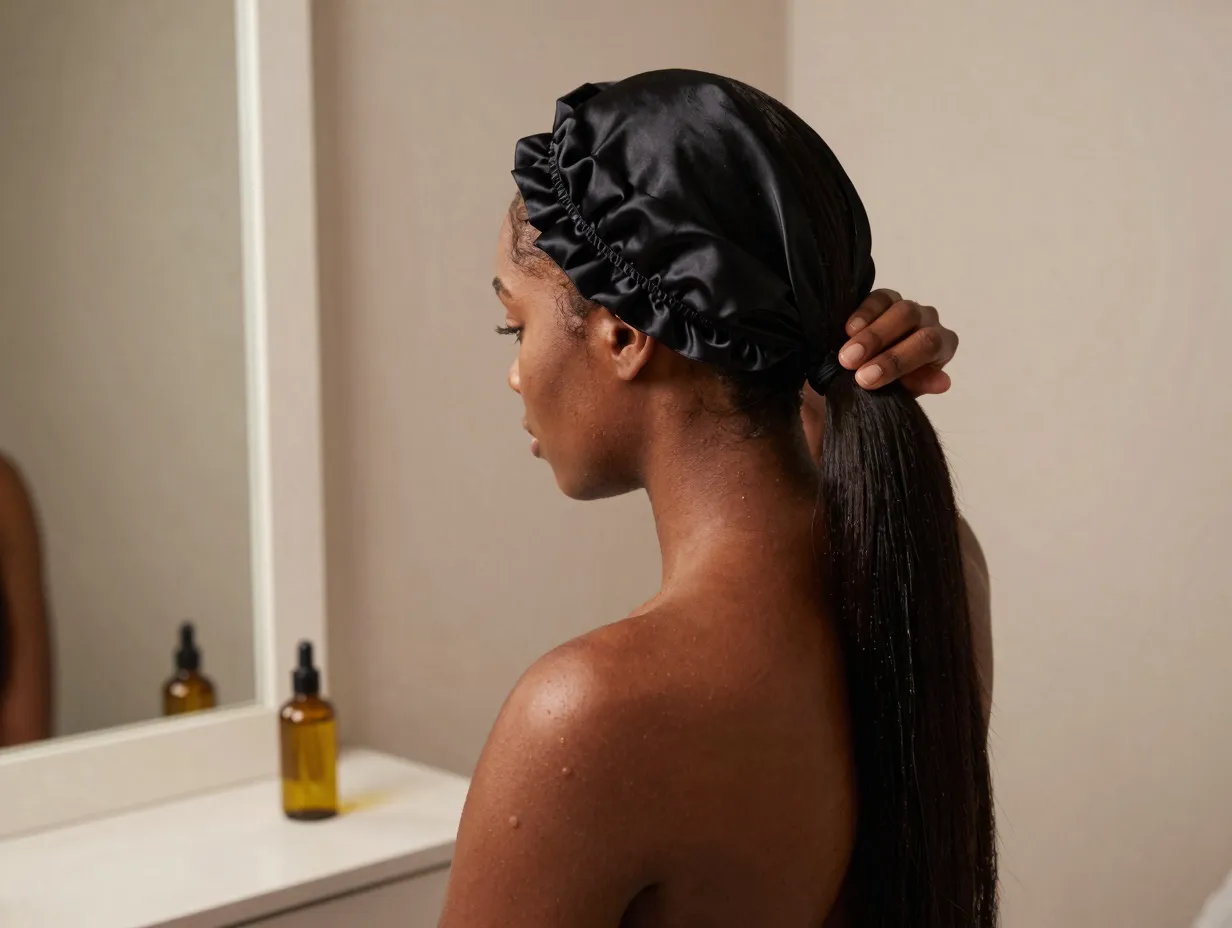
The ninth and final technique in the 9 Sleek Back Ponytail Techniques for 4C Natural Hair Mastery is about making your style last. A sleek ponytail that looks great on day one but frizzes by day two is a frustrating experience — and it’s entirely preventable.
Daily maintenance for a sleek ponytail:
- Wrap your ponytail in a satin scarf or bonnet every night.
- Mist the hairline lightly with water each morning and re-apply a thin layer of edge control.
- Use a light oil (jojoba or argan) on the scalp every 2–3 days to prevent dryness.
- Avoid touching the style throughout the day — oils from your hands cause frizz.
- If flyaways appear, smooth them down with a toothbrush dipped in diluted gel.
Longevity Timeline:
| Day | Expected Look | Maintenance Needed |
|---|---|---|
| Day 1 | Salon-fresh, glass smooth | None |
| Day 2–3 | Slightly relaxed, still polished | Edge touch-up, scarf at night |
| Day 4–5 | Natural softening, still neat | Light gel refresh, oil scalp |
| Day 6–7 | Style refresh recommended | Redo edges, re-wrap base |
With proper nightly care, a well-executed sleek ponytail on 4C hair can look polished for 5 to 7 days — making it one of the most time-efficient protective styles available.
Common Mistakes to Avoid
Even with the best techniques, a few common errors can derail your sleek ponytail. Here’s what to watch for:
- ❌ Skipping the sectioning step — This is the number one reason ponytails look uneven or frizzy.
- ❌ Using too little gel — Under-application leads to flyaways and a lack of hold within hours.
- ❌ Pulling too tight — Tension alopecia is a real risk with tight ponytails, especially at the hairline.
- ❌ Using a rubber band directly on hair — Always use a fabric-covered hair tie or satin scrunchie.
- ❌ Skipping heat protectant — Even one blowout without protection can cause long-term damage.
- ❌ Rushing the edge-laying step — Edges need time to set. The 5–10 minute scarf method is not optional.
Quick Reference: All 9 Techniques at a Glance
- Sectioning Foundation Method — Divide into 5–10 sections for even tension and smoothness.
- Generous Gel Application — Layer gel generously with a boar bristle brush for flyaway control.
- Blowout Preparation — Blow out hair before styling to reduce shrinkage and improve smoothness.
- Edge-Laying First — Lay edges before AND after creating the ponytail for a polished frame.
- Base Wrapping — Wrap and conceal the ponytail base for a seamless, salon-quality finish.
- No-Heat Sleekness — Achieve smoothness without heat using layered products and strategic combing.
- Braided Base for Extensions — Create a secure, tension-distributing foundation for weave ponytails.
- Budget-Friendly $20 Method — Prove that technique beats price every time.
- Finishing and Longevity — Maintain your style for up to 7 days with nightly care and touch-ups.
Conclusion: Your Sleek Ponytail Journey Starts Today
Mastering the 9 Sleek Back Ponytail Techniques for 4C Natural Hair Mastery is not about having the most expensive products or spending hours in a salon. It is about understanding your hair’s unique needs and applying the right techniques in the right order. 4C hair is not difficult — it is simply specific.
Your actionable next steps:
- Start with Technique 1 — Before your next ponytail attempt, section your hair into at least five parts. Notice the difference immediately.
- Stock your toolkit — Grab a boar bristle brush, strong-hold gel, and edge control. You don’t need to spend more than $20.
- Commit to the prep — Whether you choose the blowout method or the no-heat method, give your hair the preparation time it deserves.
- Protect your style nightly — A satin scarf is the single most affordable investment you can make in your hair’s longevity.
- Practice consistently — Like any skill, sleek ponytail styling improves with repetition. Your third attempt will look dramatically better than your first.
Your 4C hair is capable of every sleek, polished, editorial look you’ve ever admired. The techniques are now in your hands. 💪🖤
References
[1] Watch – https://www.youtube.com/watch?v=oN6MwUddphU
[2] Watch – https://www.youtube.com/watch?v=FlGAgn7vZhI
[3] Watch – https://www.youtube.com/watch?v=ykbmuCUjwwU
[4] Watch – https://www.youtube.com/watch?v=sUSBxMyfYvA
[5] Watch – https://www.youtube.com/watch?v=hDMWBNc43tI
[6] Watch – https://www.youtube.com/watch?v=4nWKN8nHg90
[7] Watch – https://www.youtube.com/watch?v=cWRmFv6wXfk
[8] Watch – https://www.youtube.com/watch?v=4I1erAa0Unk
[9] Watch – https://www.youtube.com/watch?v=tbM1-vFKIkA
[10] Watch – https://www.youtube.com/watch?v=vjyhsWGRyLM